A combination of a few things inspired me to try block printing fabric for the first time this weekend:
- This Celeste bath towel by KJP that I picked up at Prelude & Dawn
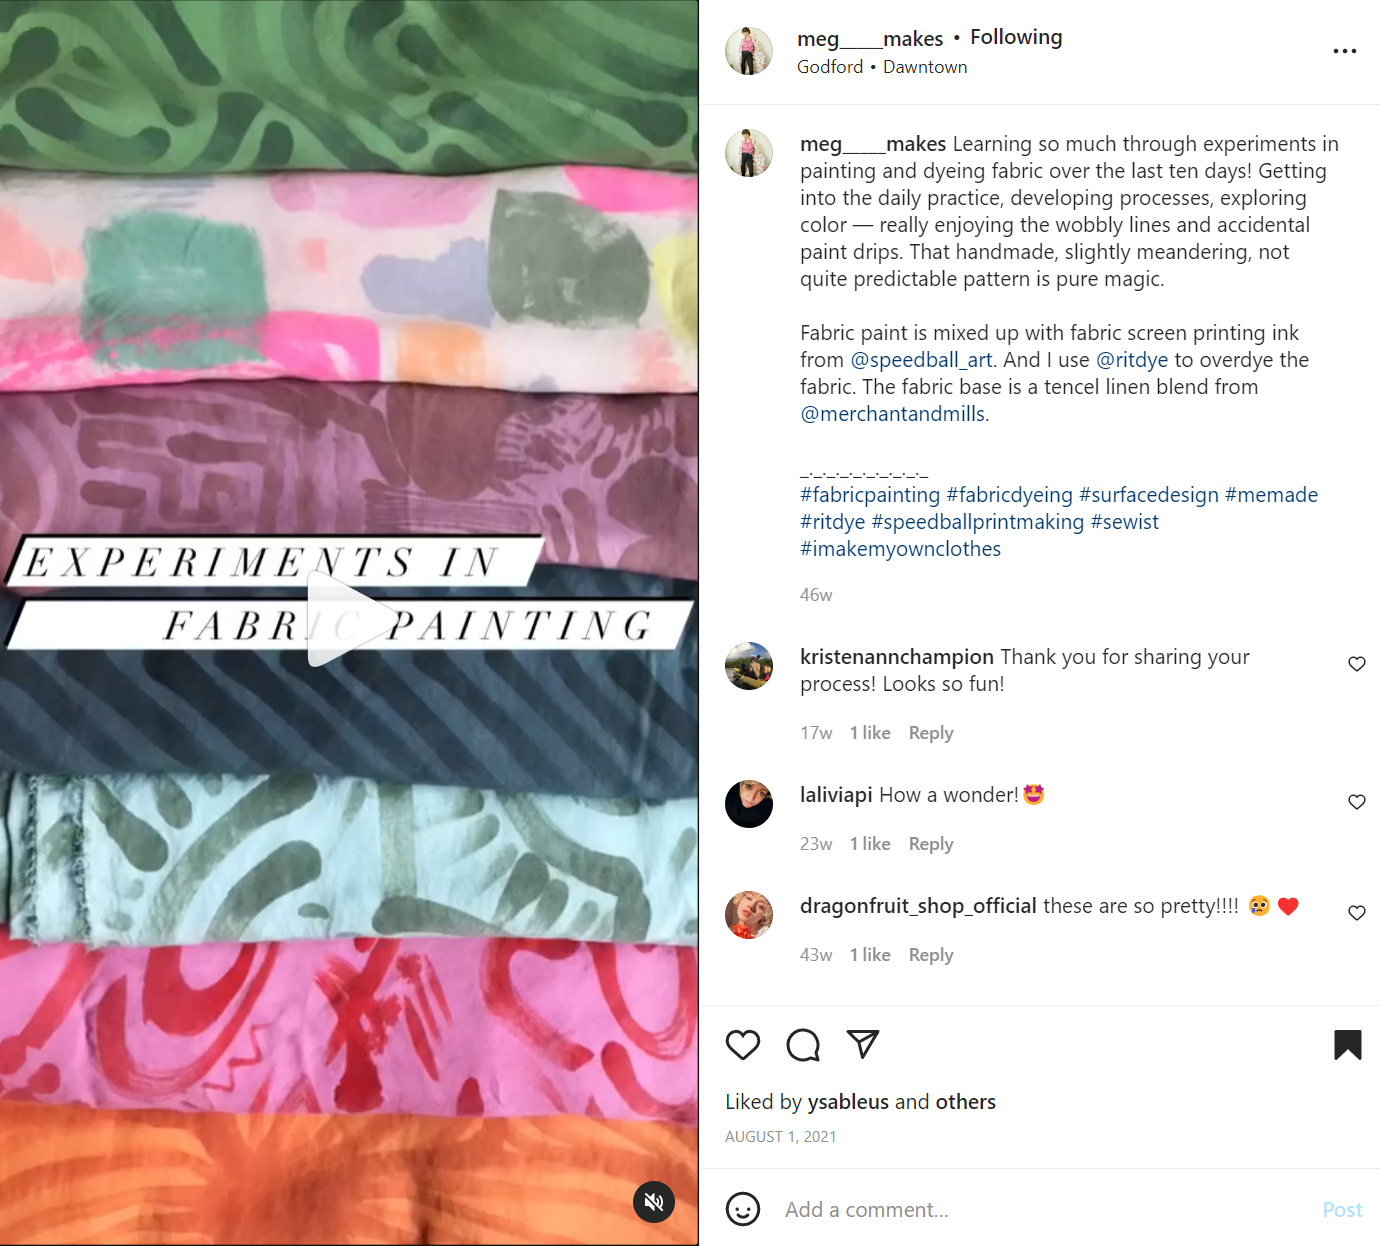
- Discovering @meg_____makes and her amazing hand-painted and printed textiles on instagram
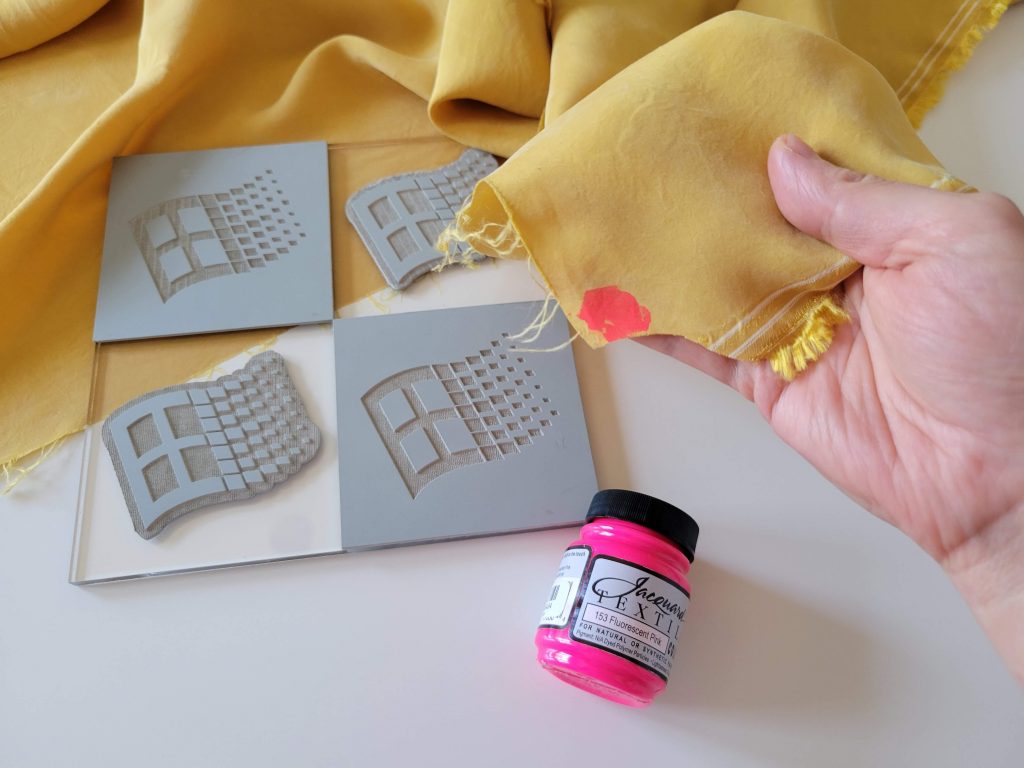
- A neon pink Jacquard textile paint I found at Crush & Touch Art Supply
I started and completed this project over the three day weekend, which I’ve since learned was too short a time period to do it properly 😅 (apparently it’s best to let the fabric paint dry for 5-7 days before heat setting, whoops).
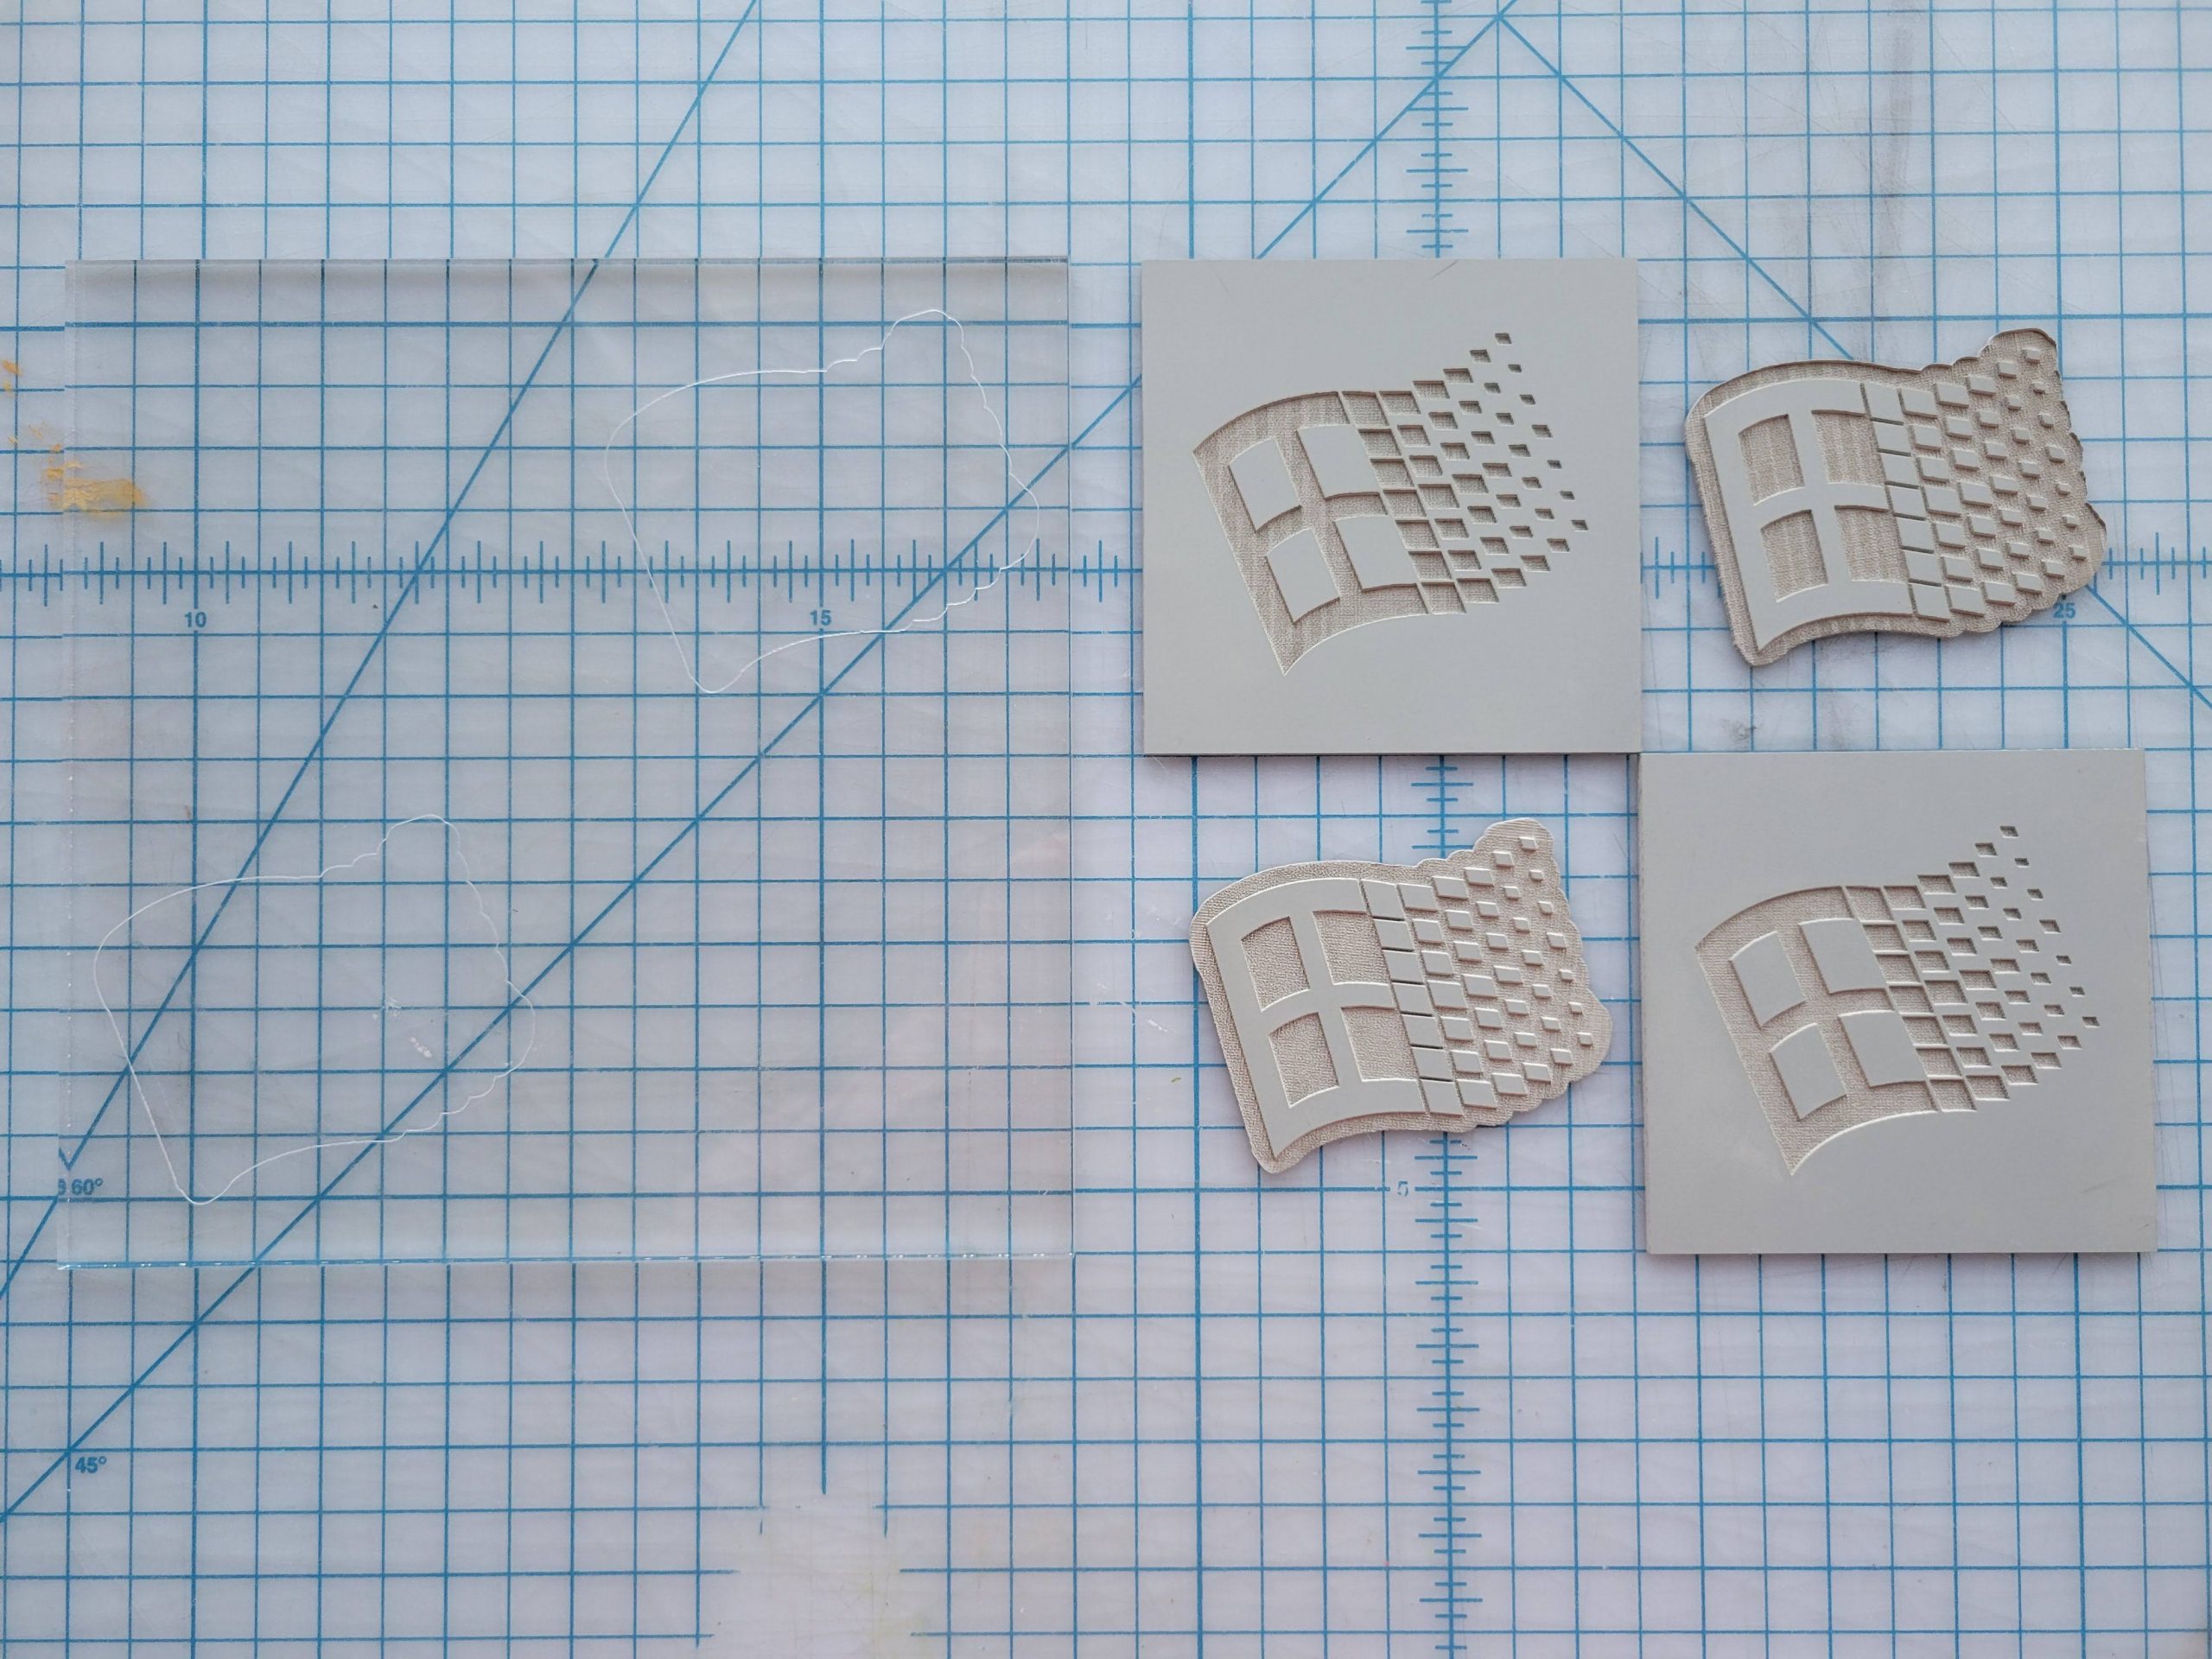
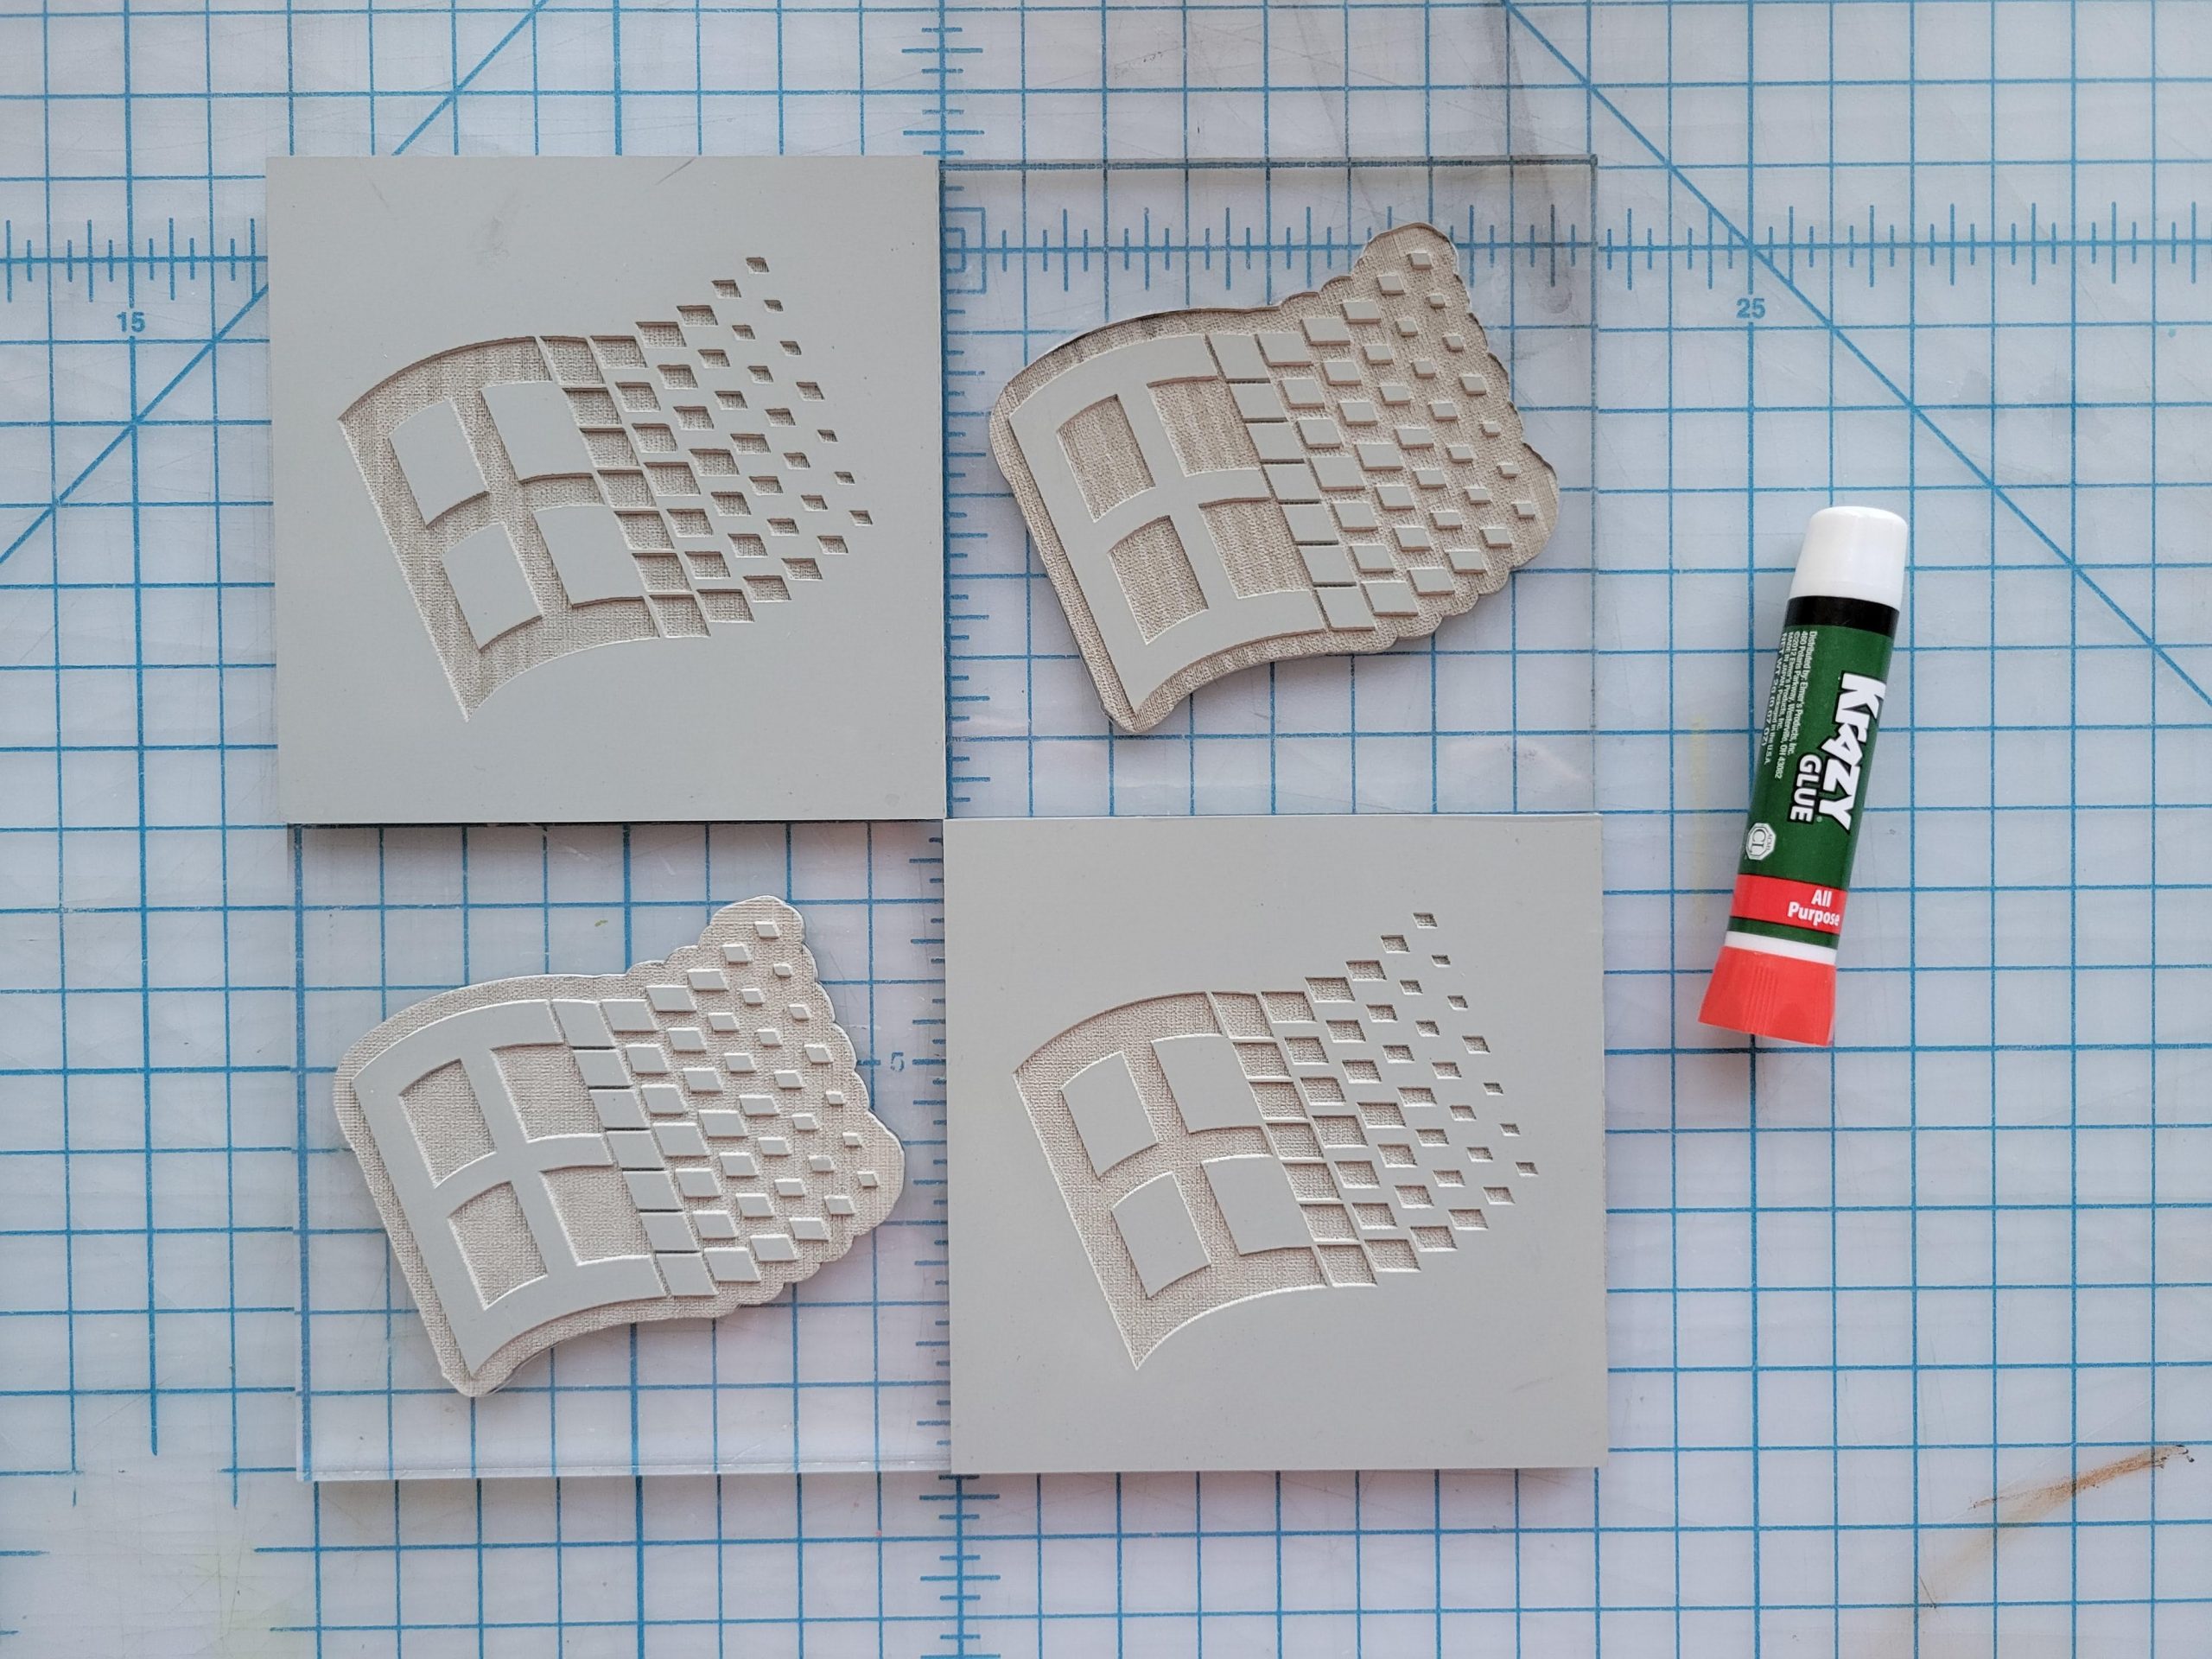
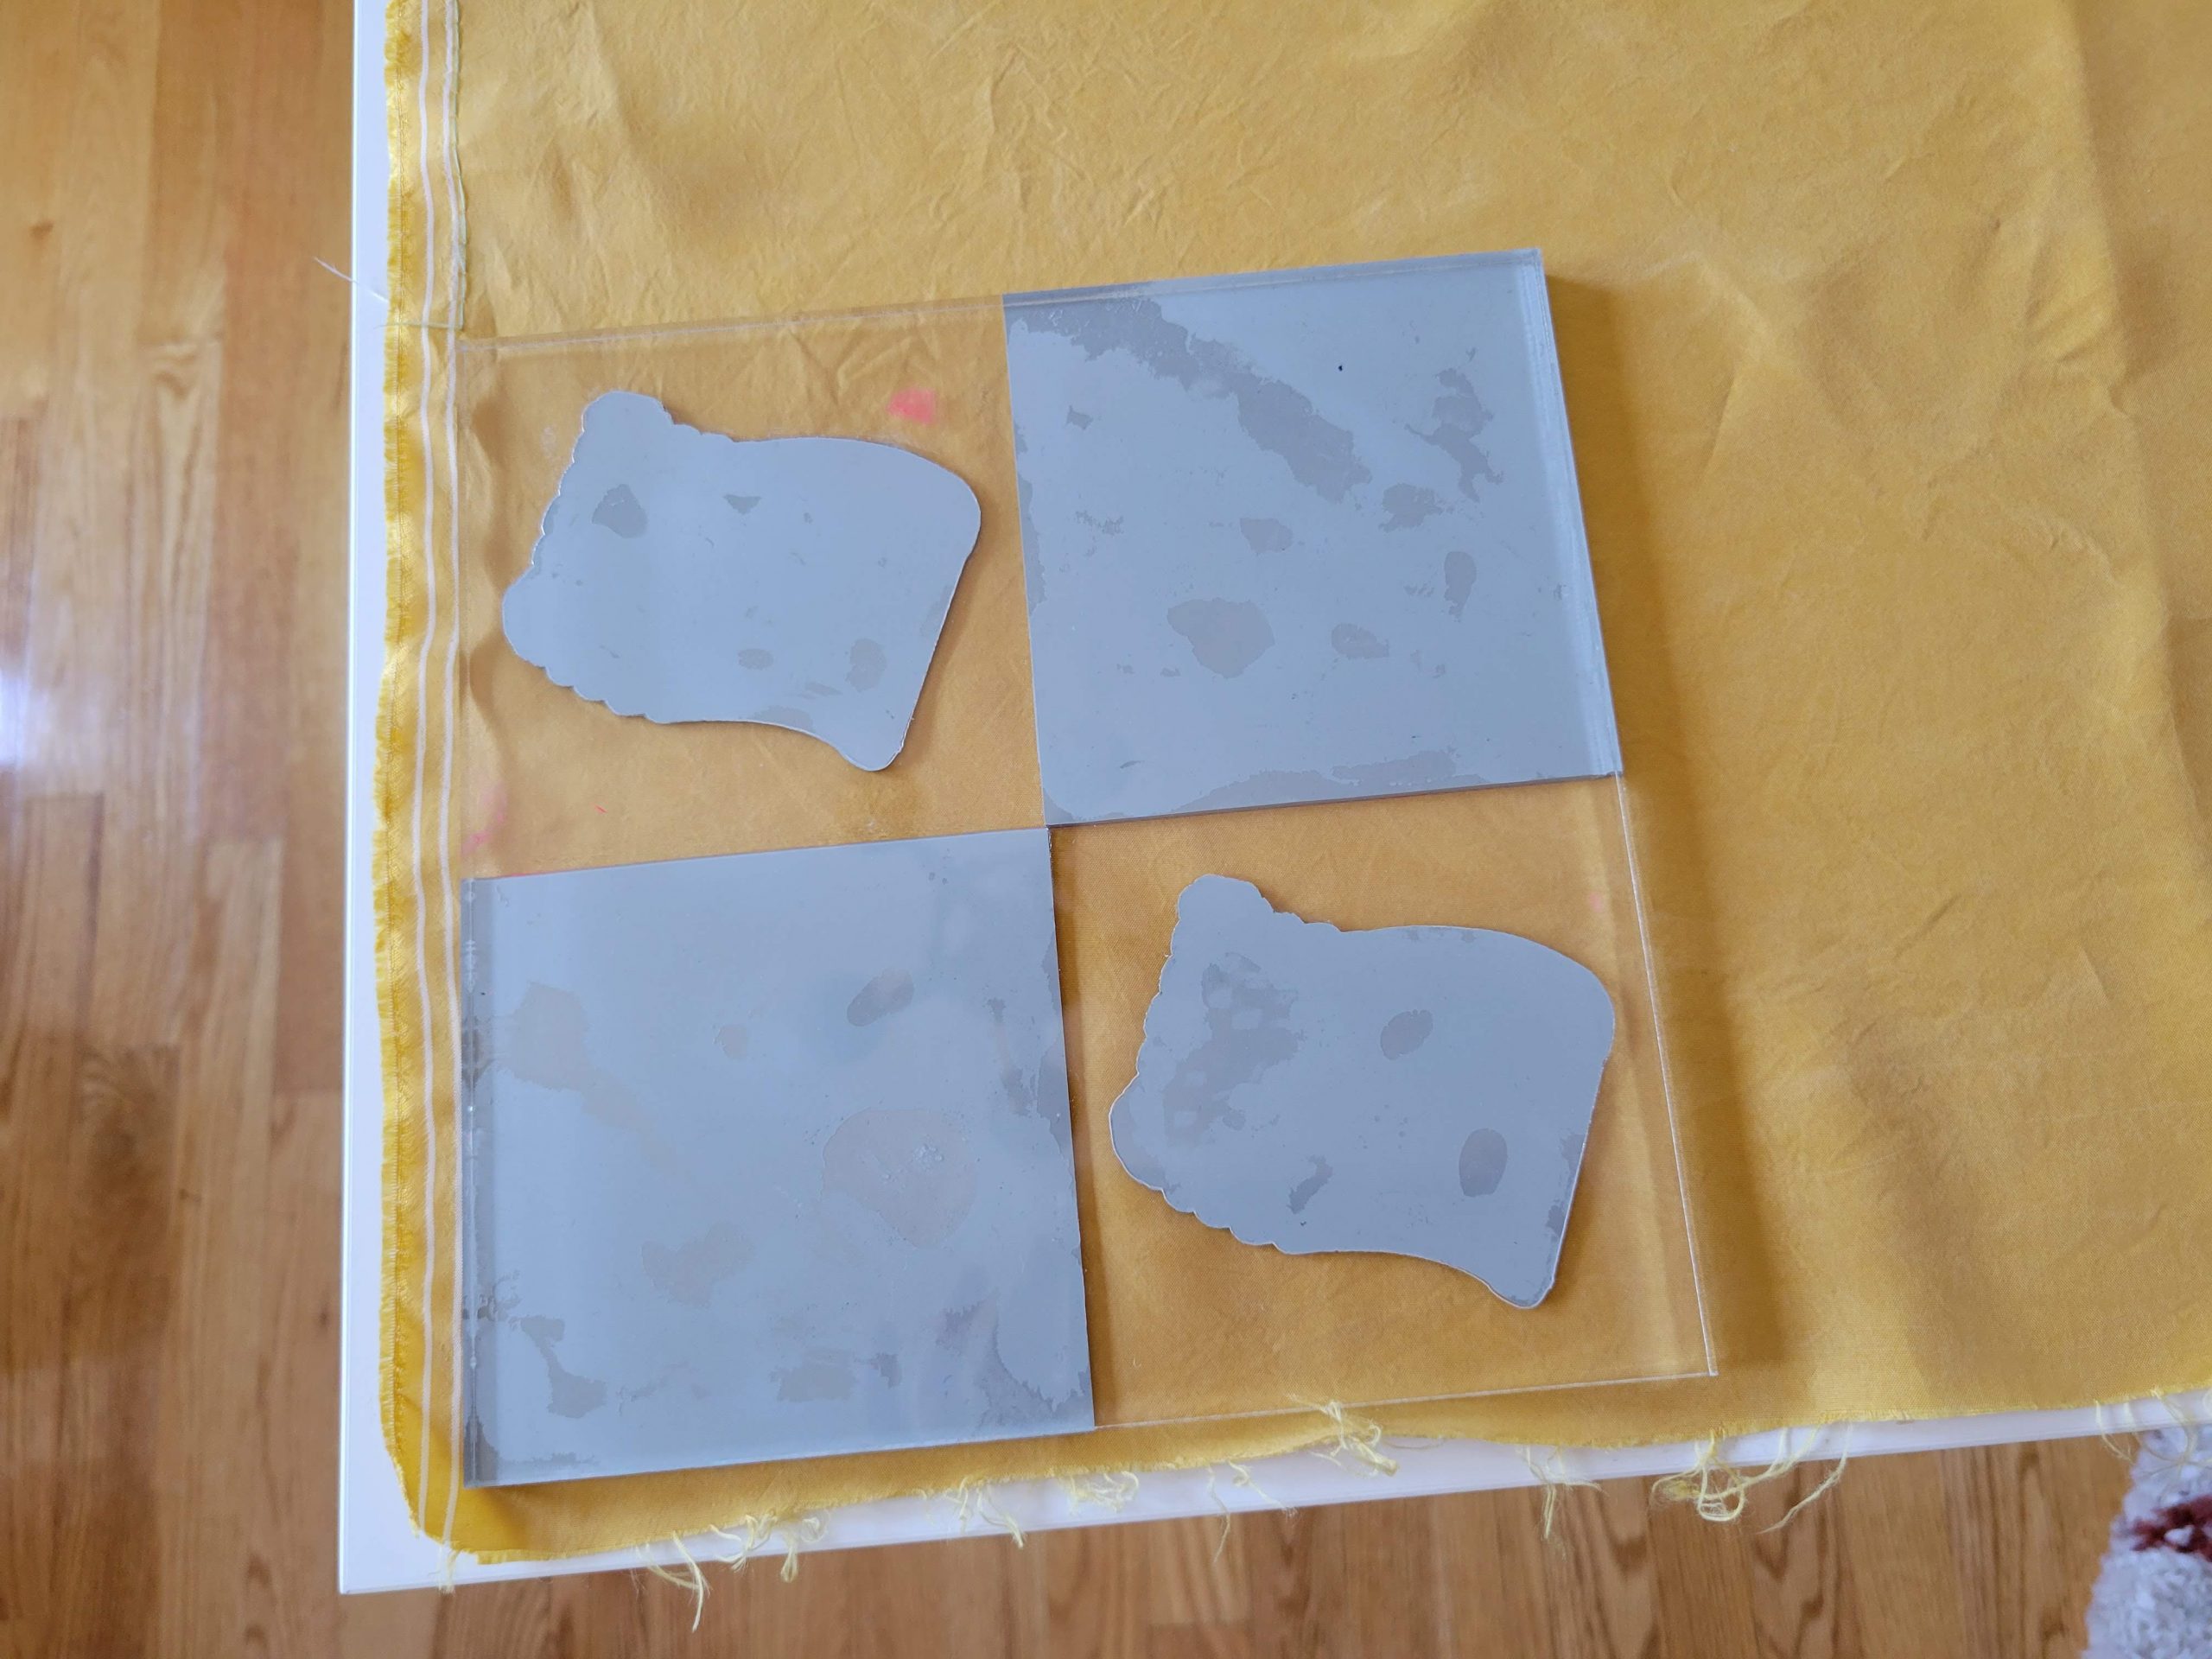
Saturday evening, I designed and cut out the pieces for the stamp:
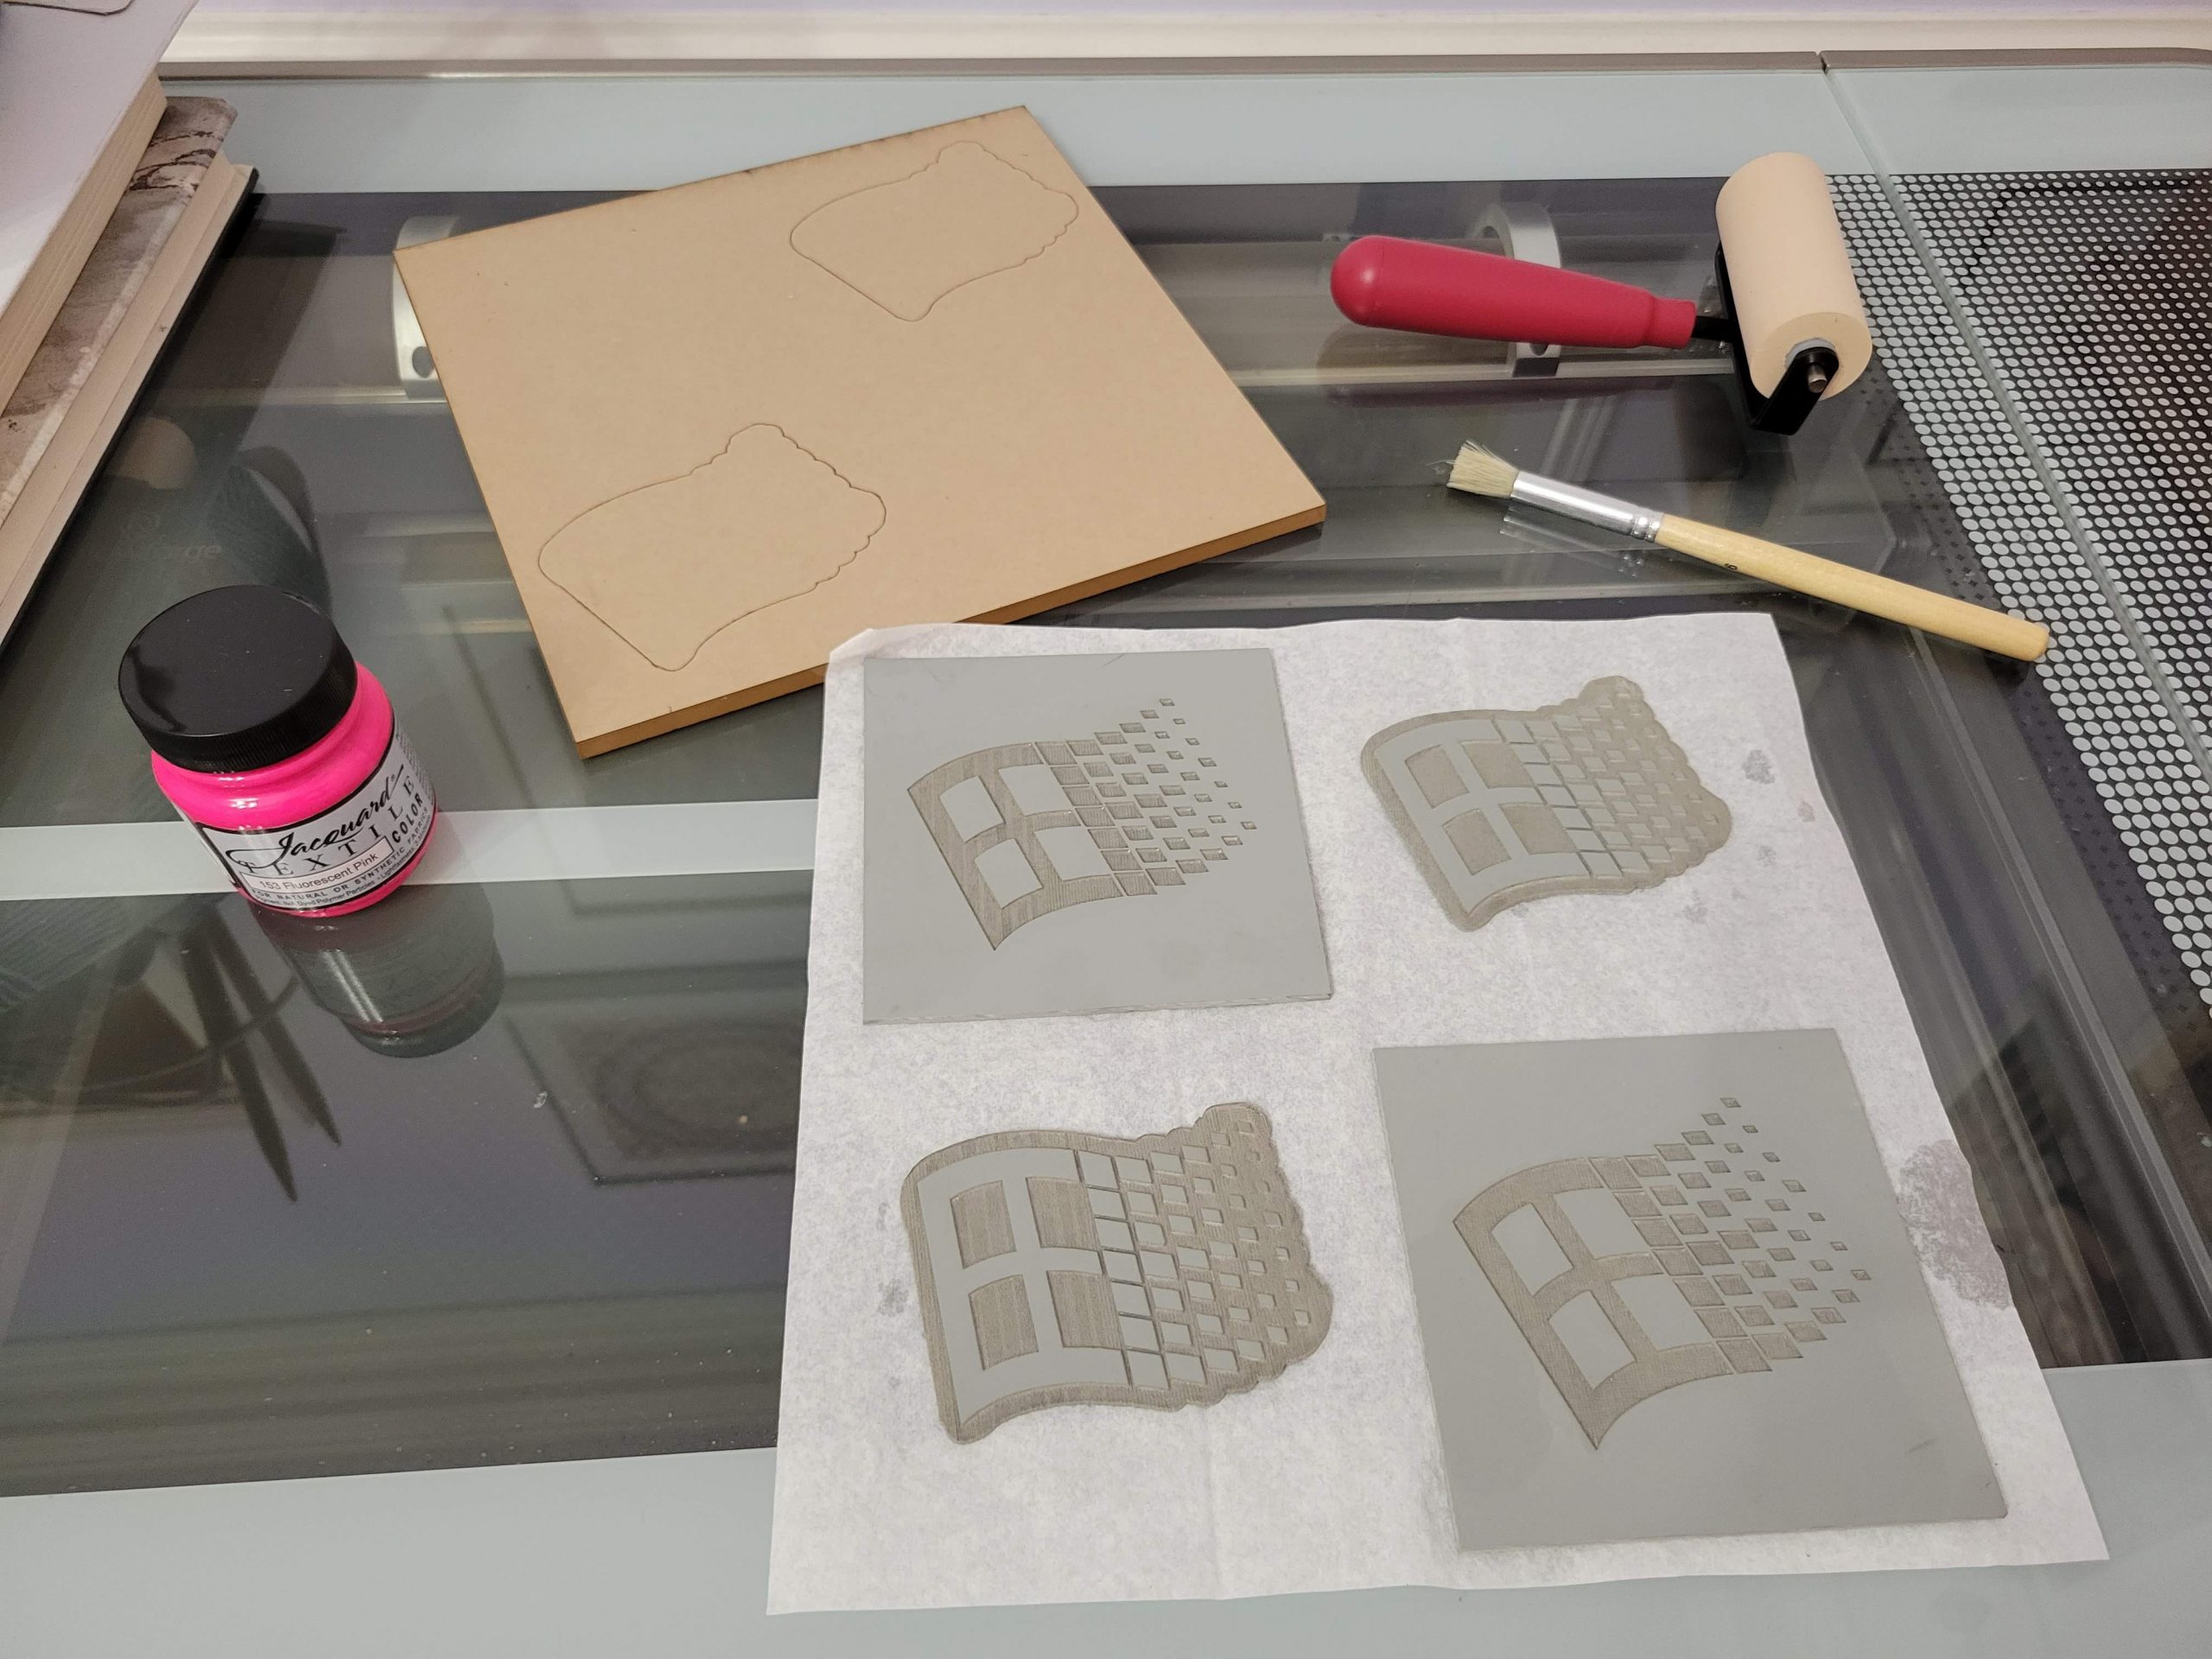
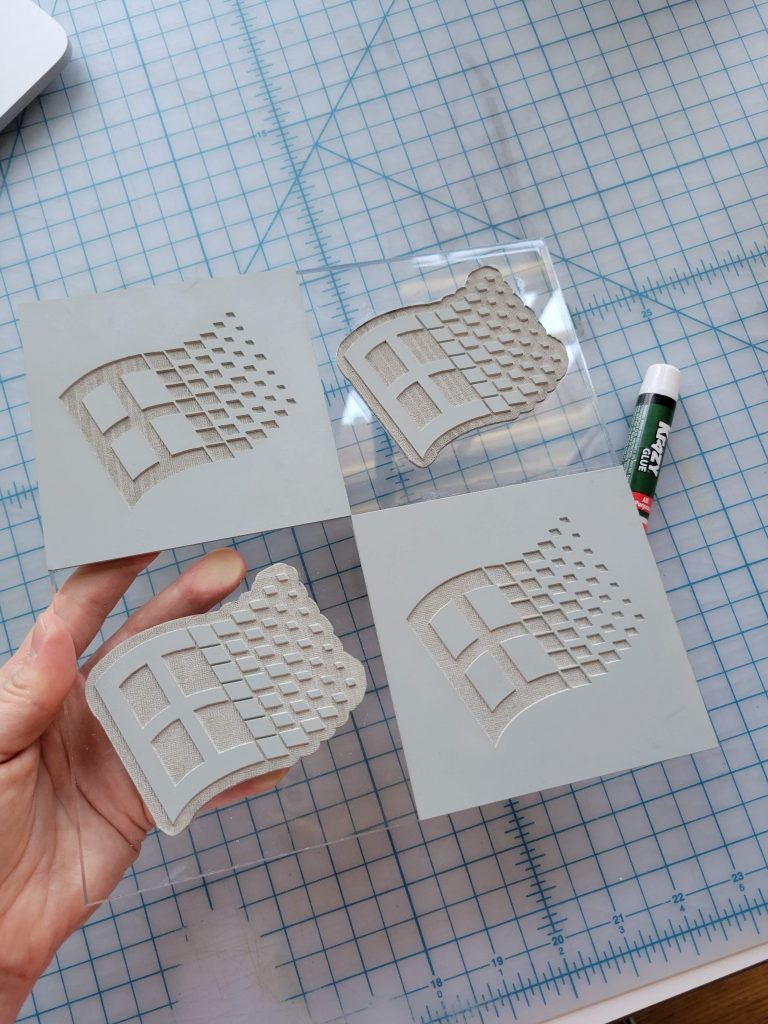
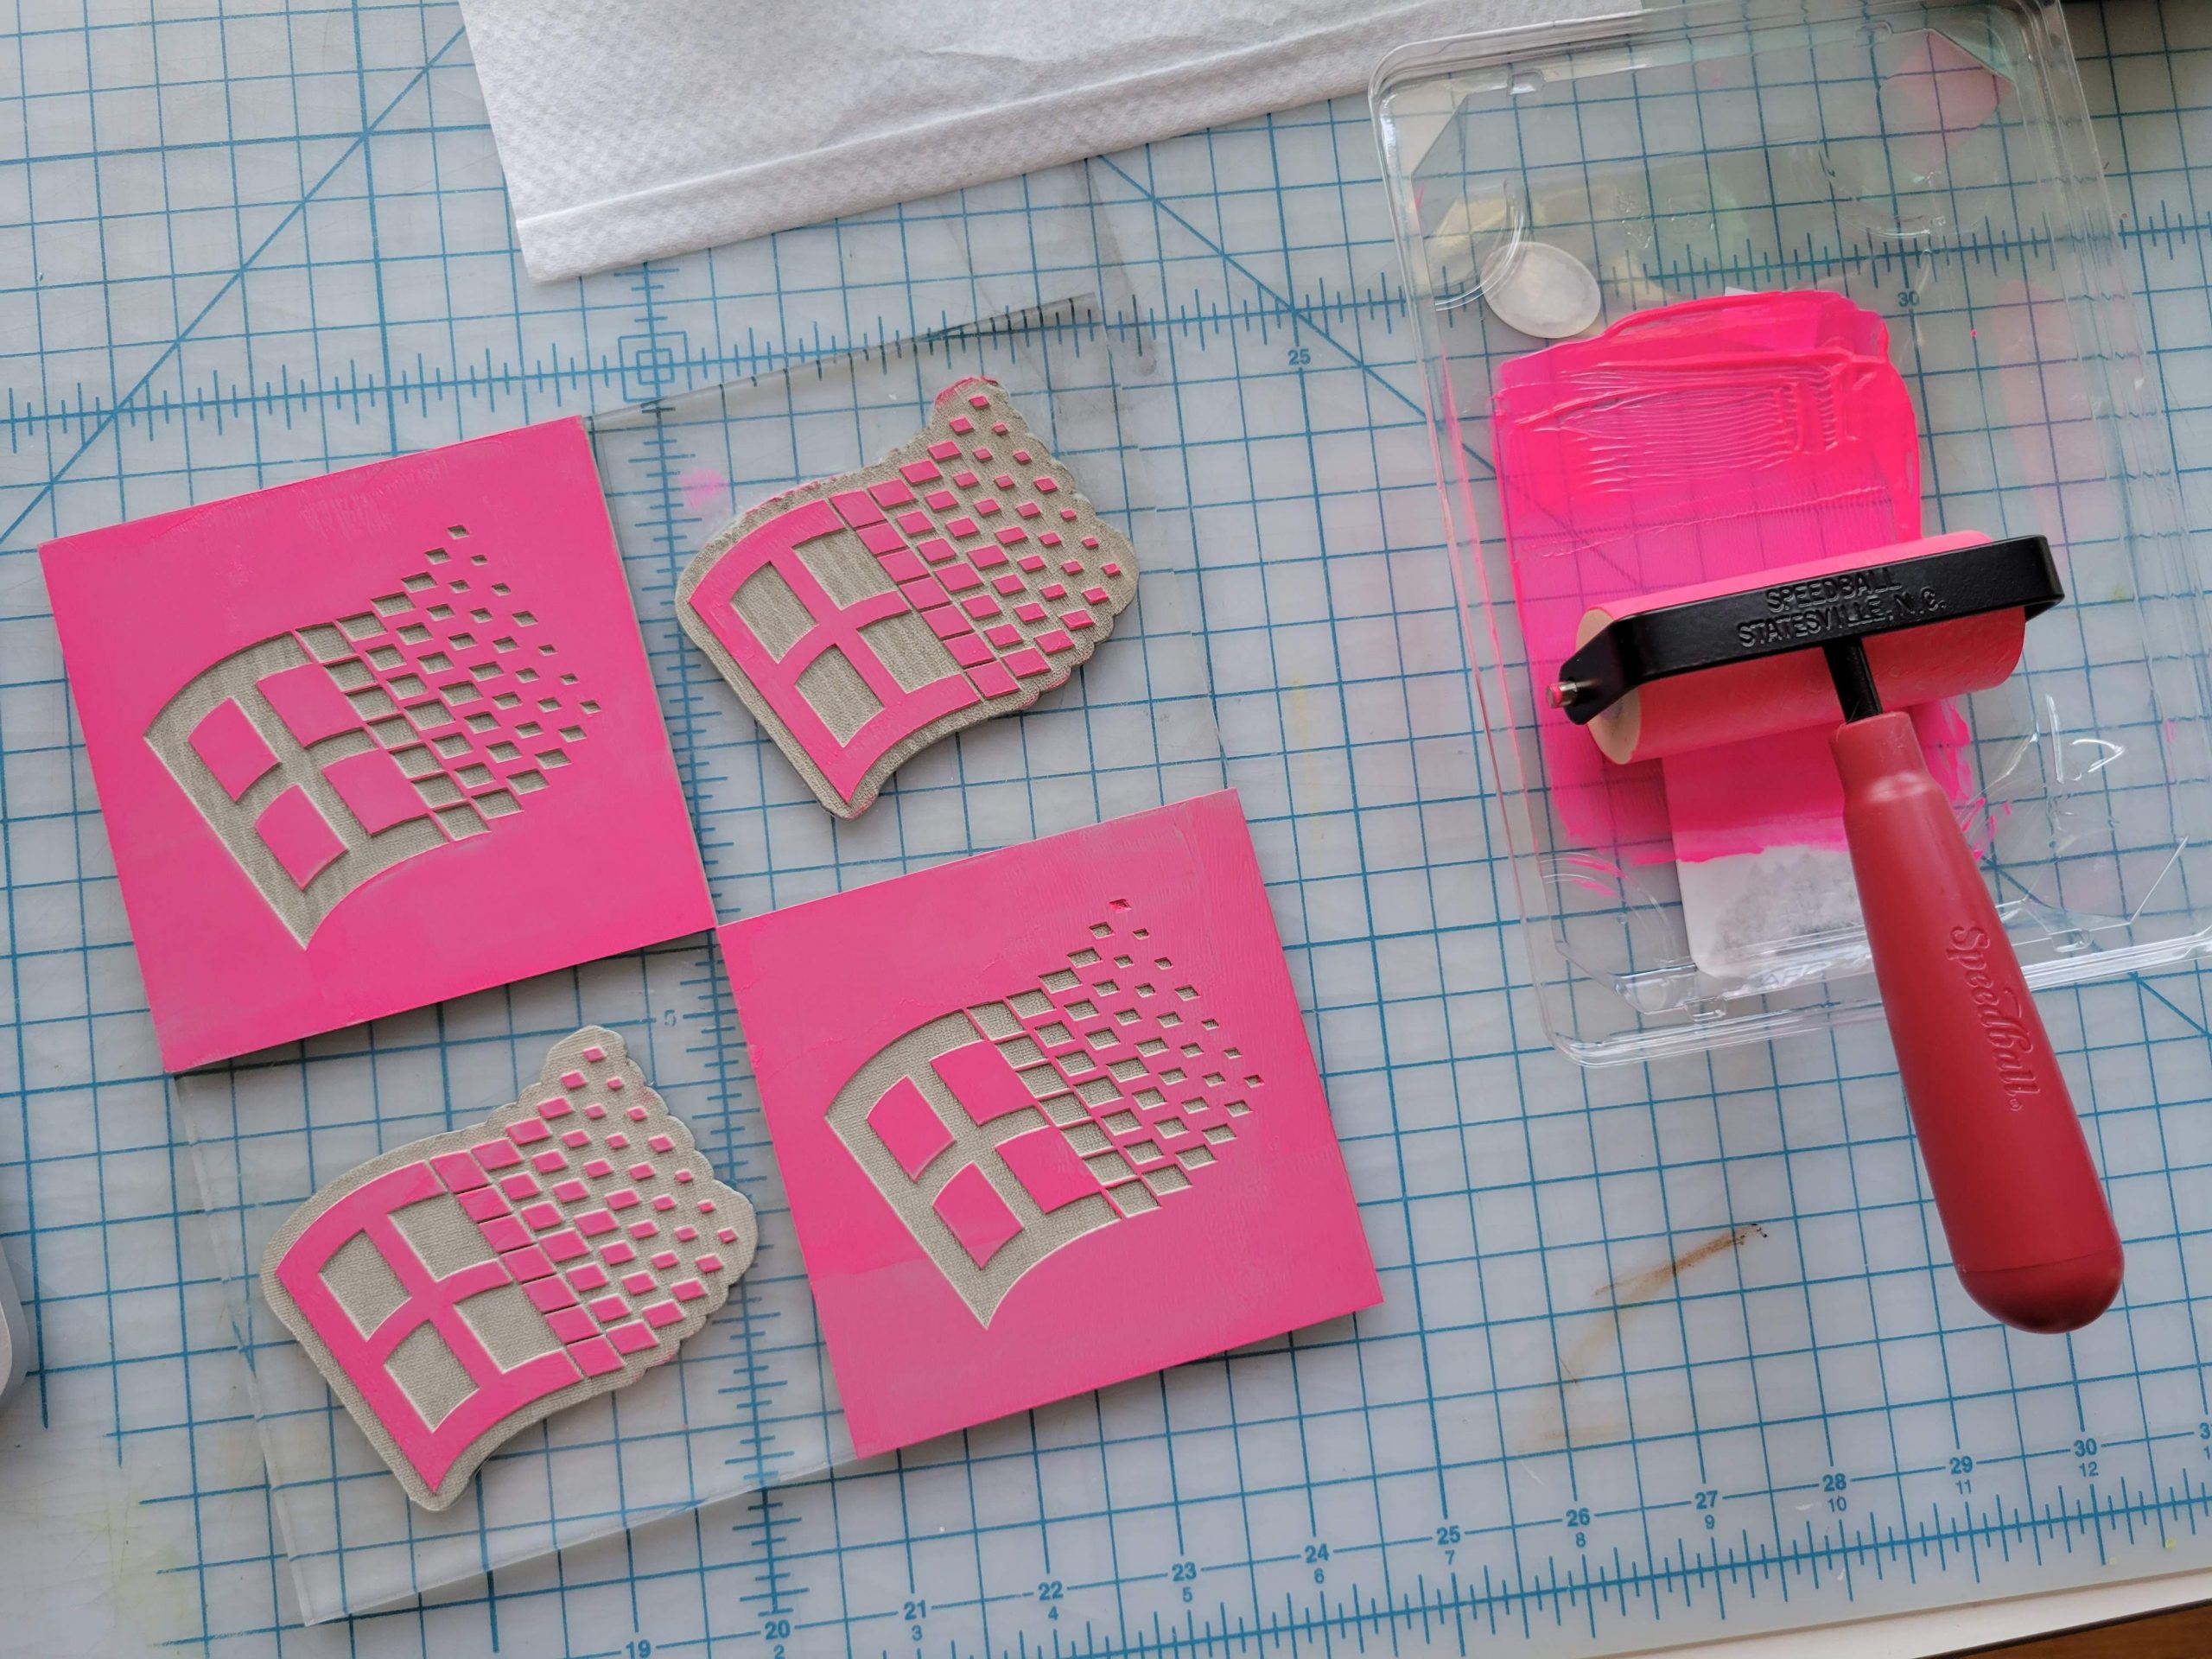
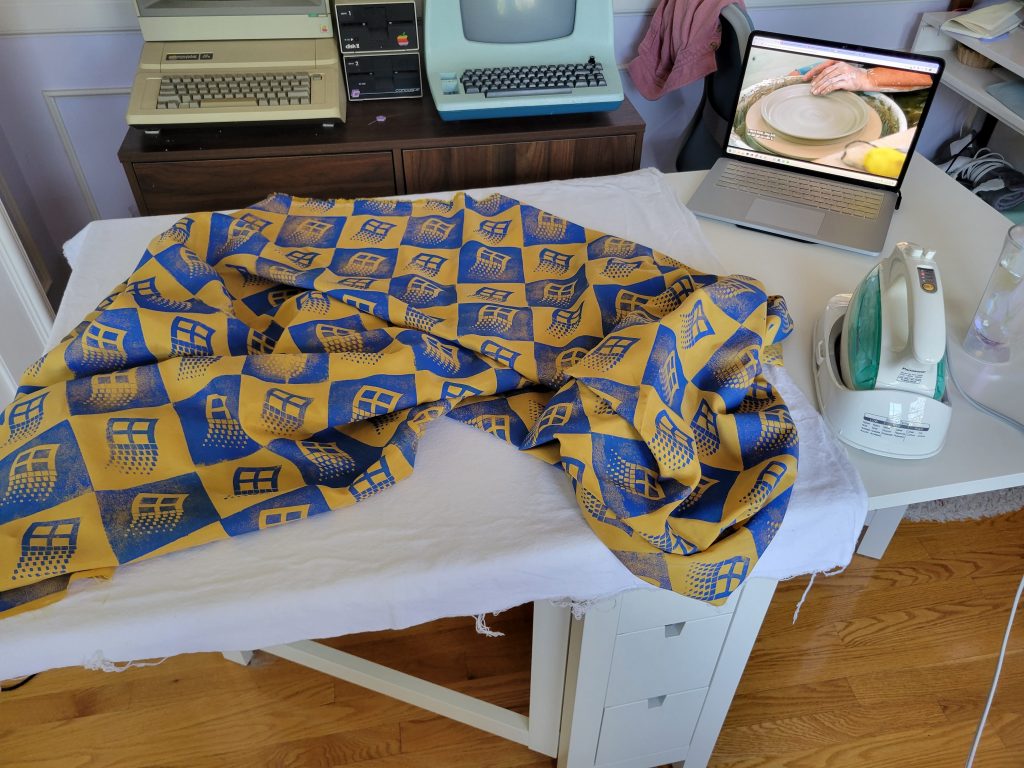
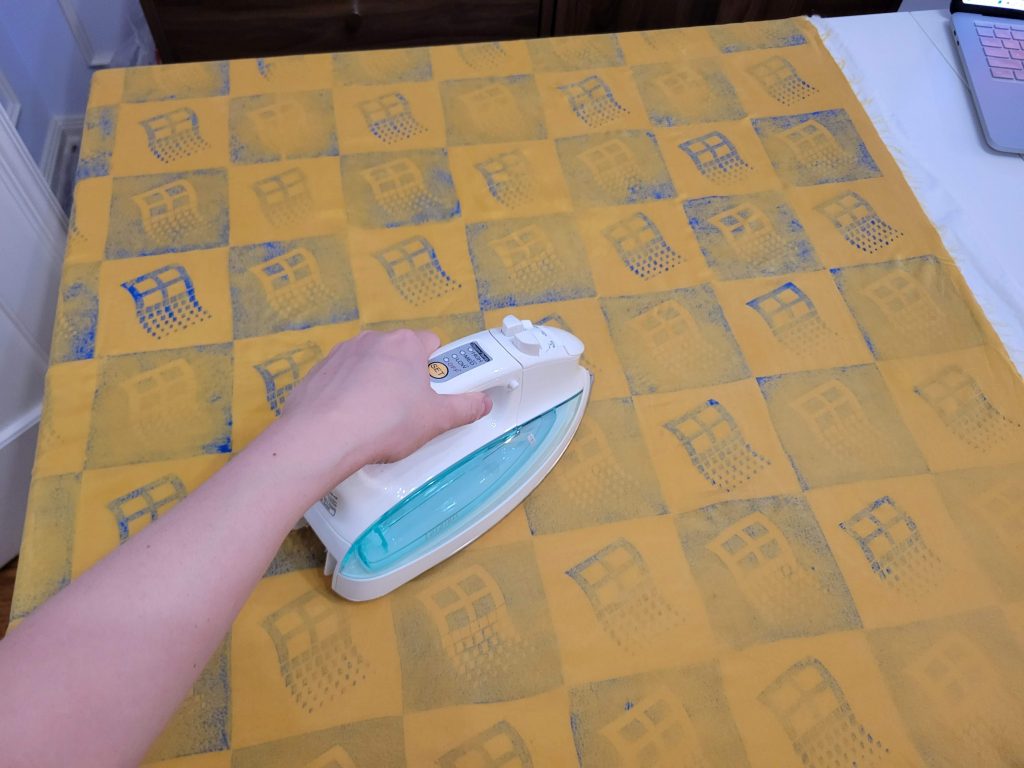
Then on Sunday, I assembled the stamp, printed the fabric, and before bed began heat setting the paint.
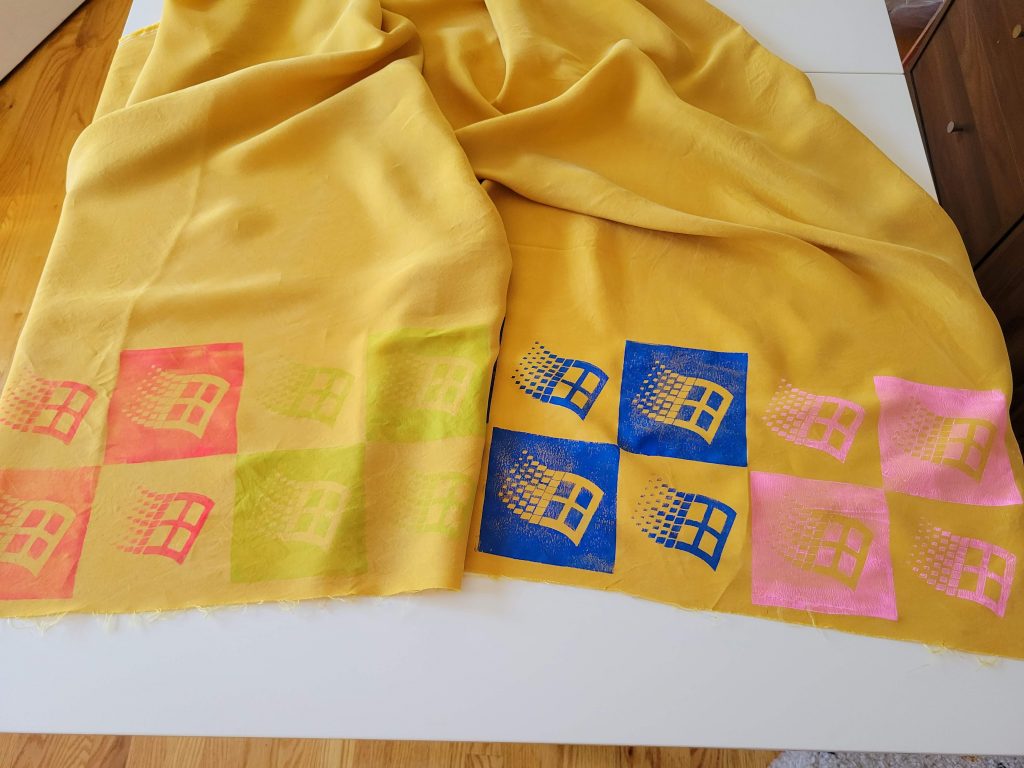
Below is the initial swatch test I did with the textile ink. I loved how vibrant it was! Sadly, in practice the stamp didn’t provide that opaque of a coverage.
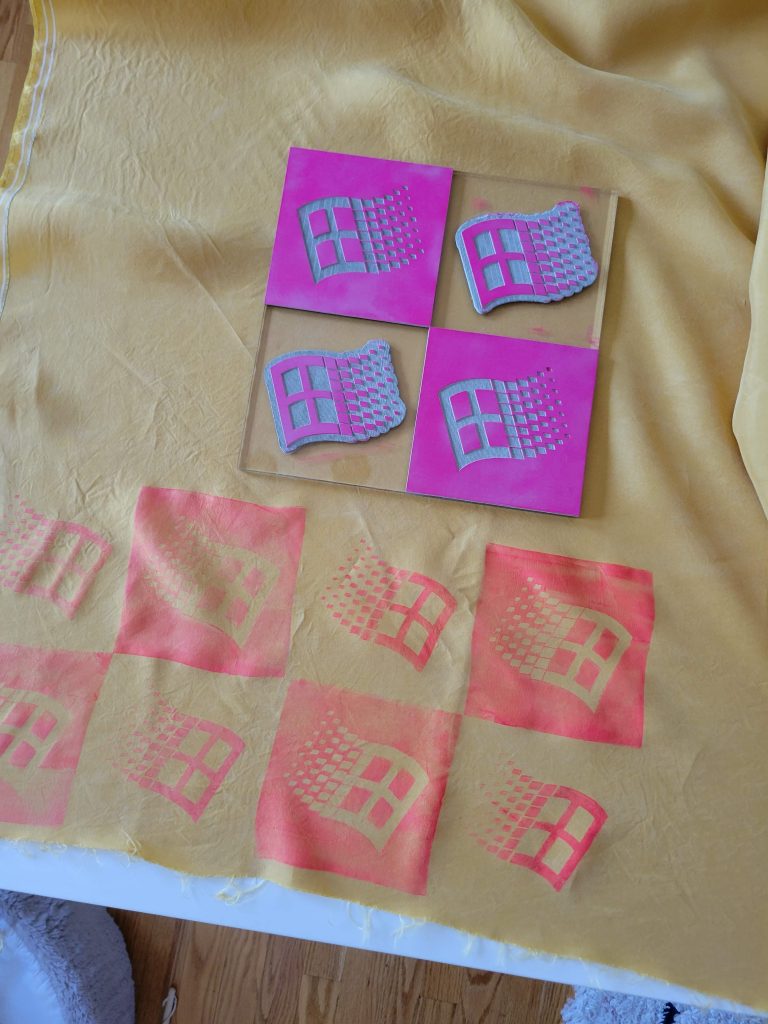
The first test stamp… I had trouble applying the paint to the stamp using the rubber brayer, and have since learned that a foam brayer works better when the paint is thinner like this.
The first imprint was way too light, so I gave the paint another try – it was slightly darker, but the design was not as vibrant or clear as I was hoping for:
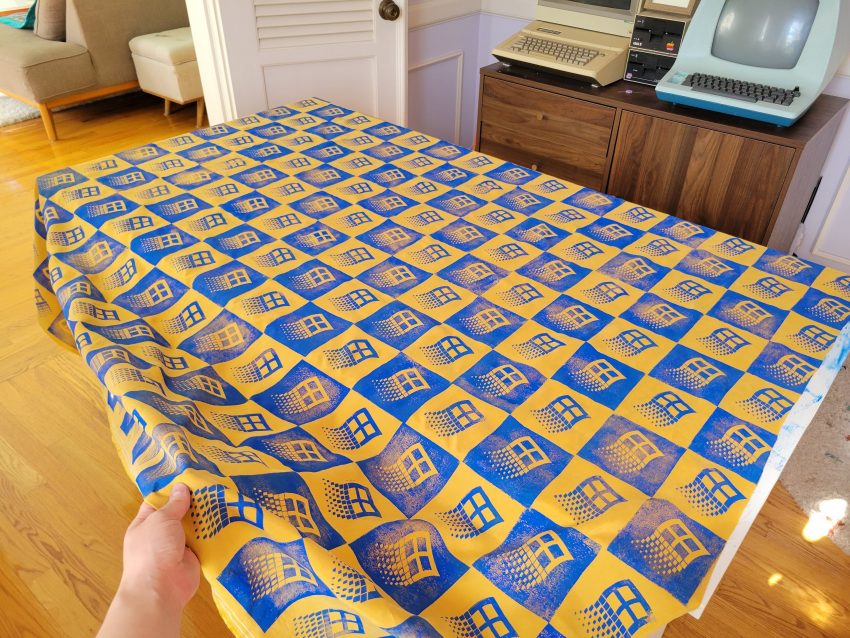
I went through my box of old screen printing ink in an attempt to find something that would pop better on the yellow fabric. The blue ended up being the winner for me, especially since the consistency (being closer to a decade old) was thicker/more viscous than the neon pink, and thus easier to apply with the brayer.
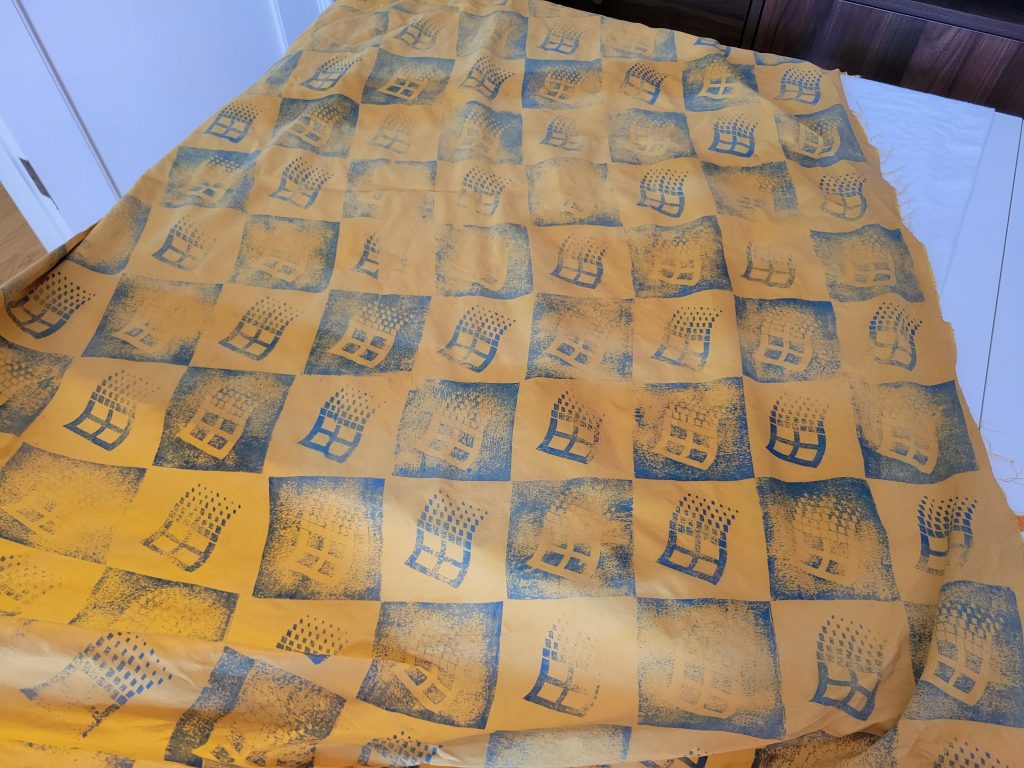
I was super please with how the design was coming out, and also pleasantly surprised that it wasn’t as time-consuming as I worried it would be.
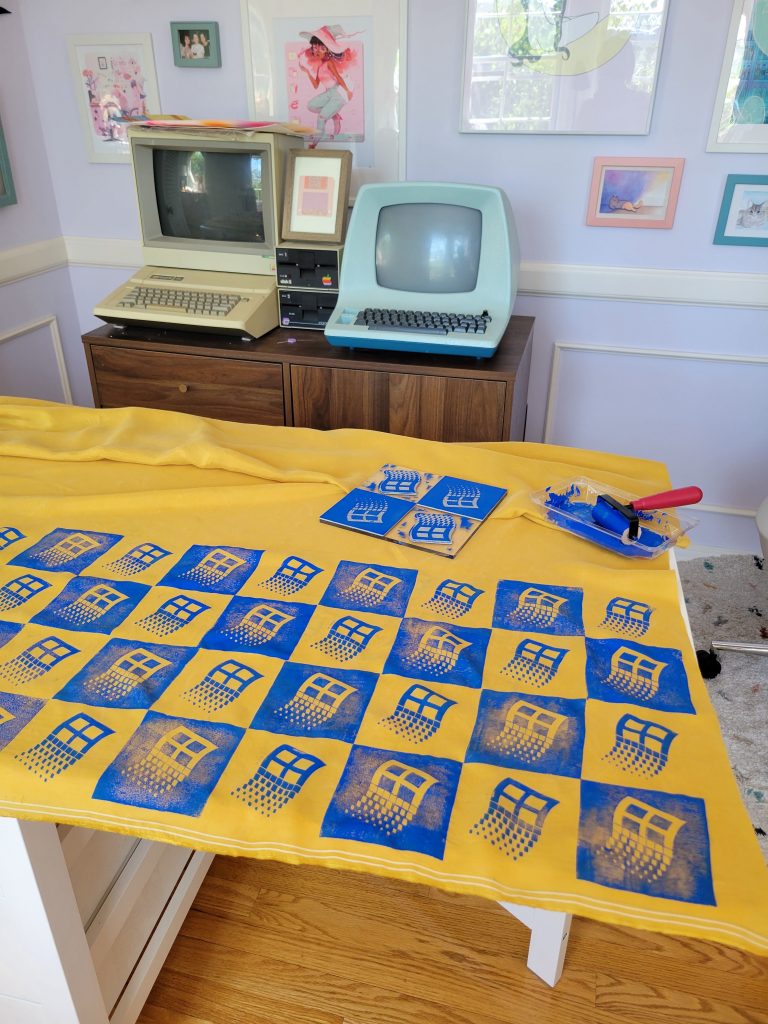
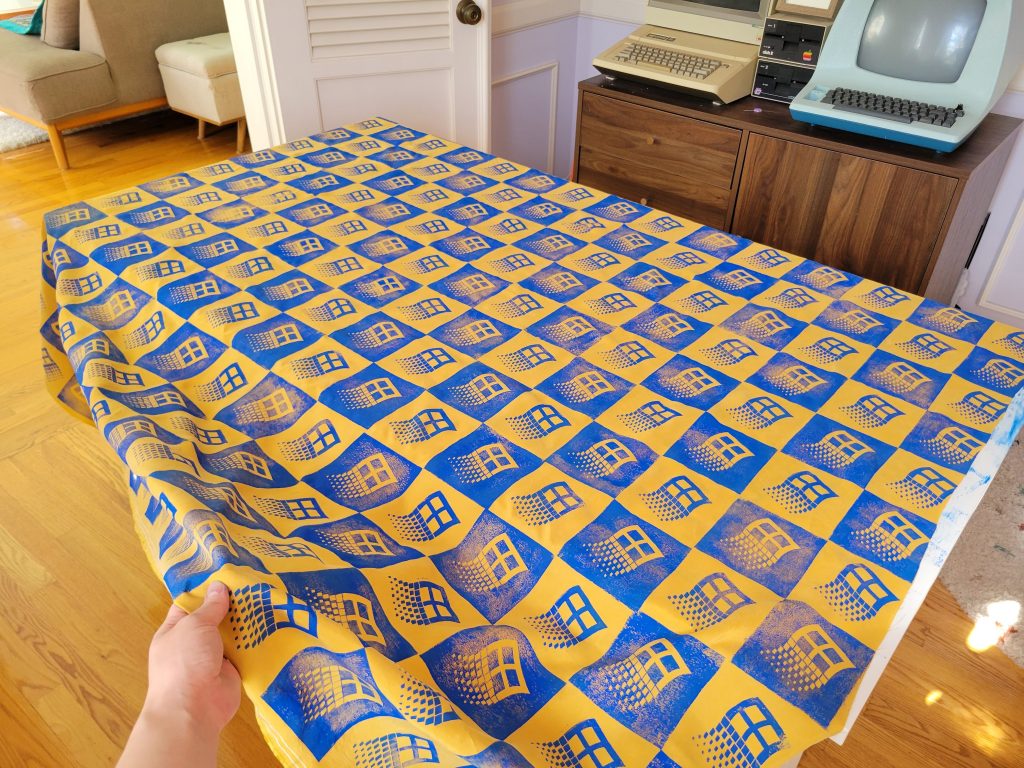
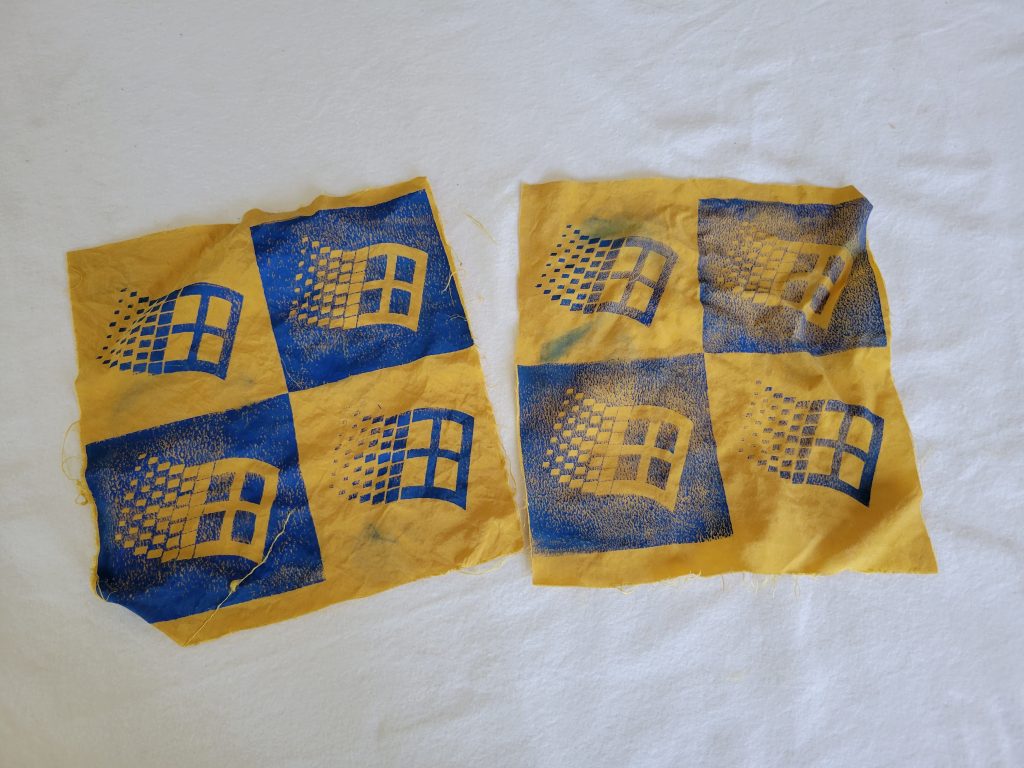
After I covered the entire piece (about 1.5 meters), I let it dry flat on the table. And then that evening, I began to heat set it. Heat setting with an iron is one of my least favorite things to – it’s so time consuming! Below are the swatches I quickly tested with though (left was ironed, the one on the right was not, and then I hand-washed both), and at the time it convinced me that I’d be properly setting the paint (now however, I think what I really did was just set the outer layer of paint)…
I ironed both the front and back in 6 sections each, with roughly 15 minutes per section. I only managed to do the back on Sunday night, then finished up the rest on Monday morning.
After finishing up with the heat setting on Monday, it was time to see if my efforts paid off. I figured I’d test wash before sewing anything (in case the print completely washed out) which turned out to be a really smart idea haha.
And…. a lot of the print came out! 🥲
It wasn’t the bright, bold pattern I was originally going for, but I decided I didn’t want to waste the fabric and cut the dress pattern pieces out of the most vibrant sections that were left. I think it still works, but I’m not sure distressed is as much my style. I’ll see how I feel after a few wears haha.
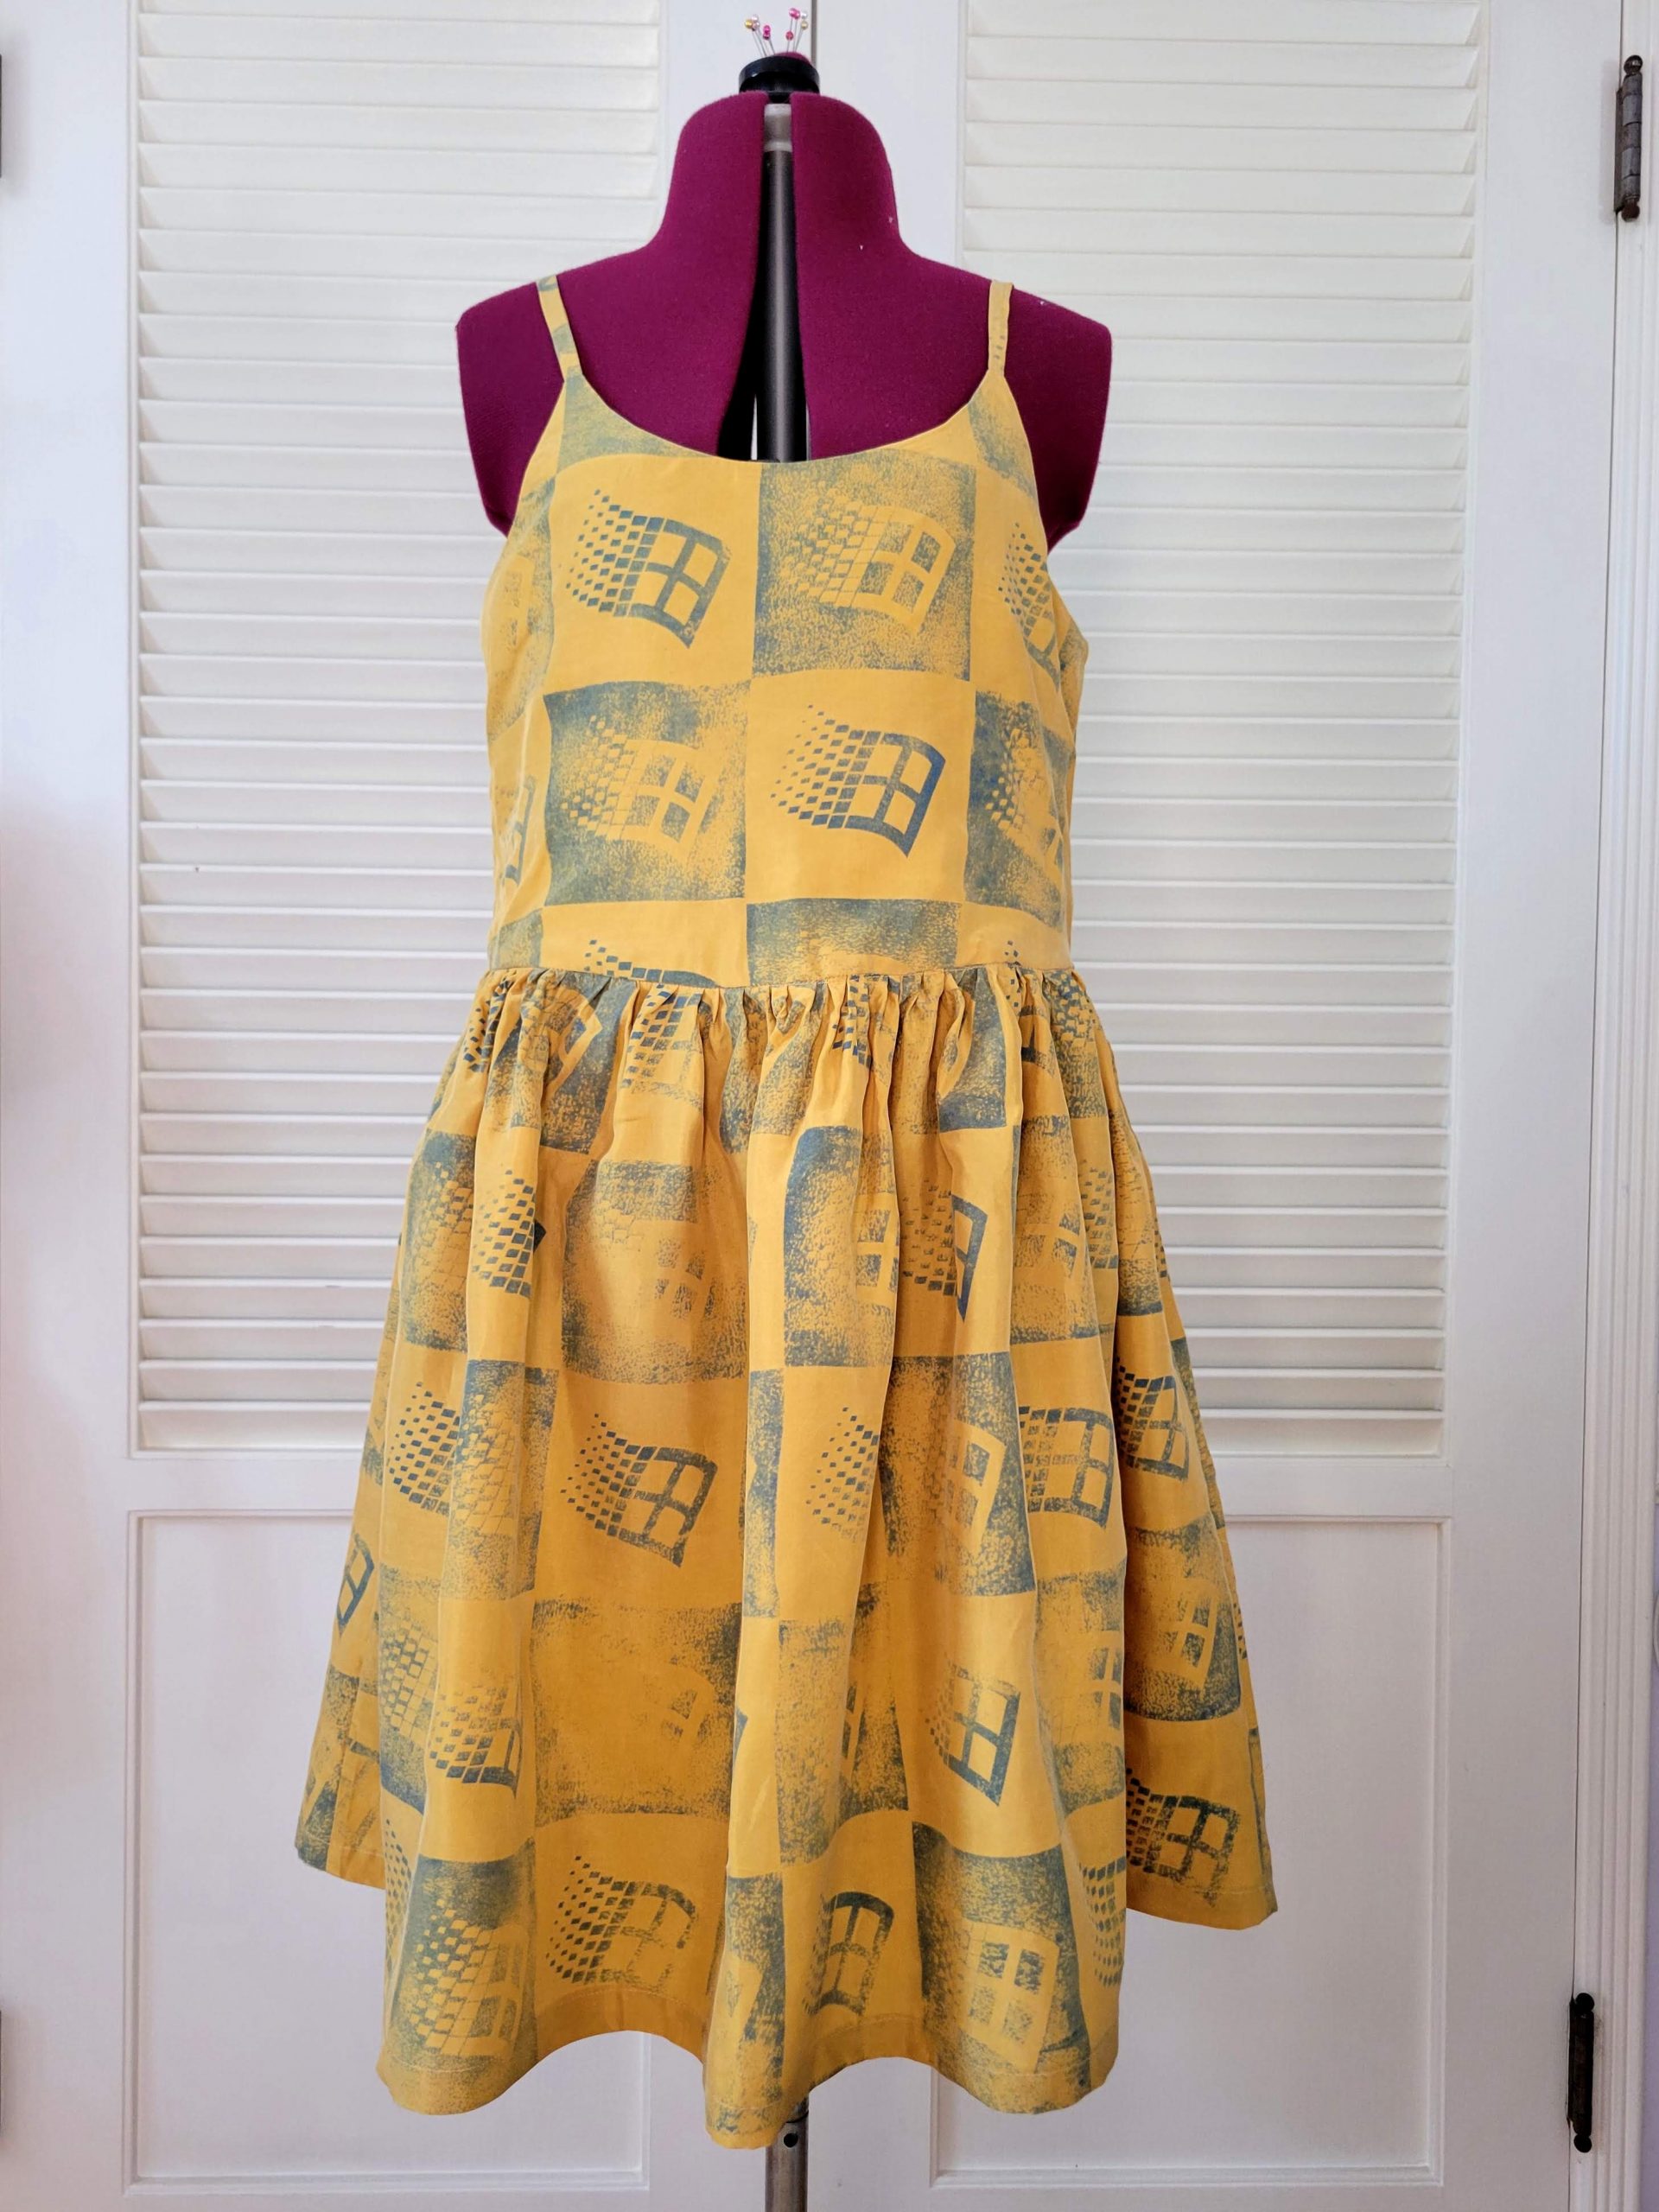
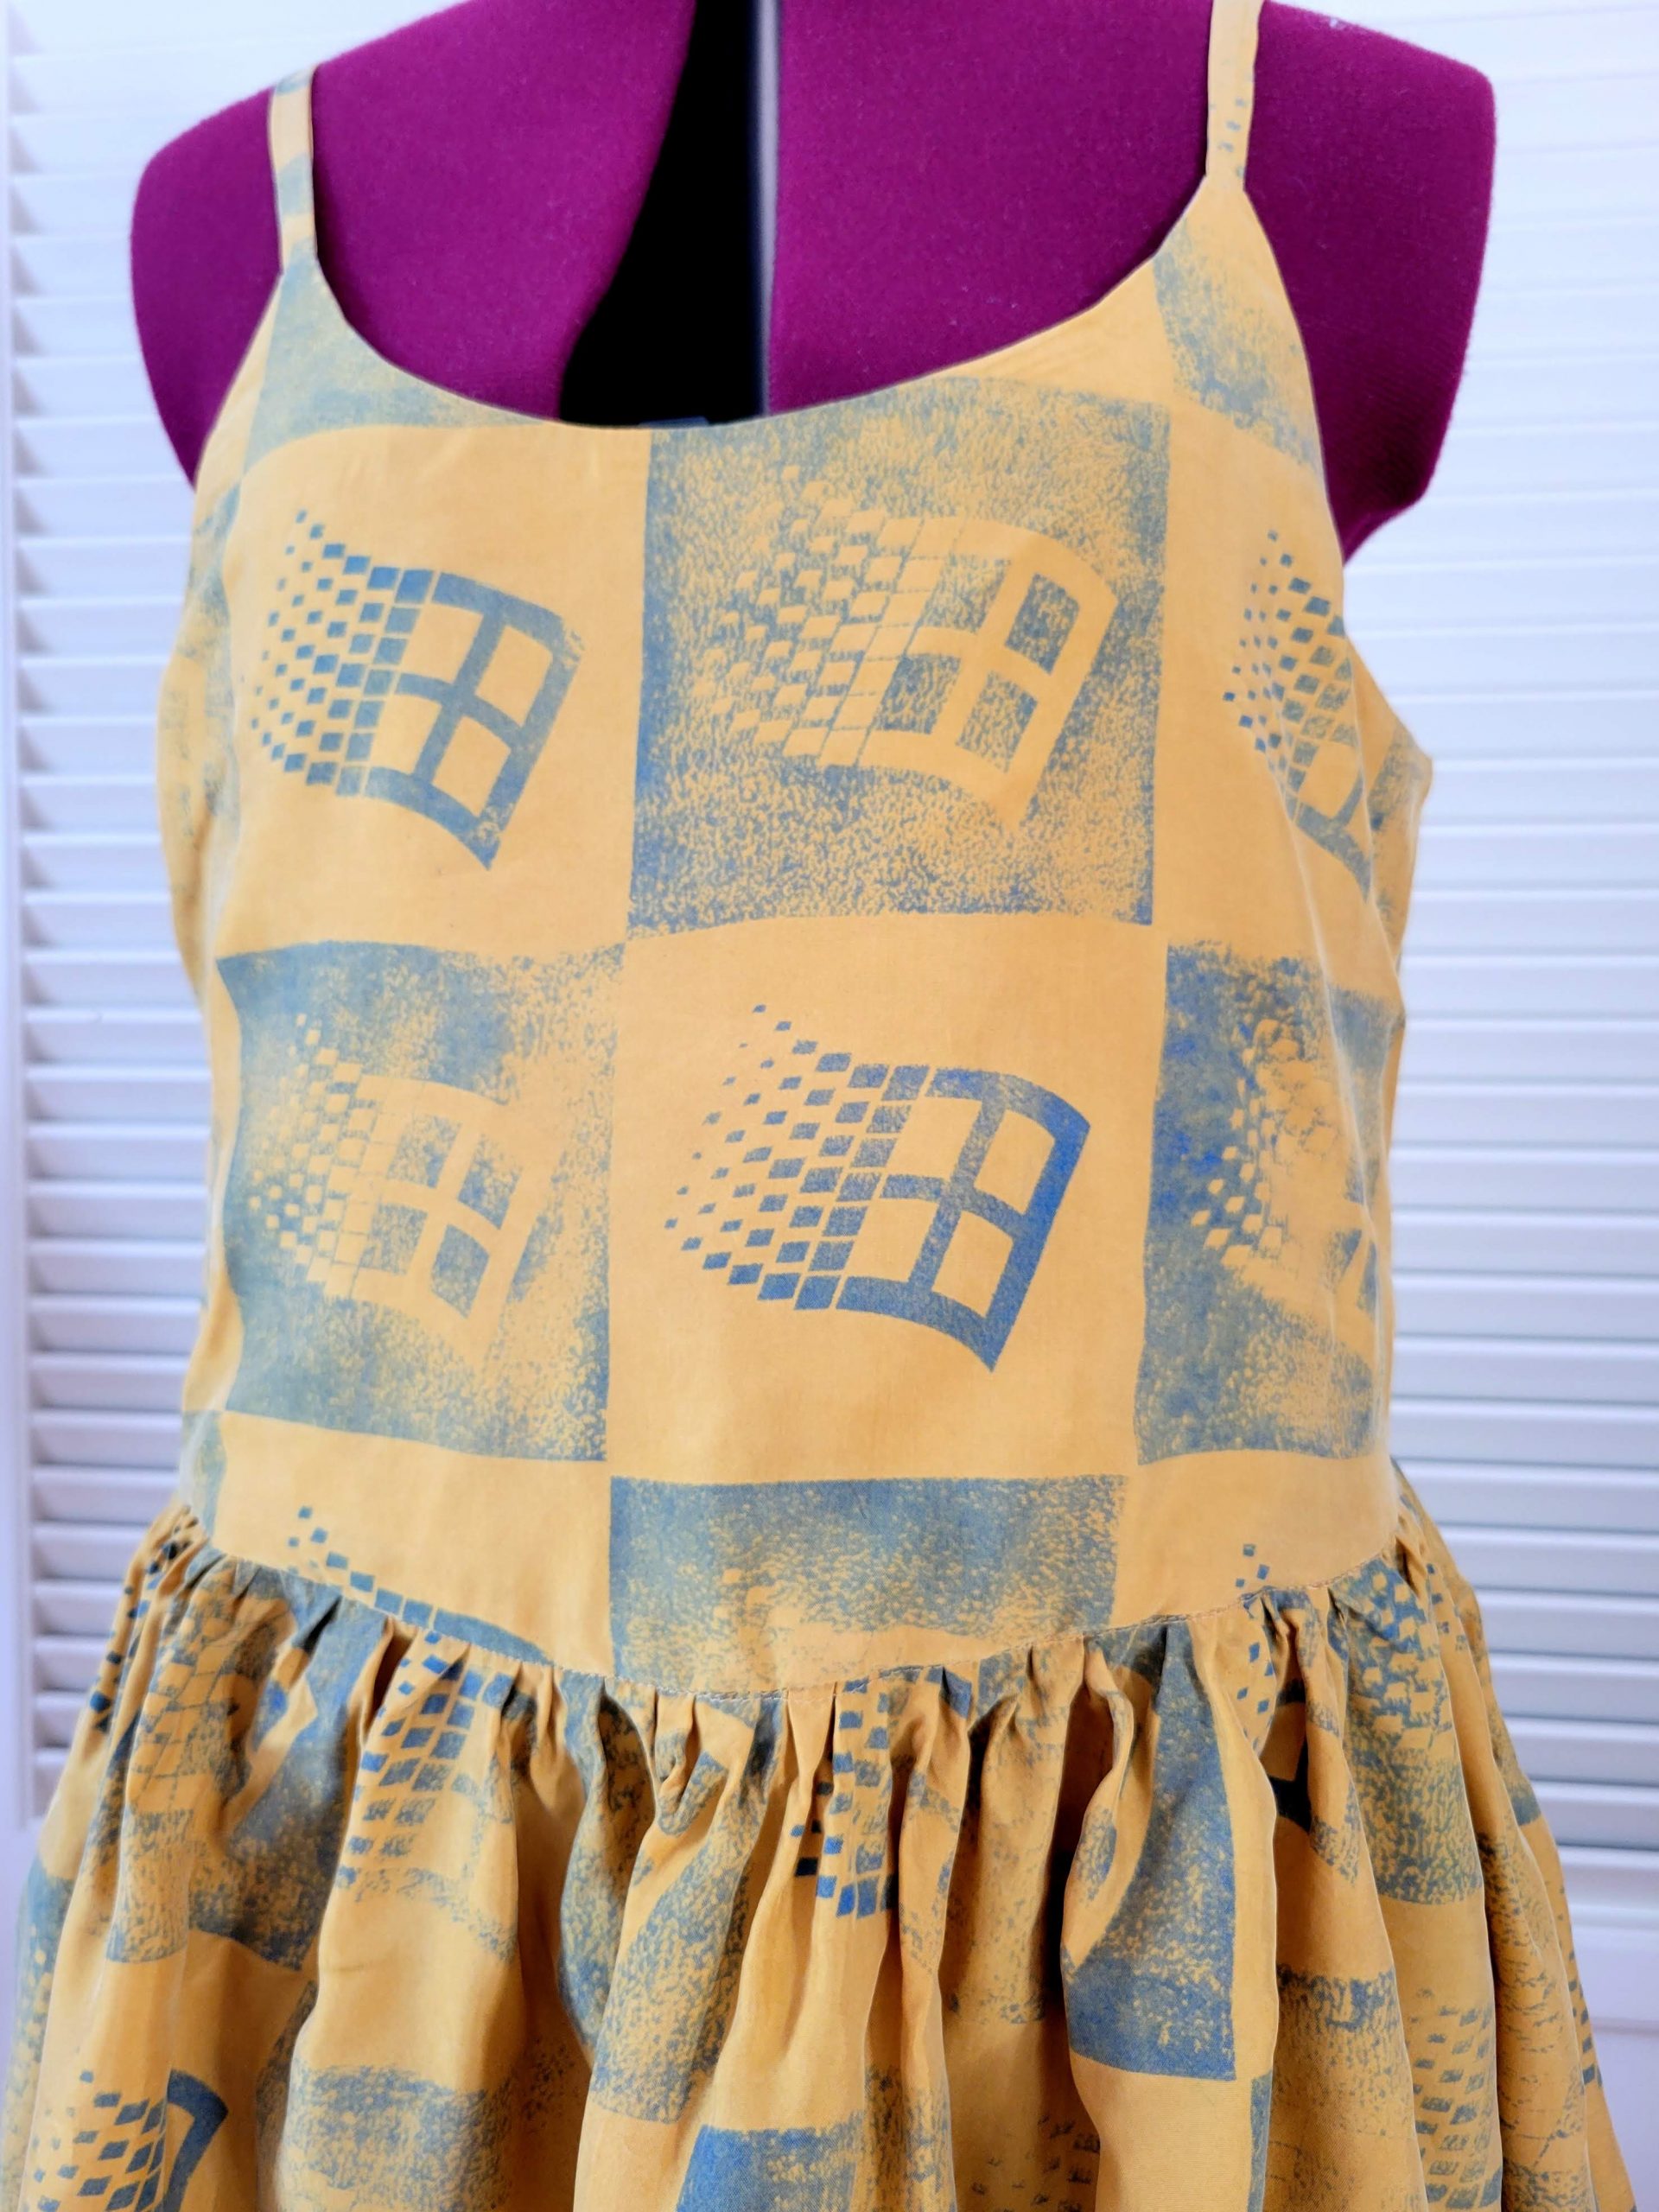
Next time I try block printing fabric, I’ll be using a linen rather than this Sandwashed Cupro Blend from Blackbird Fabrics. I absolutely love the feel and drape of this cupro, but I the fact that it isn’t supposed to take high heat made me wary of being too agressive with the heat setting.
I’ll also try and be more patient and let the paint sit for 5-7 days before heat setting, as advised by a friend. 😂