I used my Eowyn cosplay as an excuse to finally invest in a pair of nice, leather costume boots. I wanted a pair that was generic enough to work for multiple cosplays (Tauriel from the Hobbit was top of mind), as well as any costume I might want to wear to the renaissance faire. At the beginning of this year I found the perfect pair – the Forest Boots by Armstreet.
The best part about Armstreet is that they custom make the boots to your exact measurements (they even have a whole video guide on how to properly take all of the measurements). The only thing that isn’t customizable is the height of the boot. I don’t think this is an issue for most people, but I had a hunch that an average calf-length boot might be too tall for my very short legs. And I was right! 😂 But I was prepared for this scenario, and hoped that it wouldn’t be too difficult to alter them to be shorter. 🙂
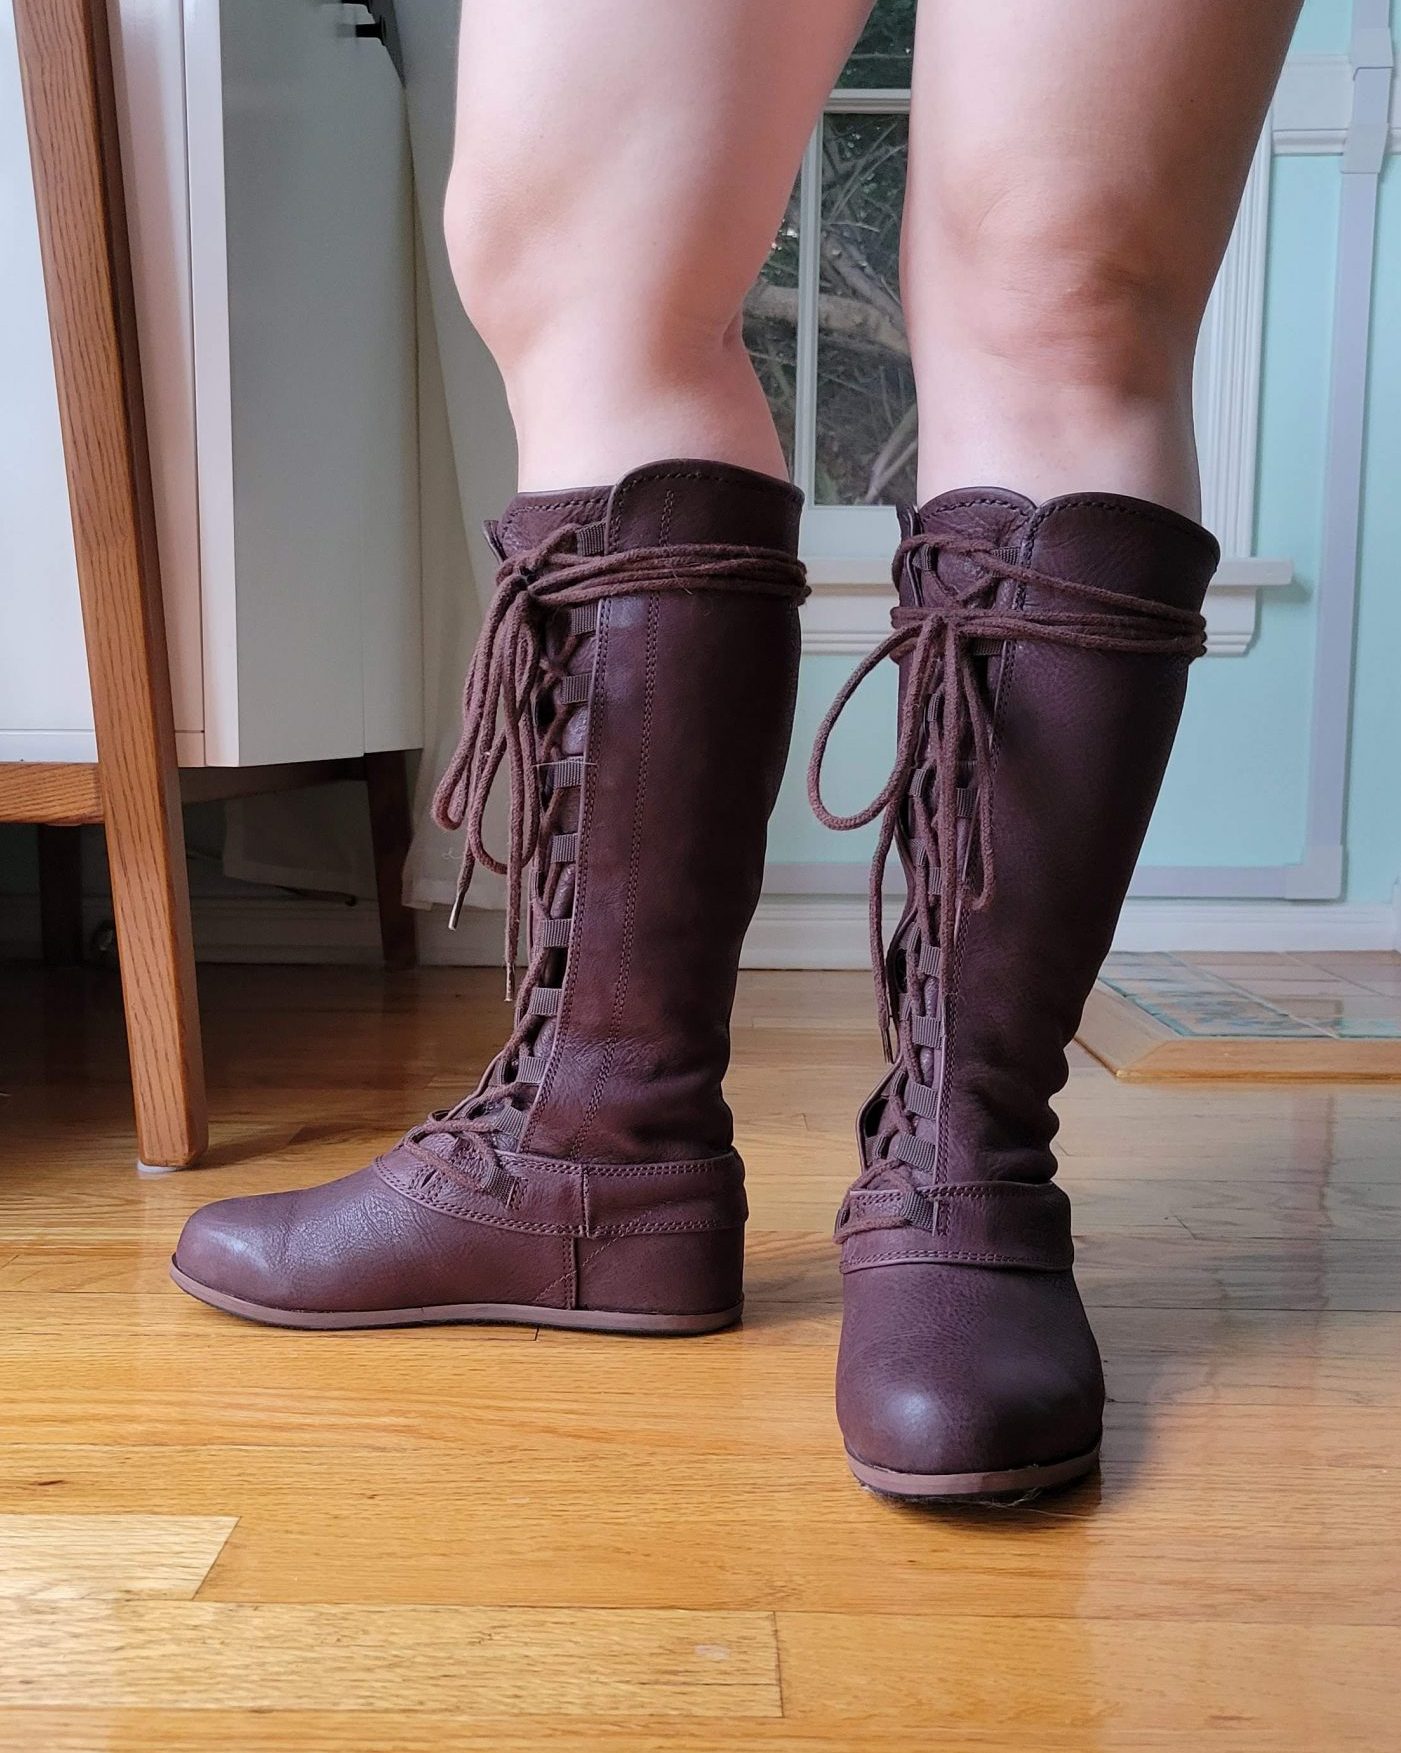
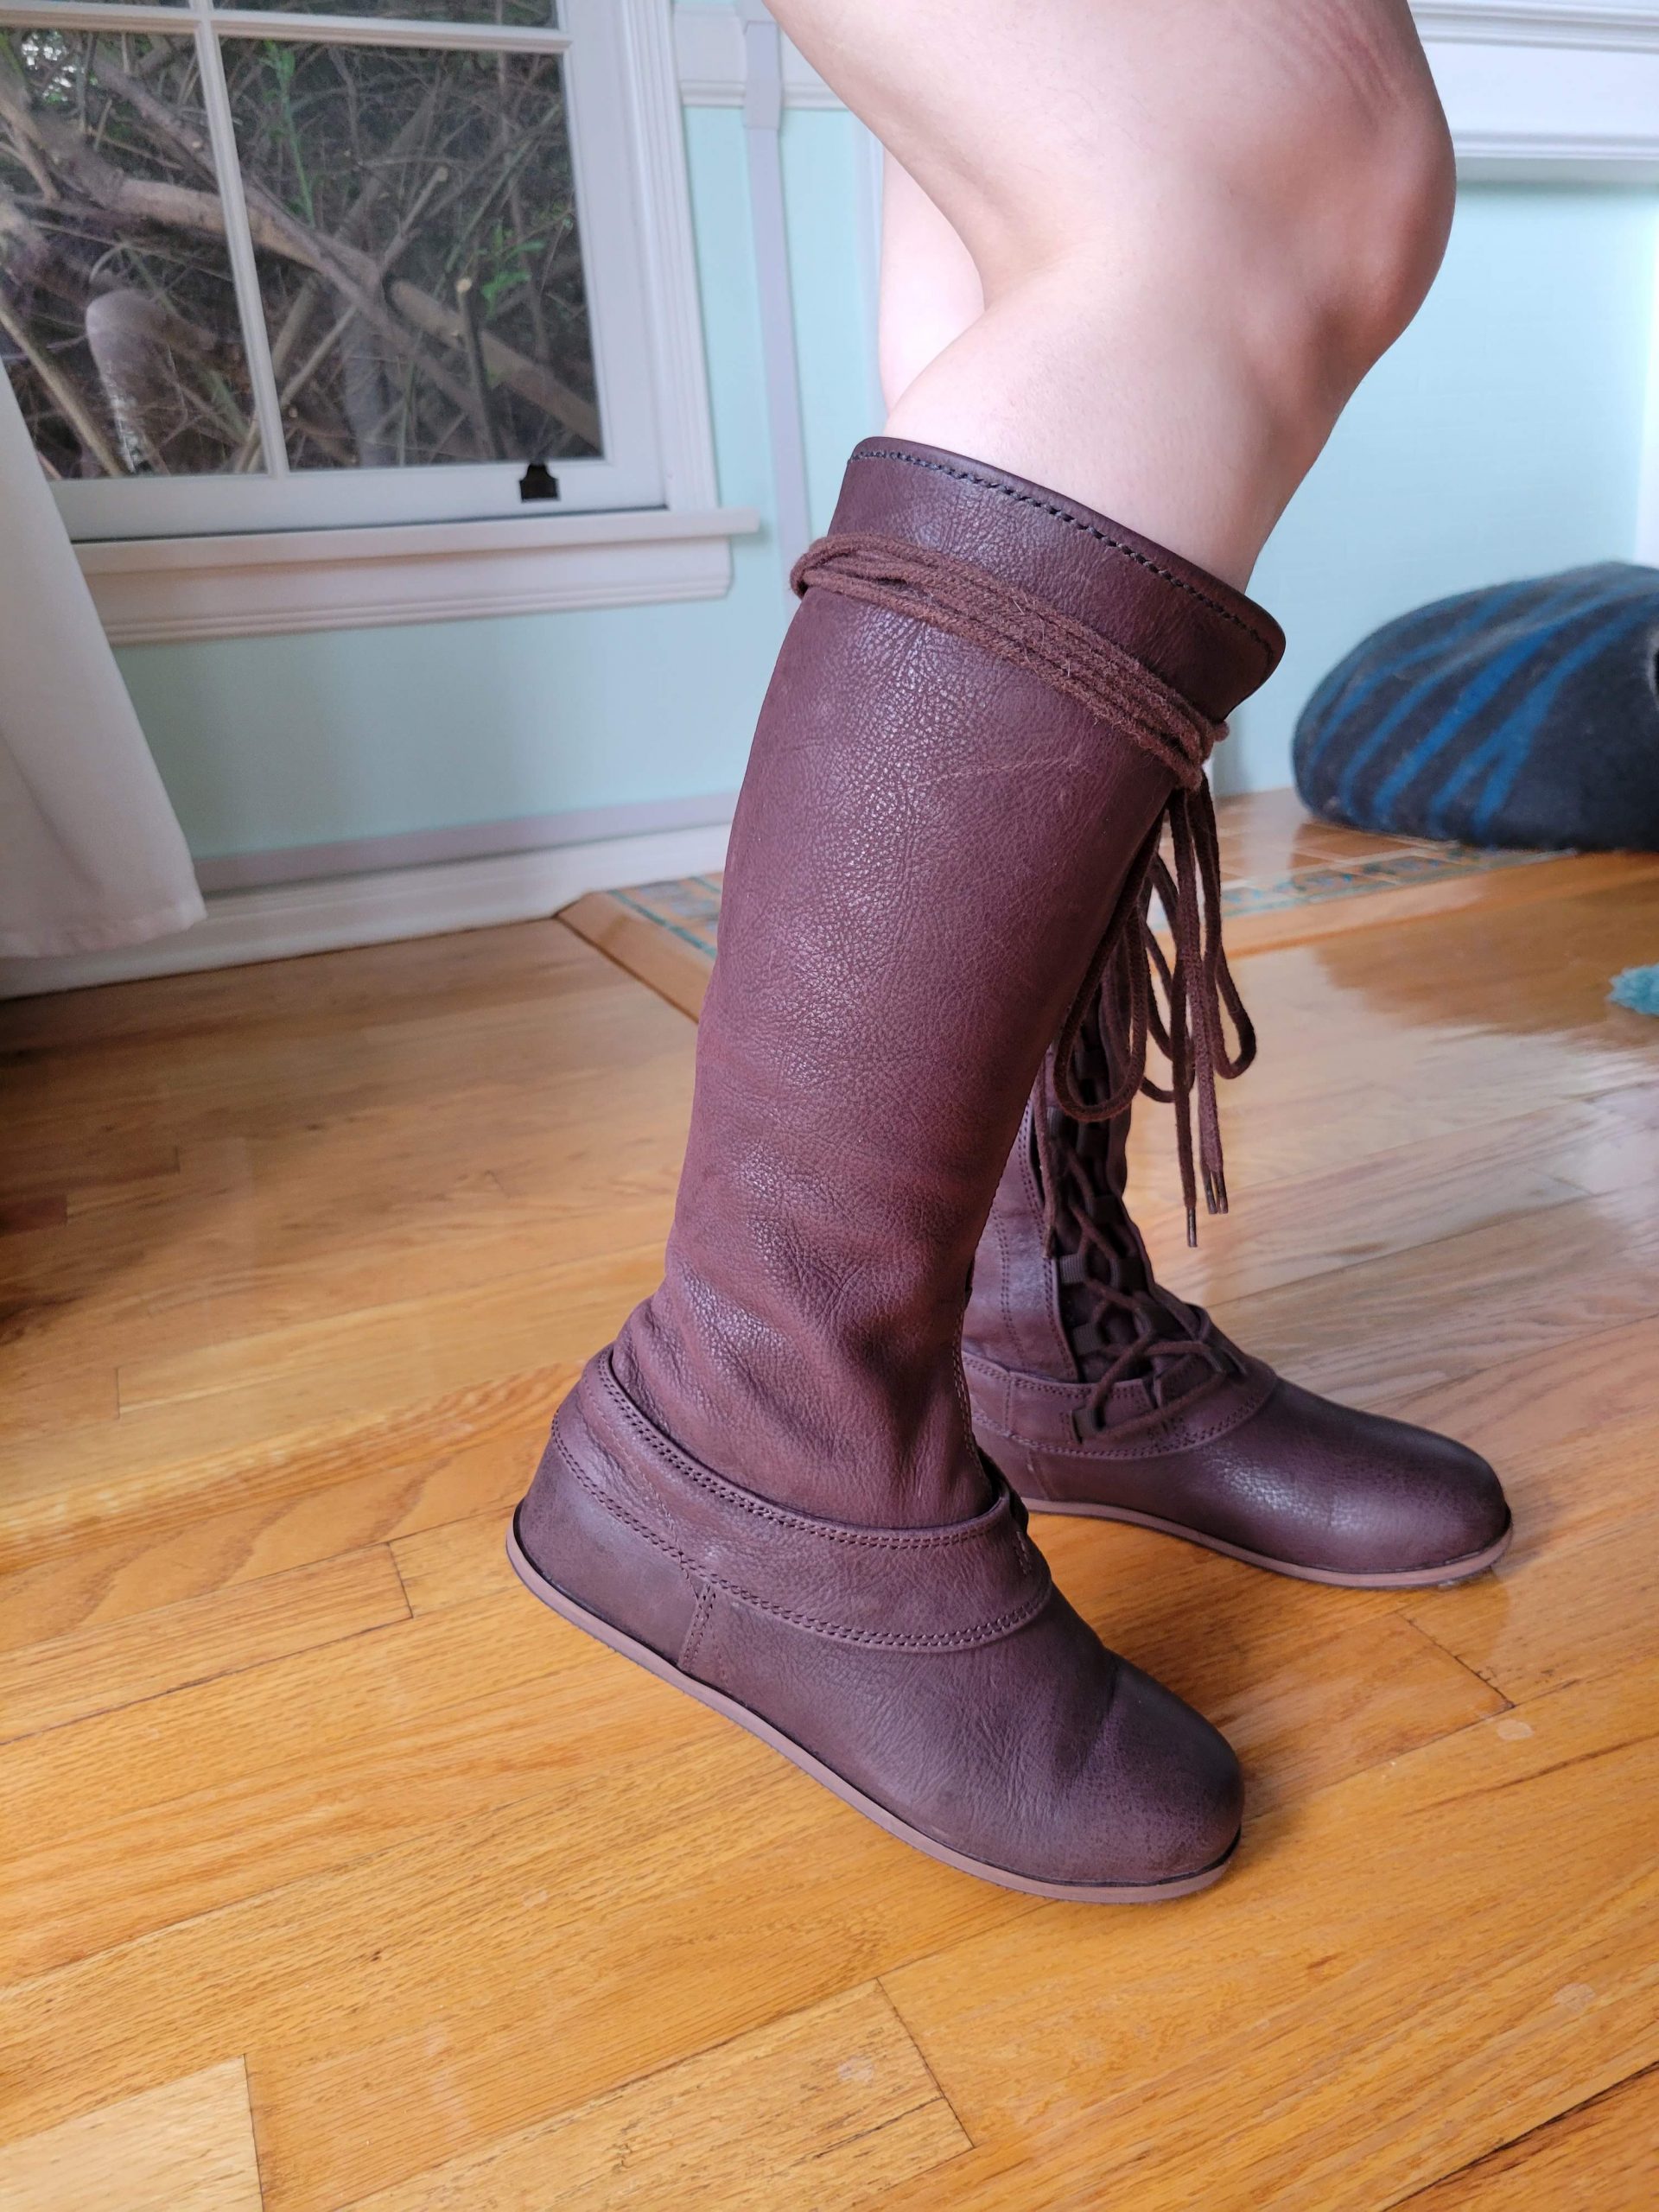
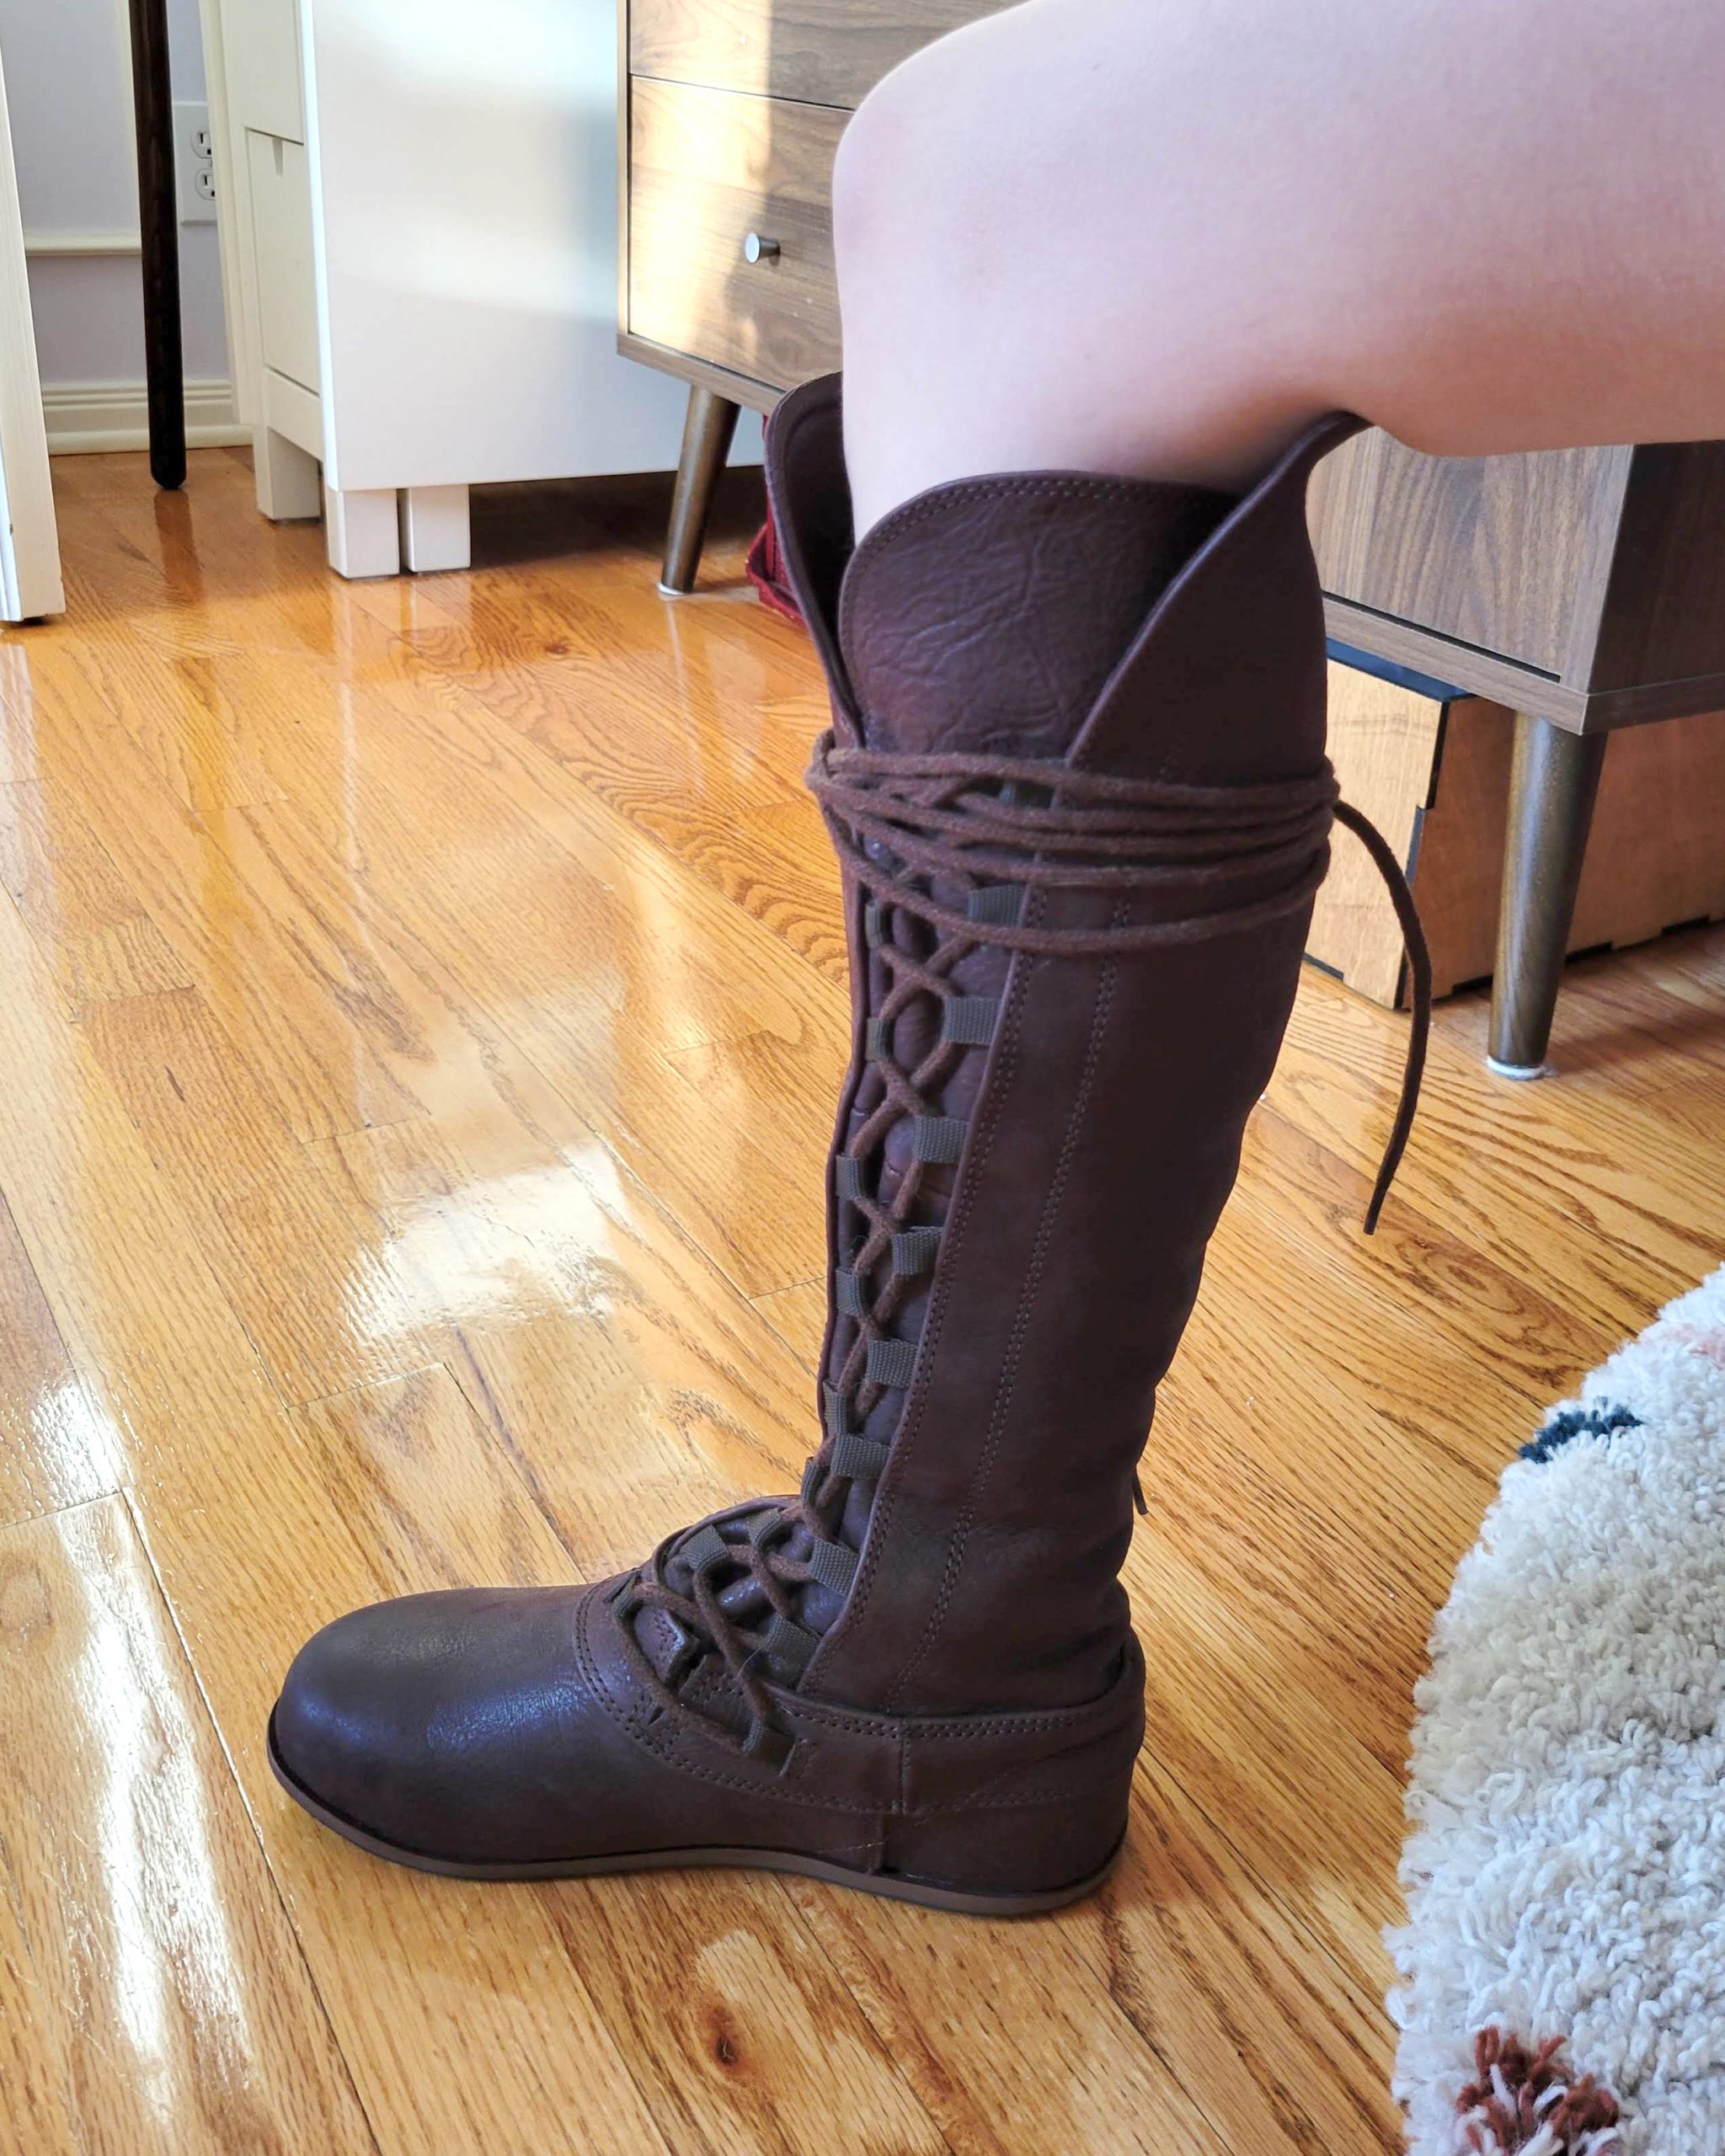
The boots were overall an amazing fit – you can just see in the photo below that the height made it so that I couldn’t properly bend my leg haha (this is a problem I’d probably get trying to buy any calf-length boot).
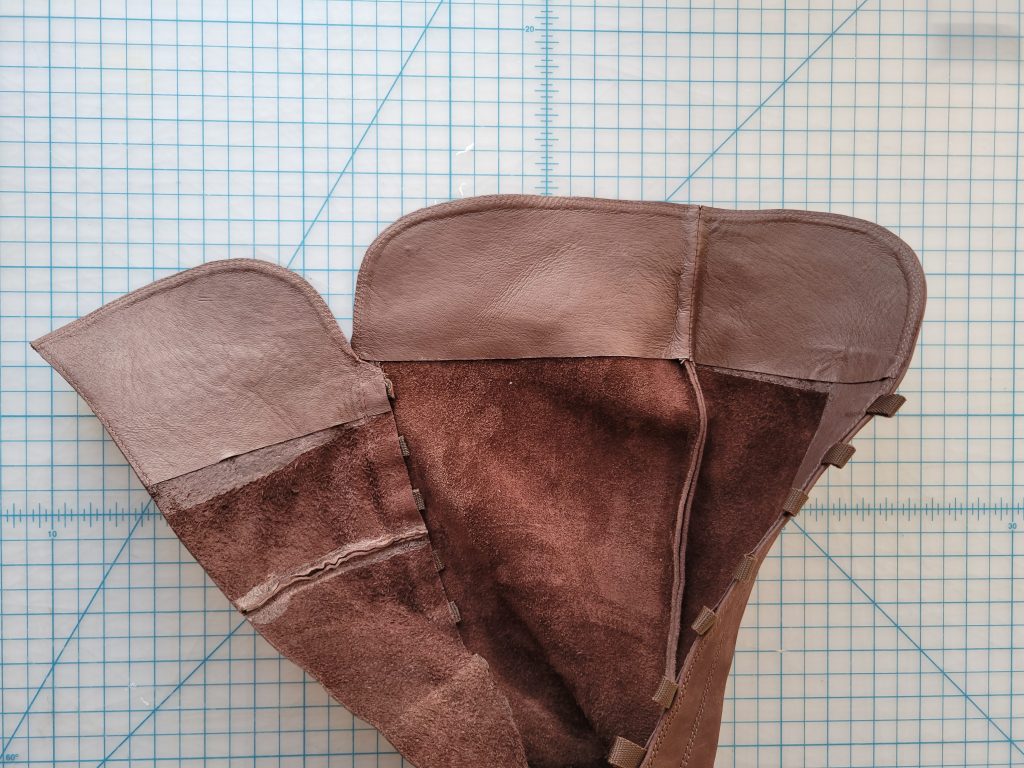
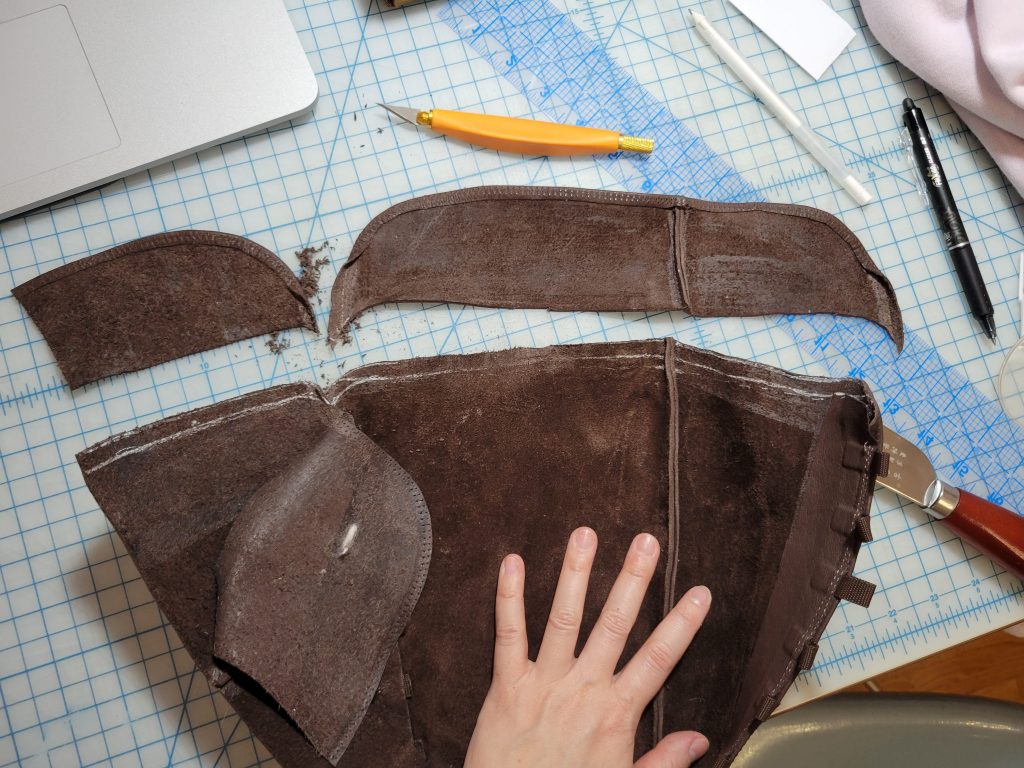
I ordered a few basic leather working supplies and then got to work. This is what the inside of the boots looked like before I started the alteration:
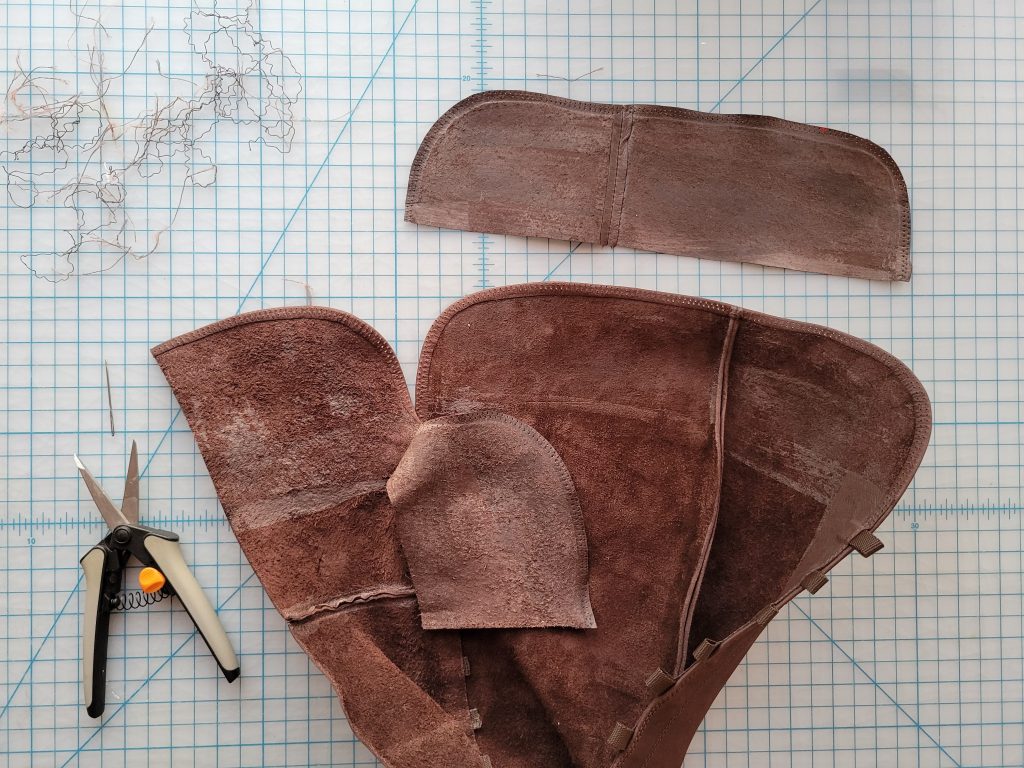
First, I removed the thin leather linings from the tops of the boots:
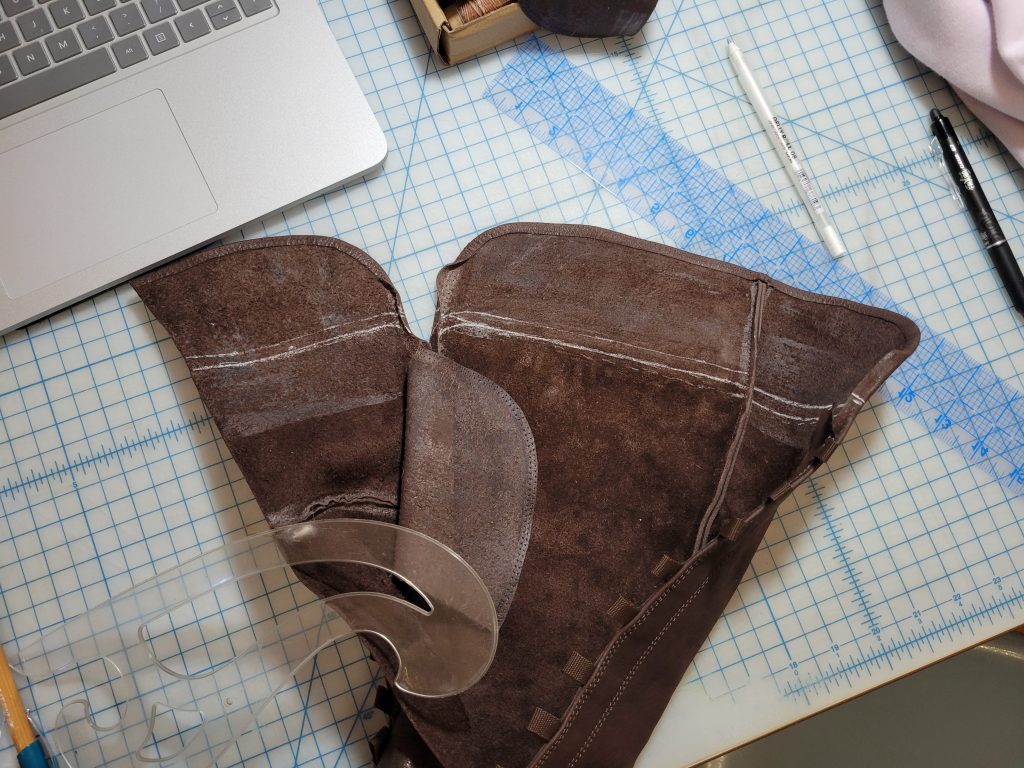
After that, I put the boots back on, and with the help of a mirror started marking the shortened length I wanted. Below you can see the height I wanted (bottom white line), and a cutting line (top white line) that allowed for extra leather to fold down, so that I wouldn’t have a raw edge at the top. Then I cut away the extra leather and hoped for the best! 😬
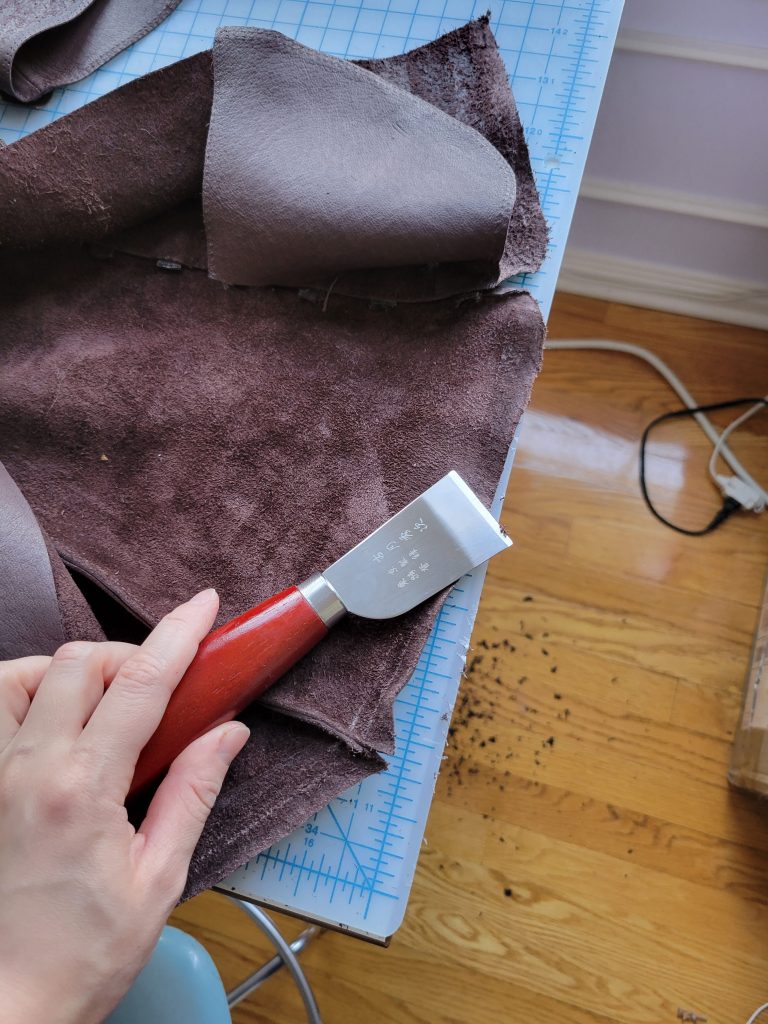
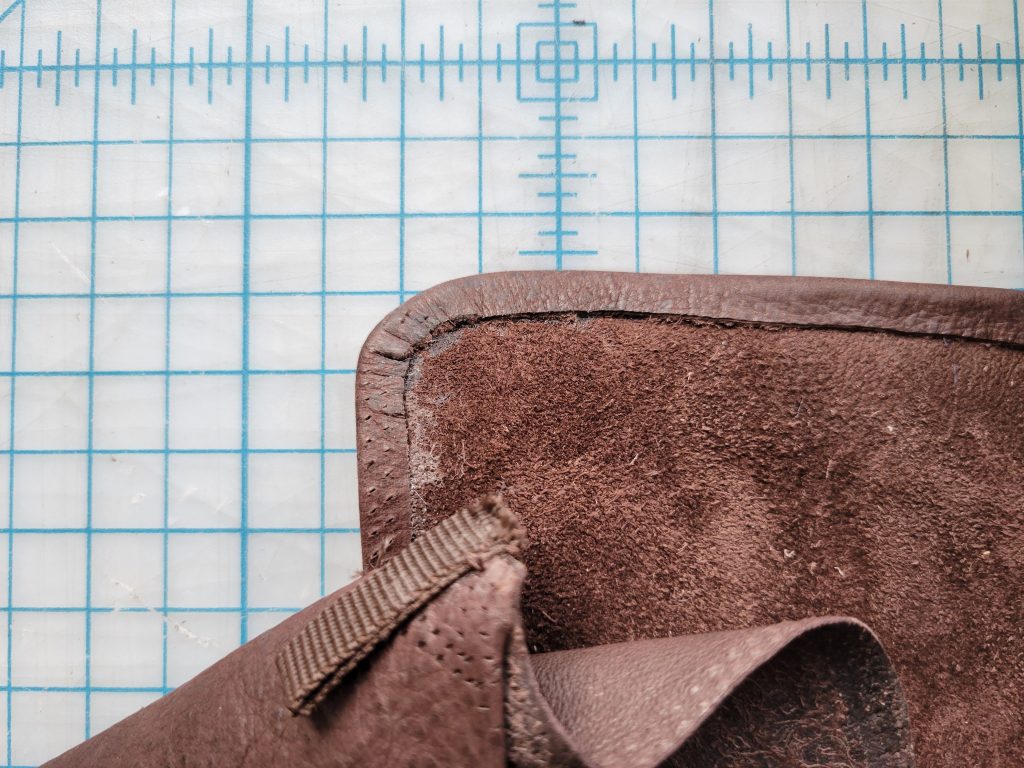
After I marked and cut both boots, I started shaving away some of the leather at the tops of the boot with a leather skiver, so that there would be less bulk when I folded the edge over:
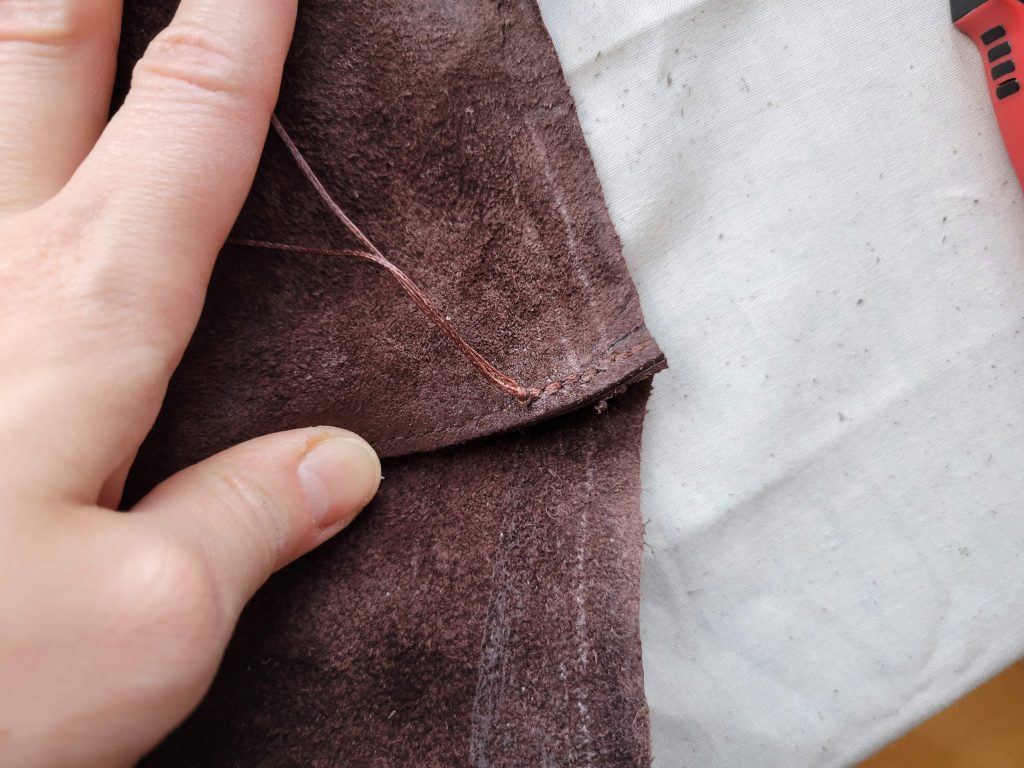
After shaving the edges, I added some stitching to reinforce the vertical seam at the top of the boot, since it was weakened when I cut the tops off:
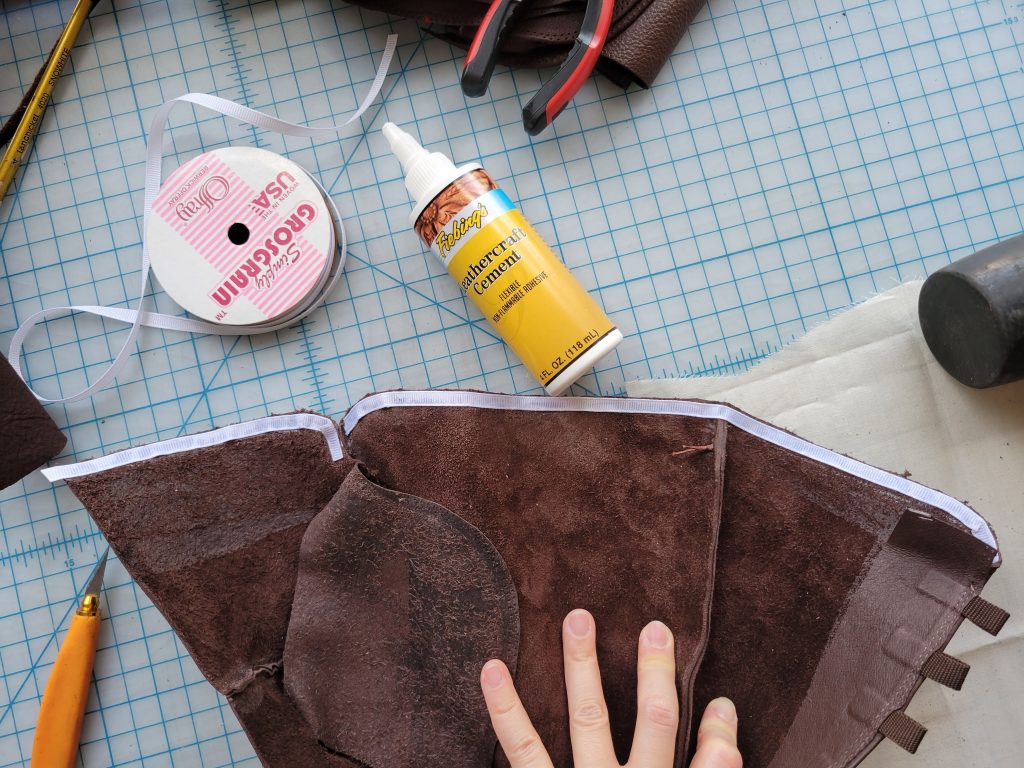
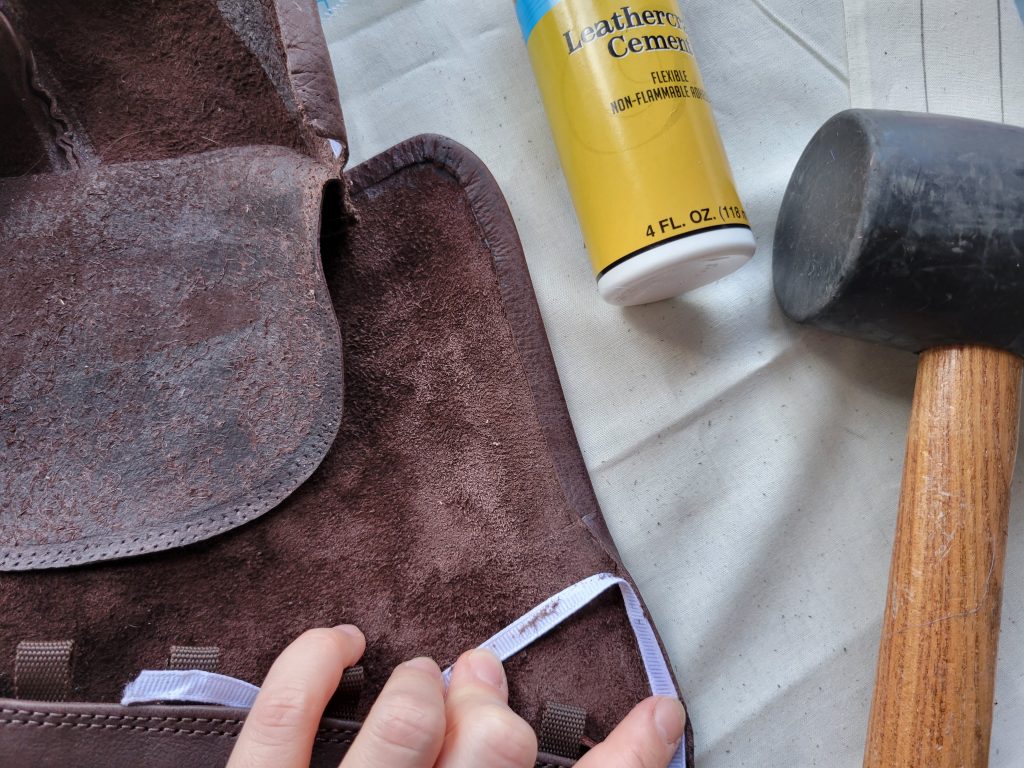
I saw a trick in a youtube video about using ribbon to both reinforce the edge of the boot, and to act as a folding guideline (to ensure you fold the same amount across the entire top of the boot). The ribbon helped with the latter, but I think both my leather and the ribbon were too bulky to actually keep it attached after folding. So after I folded and hammered a part of the top edge, I removed the ribbon.
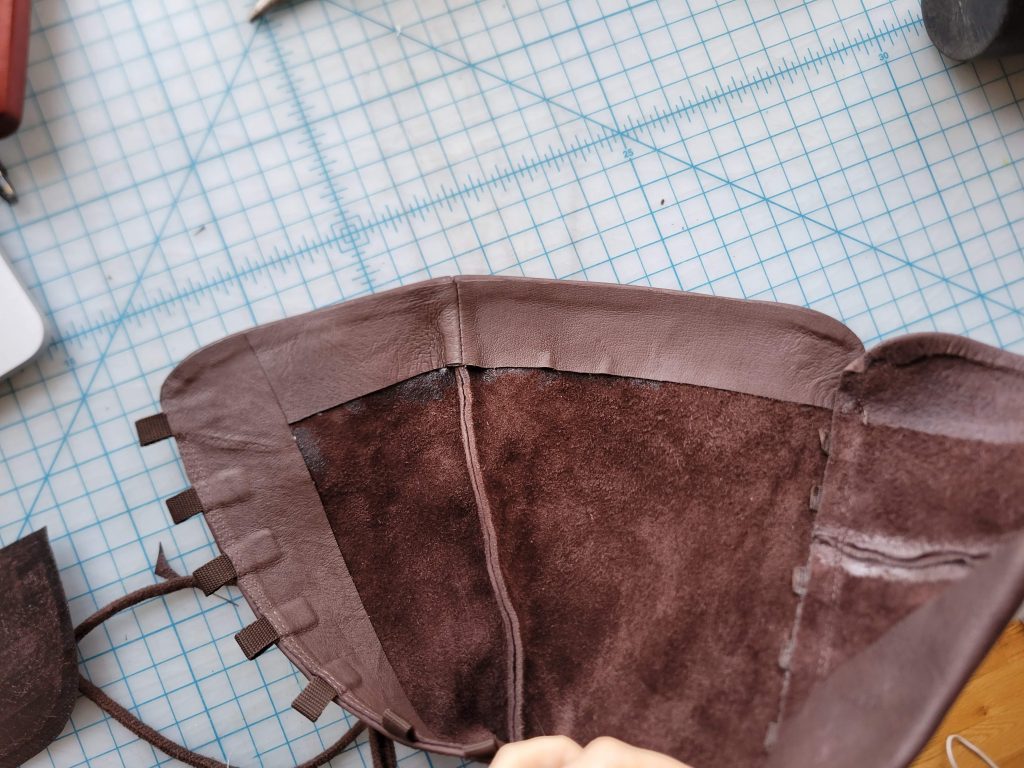
Below is the new top of the boot, with the edge folded down, glued and pounded.
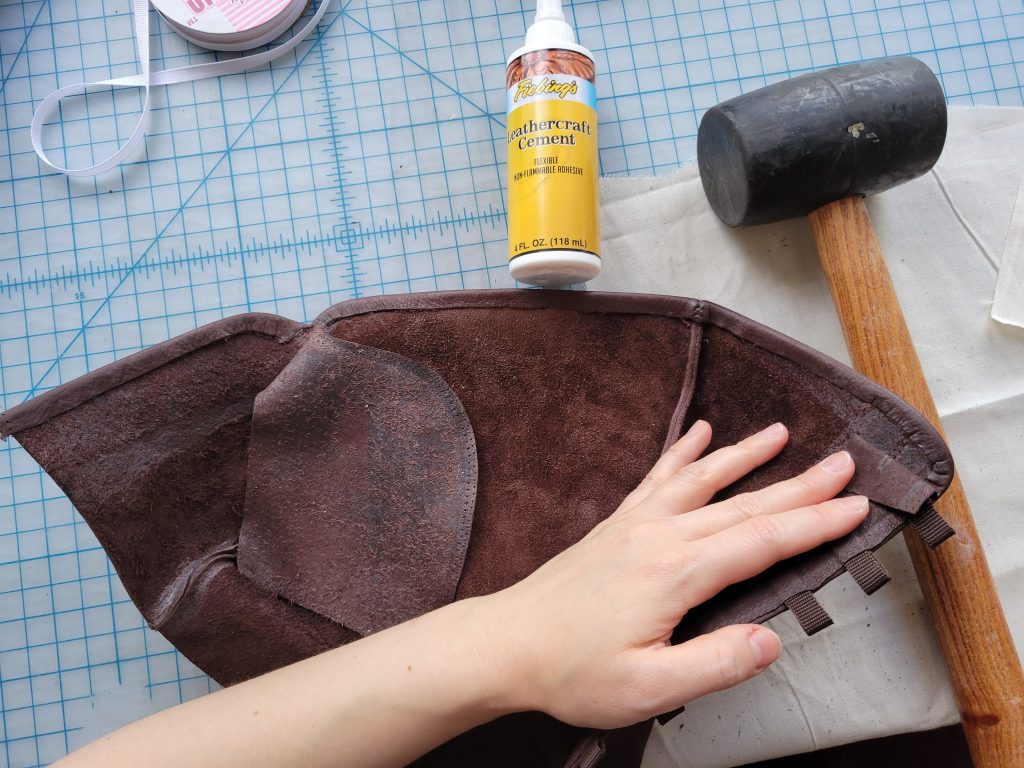
I was lucky that I was able to reuse the lining I detached at the beginning, since the area I was applying it was similar in size and shape to where it was originally located. Here’s what it looked like trimmed and glued on:
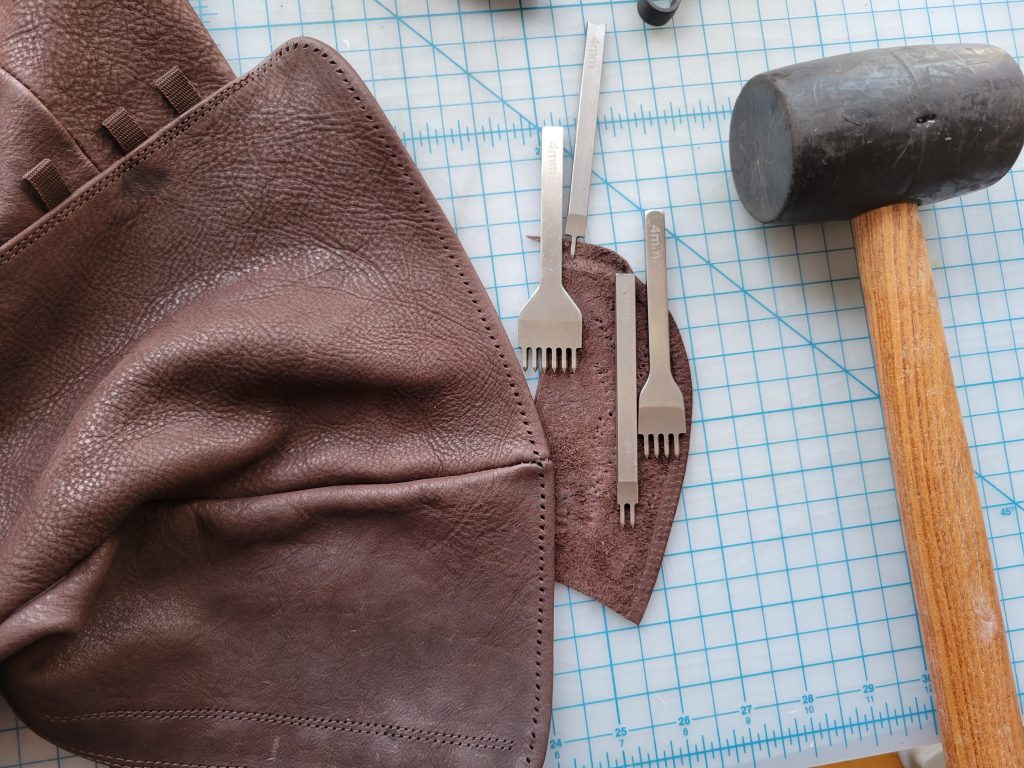
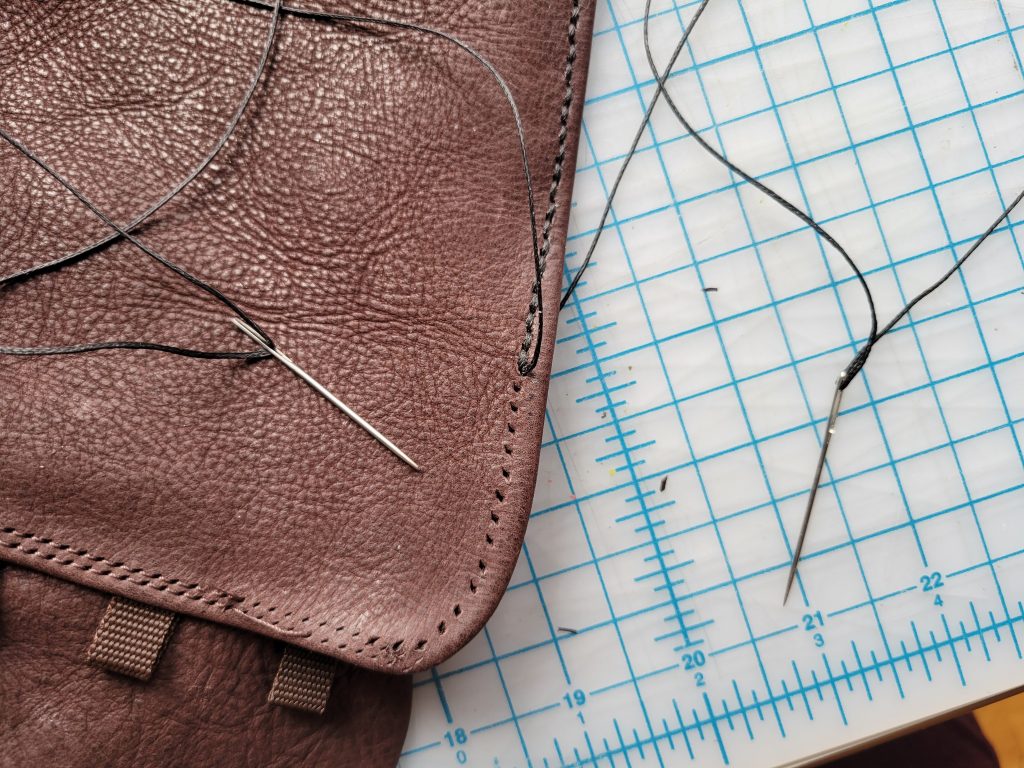
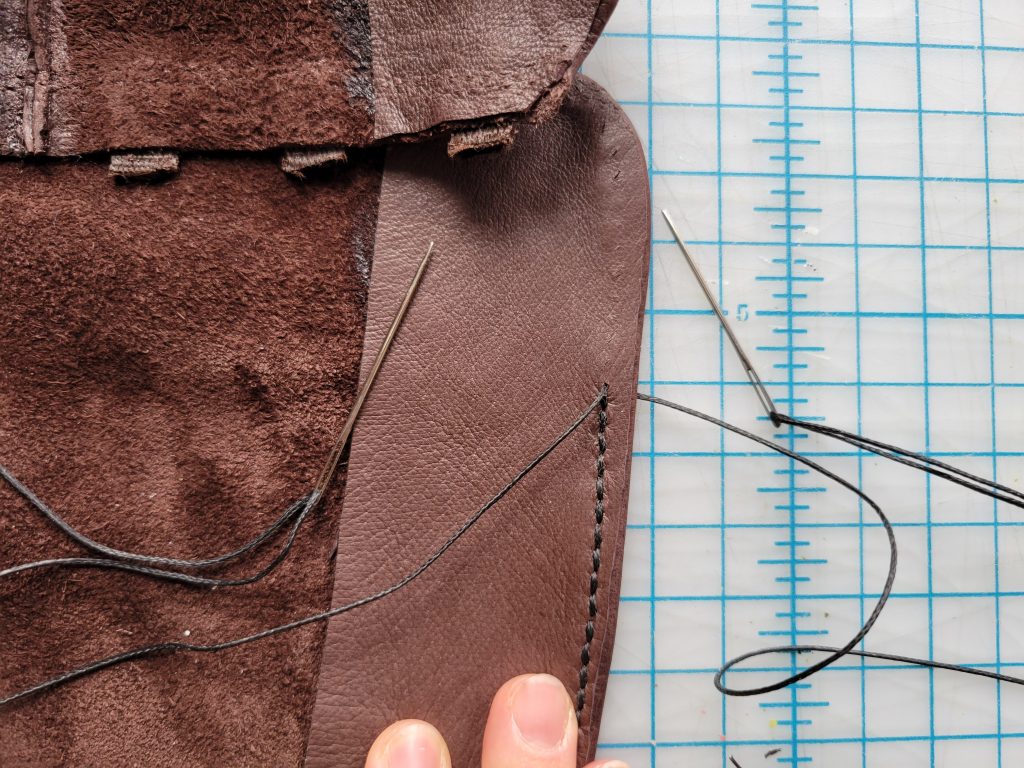
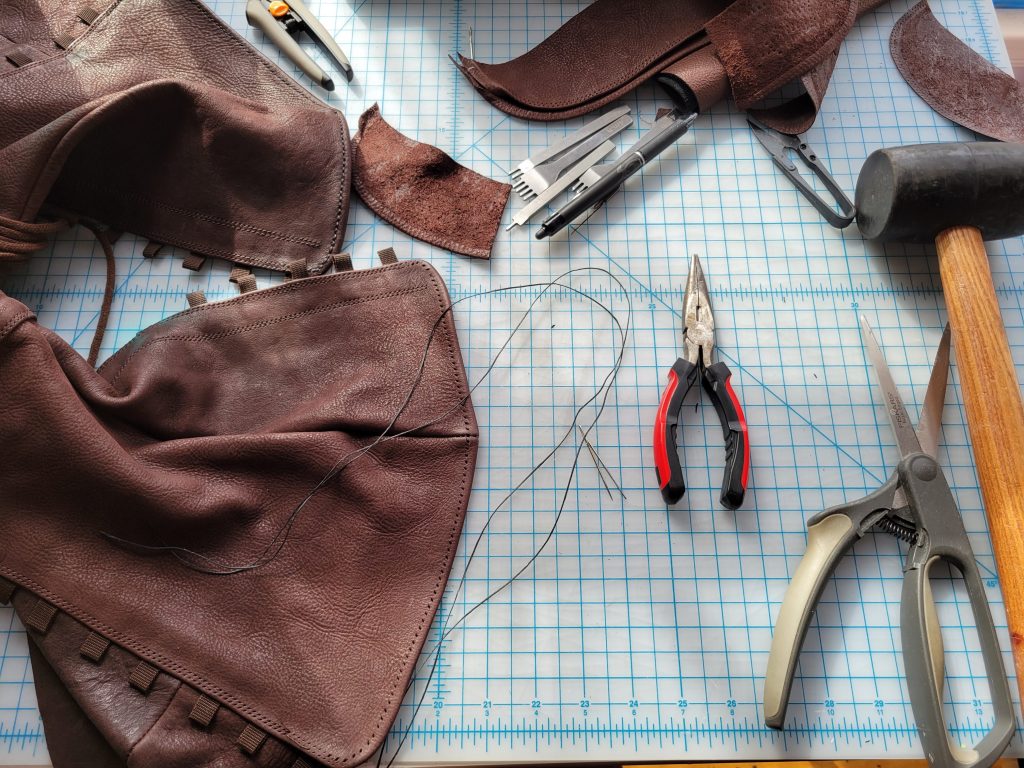
Now it was finally time to sew the lining and the folded edge together! I used a set of leather hole punches and a rubber mallet to create the perforated seam along the entire top edge of the boot. Below you can see the leather punches, and then the saddle stitch I used with two needles:
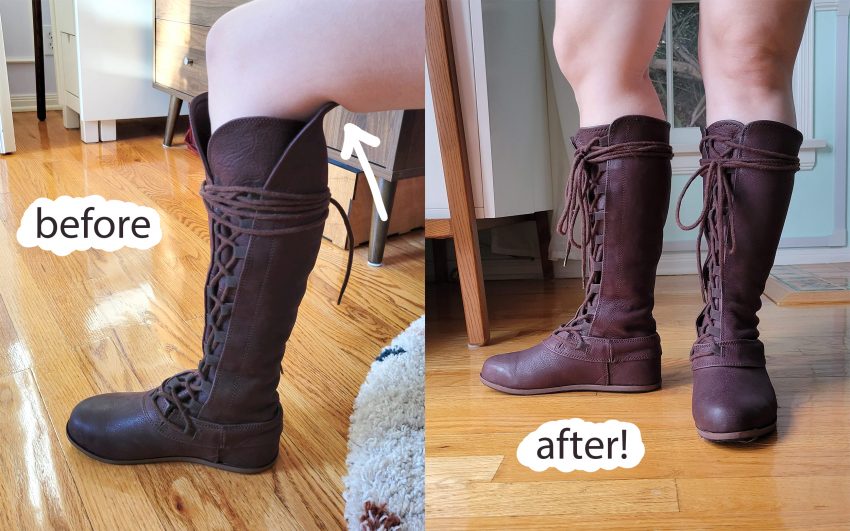
And after the tops were stitched, my boots were done! I’m so happy I took the time to alter these boots – they’re the perfect height now, and I hope to use these for years to come. ♡