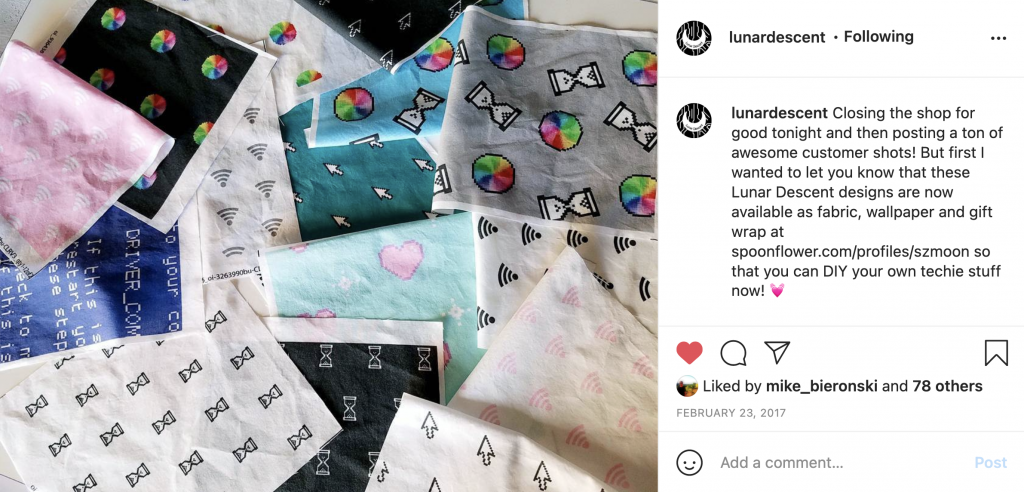
When I shut down my clothing line Lunar Descent in 2017, I decided to create fabric inspired by my designs up for sale on Spoonflower so that anyone could sew up tech themed items for themselves. Spoonflower requires users to first purchase at least a swatch of their fabric before being able to list them for sale (really smart on their part, I’m guessing so that their platform isn’t flooded with untested designs), so I ended up with a bunch of these 8 x 8 inch pieces.
These swatches have been traveling around my apartments ever since. I kept trying to think of the *perfect* use for them (machine embroider on them to make patches? cut them out and appliqué them on something?), but never settled on anything.. But then this year I ended up making some small blankets for another project, and I finally decided to use the swatches for – a quilt!
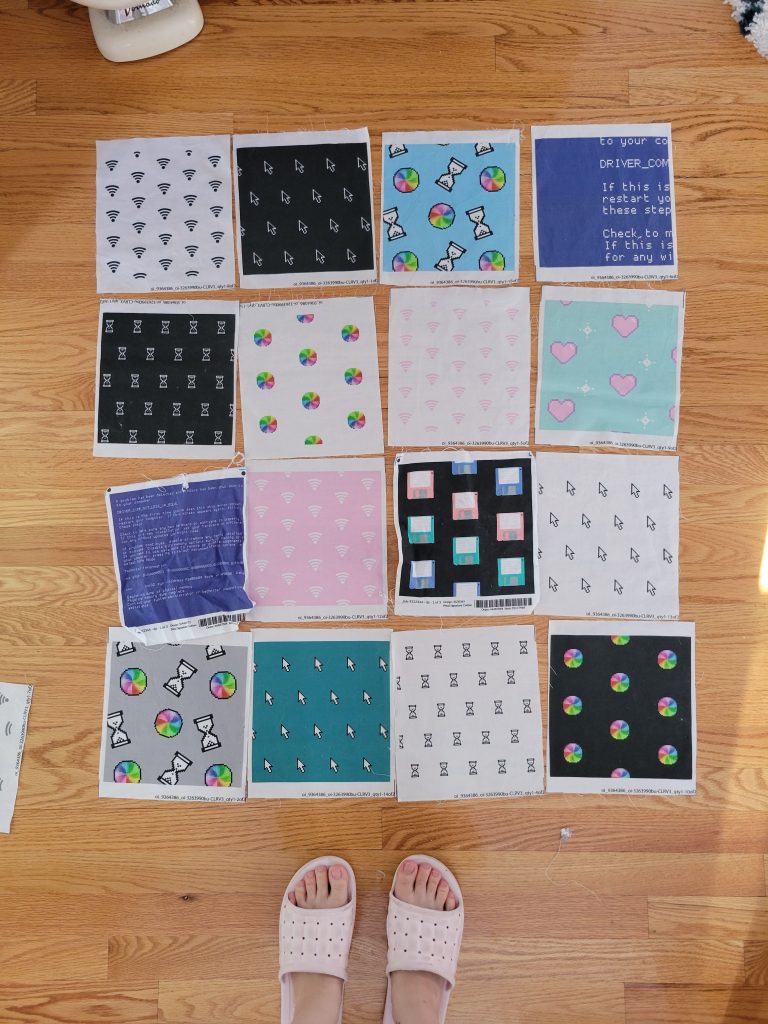
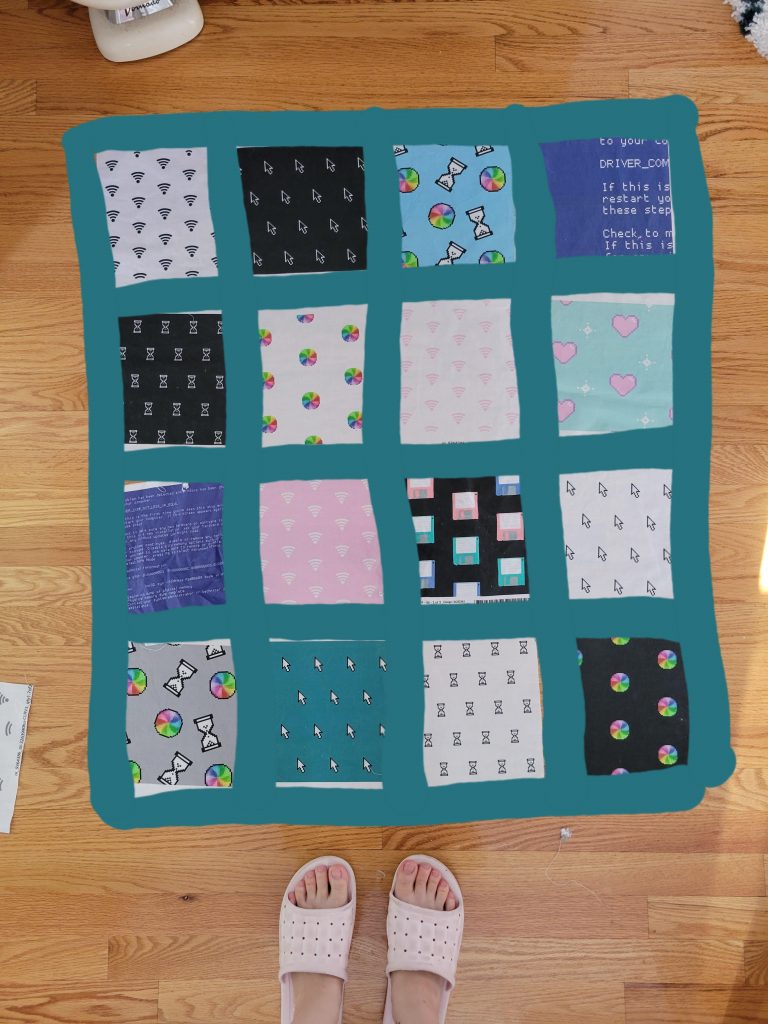
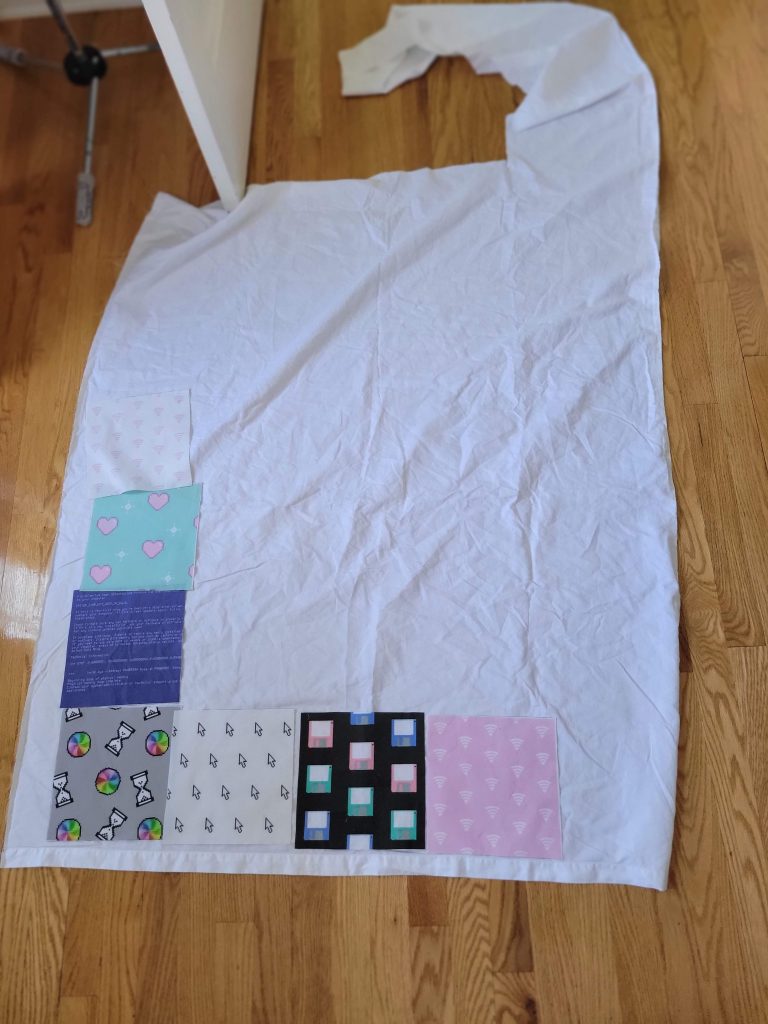
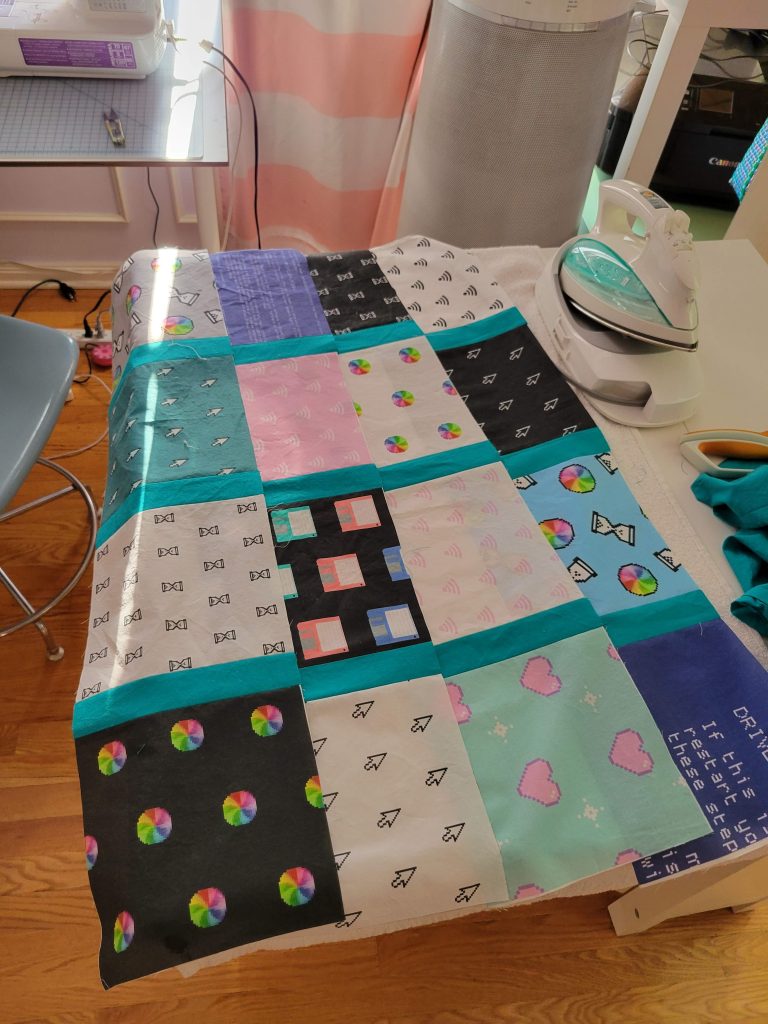
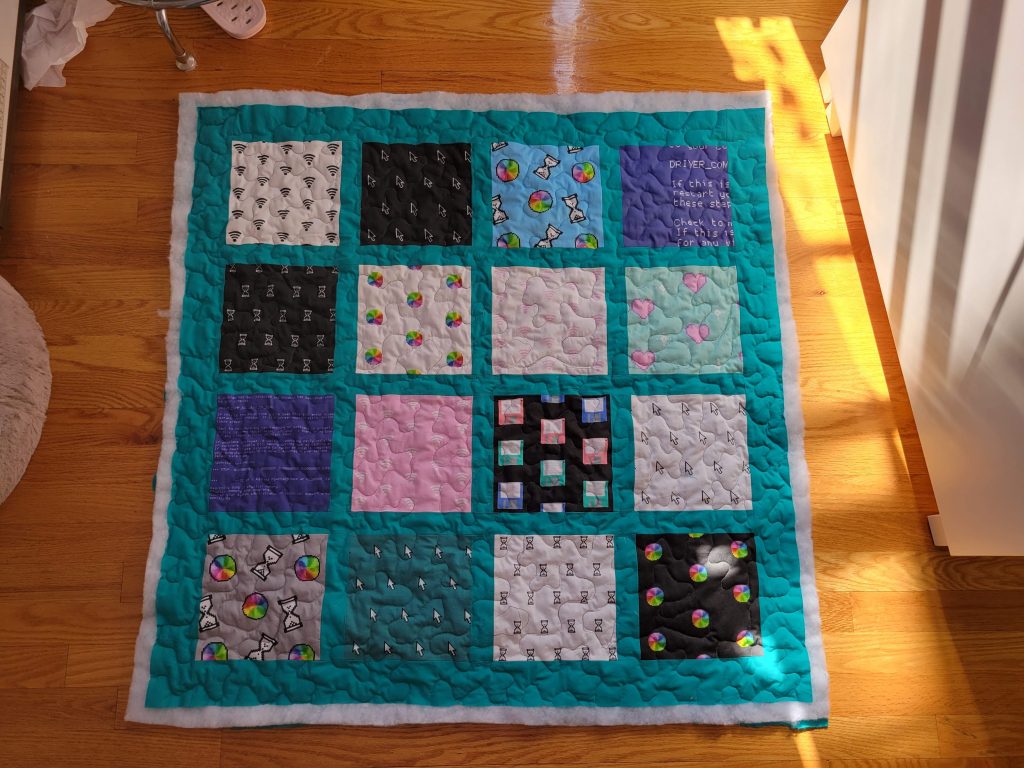
I put the swatches on the ground and moved them around to figure the layout I liked best. After that, I realized the quilt would be rather small if I just sewed the pieces together as is, so I drew on some border options to see what might work with all of the colors. I landed on the teal option below.
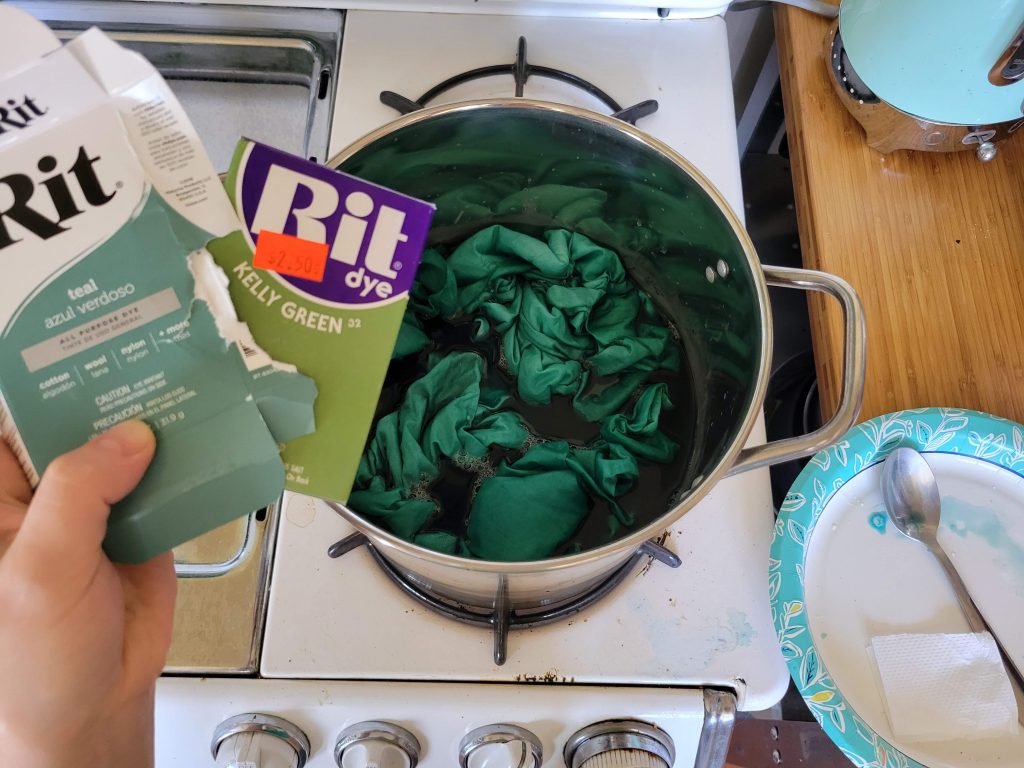
In an attempt to only use the materials I already had on hand at home, I tried dyeing the white fabric leftover from the other blankets (which was originally a top sheet that came with our mattress) to match the teal square with the cursor icon. As you can see below, it did not turn out as I’d hoped haha.
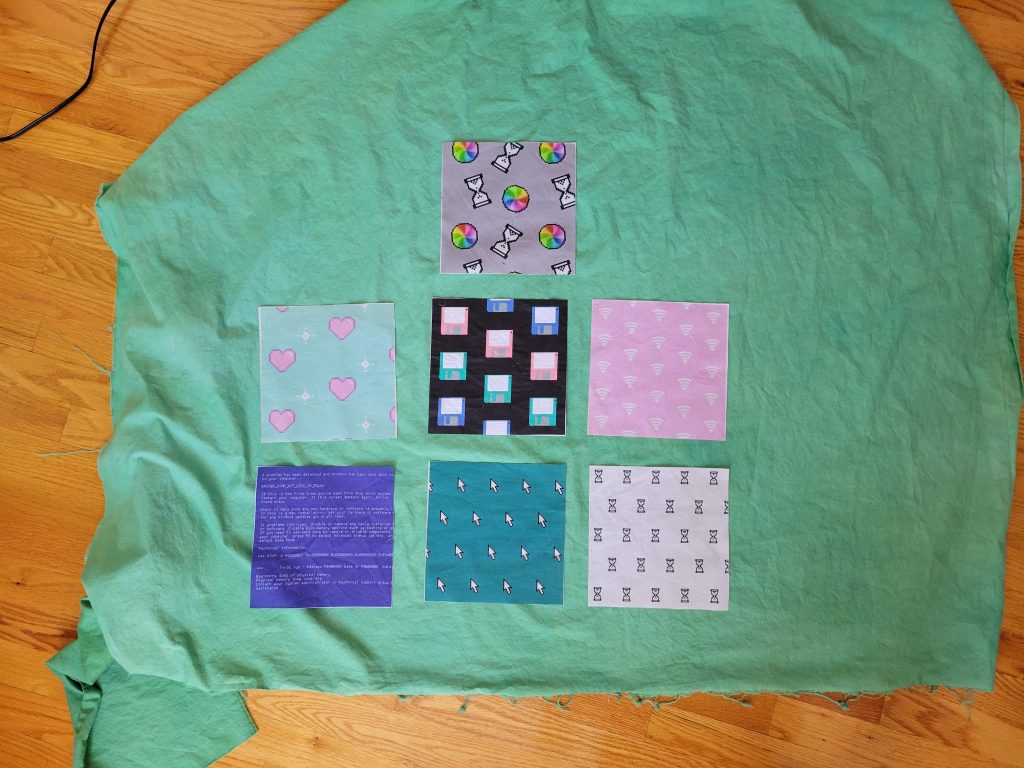
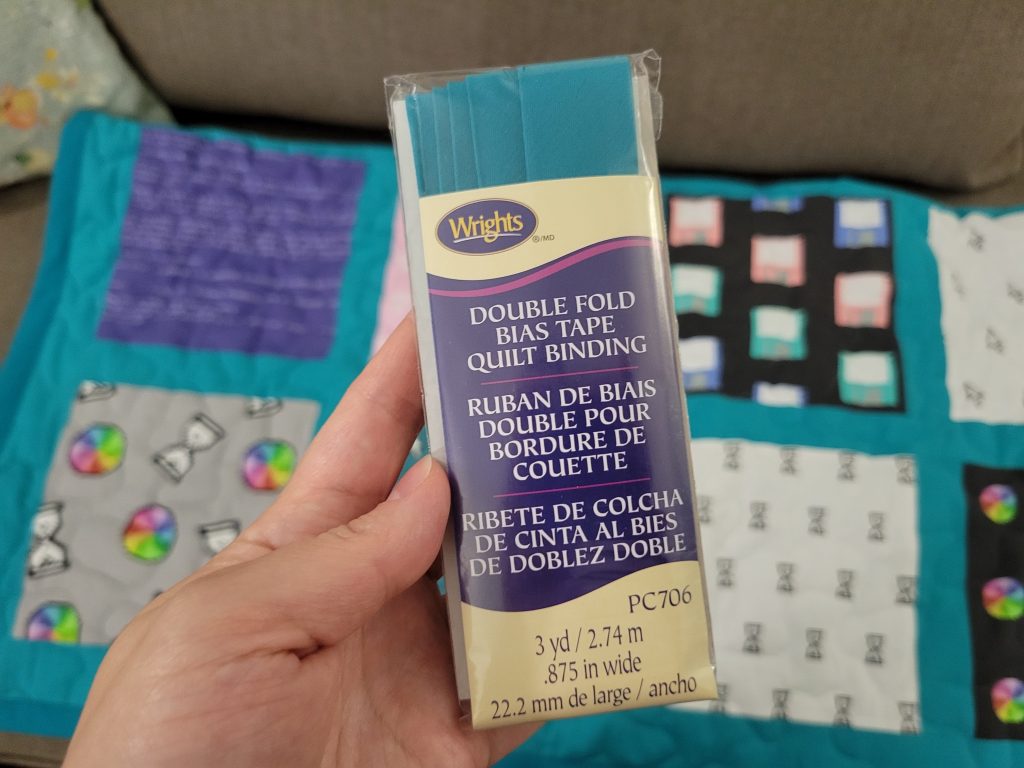
So I ended up buying the fabric for the borders and backing, as well as bias tape, from Joanns the next time I went. It wasn’t a perfect match, but good enough.
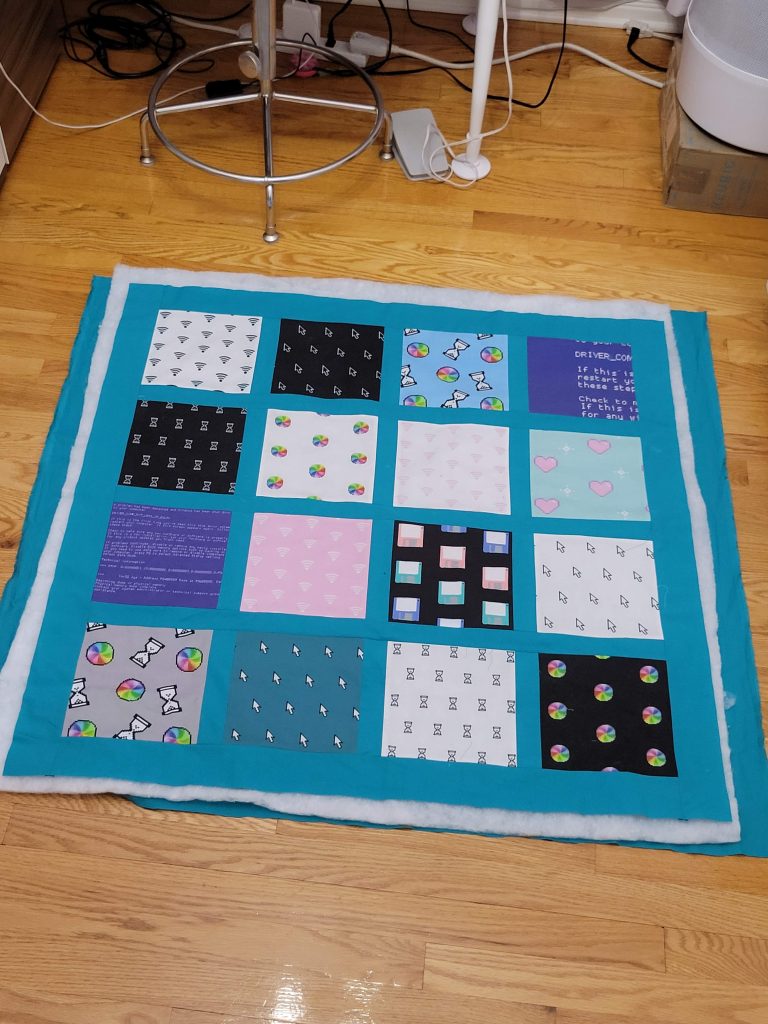
Each square was 8″ x 8″, and each strip between the squares in was 1.25″ wide plus extra for the 1/4″ seam allowance on each side, and 8″ tall.
I now realize I didn’t take any progress photos for the rest of the strips.. I kind of cut them as I went. The horizontal strips separating the rows had the same width as the vertical, but I didn’t bother to measure their length – I just cut the excess off after sewing them on. I made the borders surrounding the entire quilt slightly thicker since I’d be covering part of it with the bias tape.
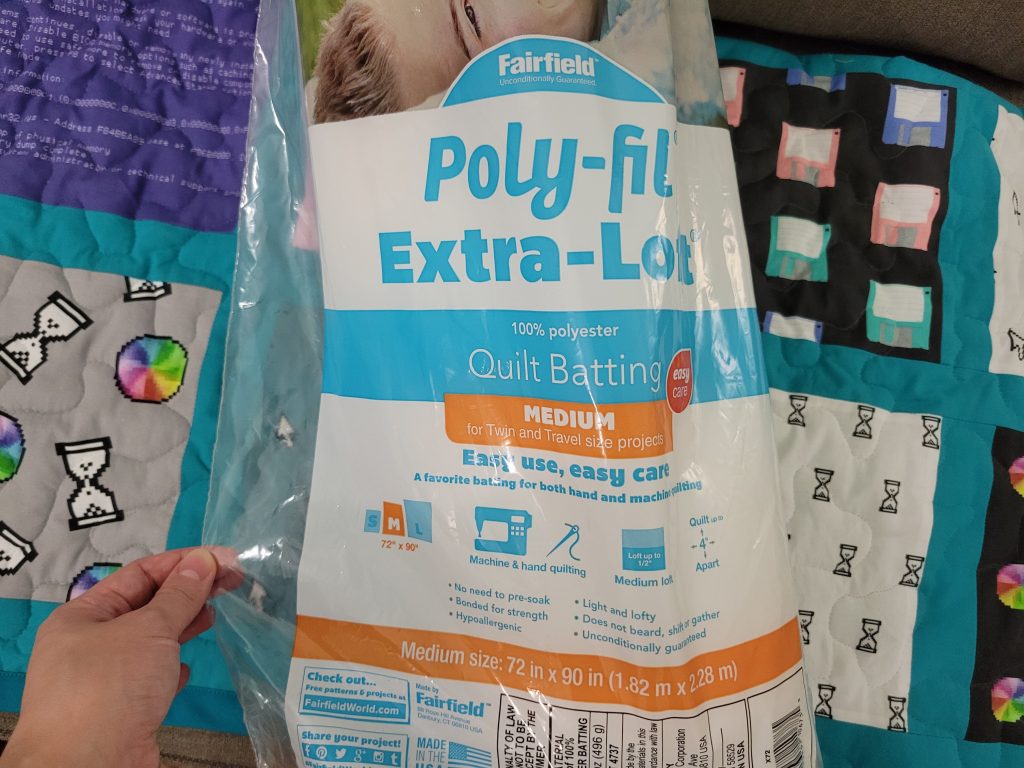
Here’s a photo of the batting I used – I promised my mom I’d include it. 🙂
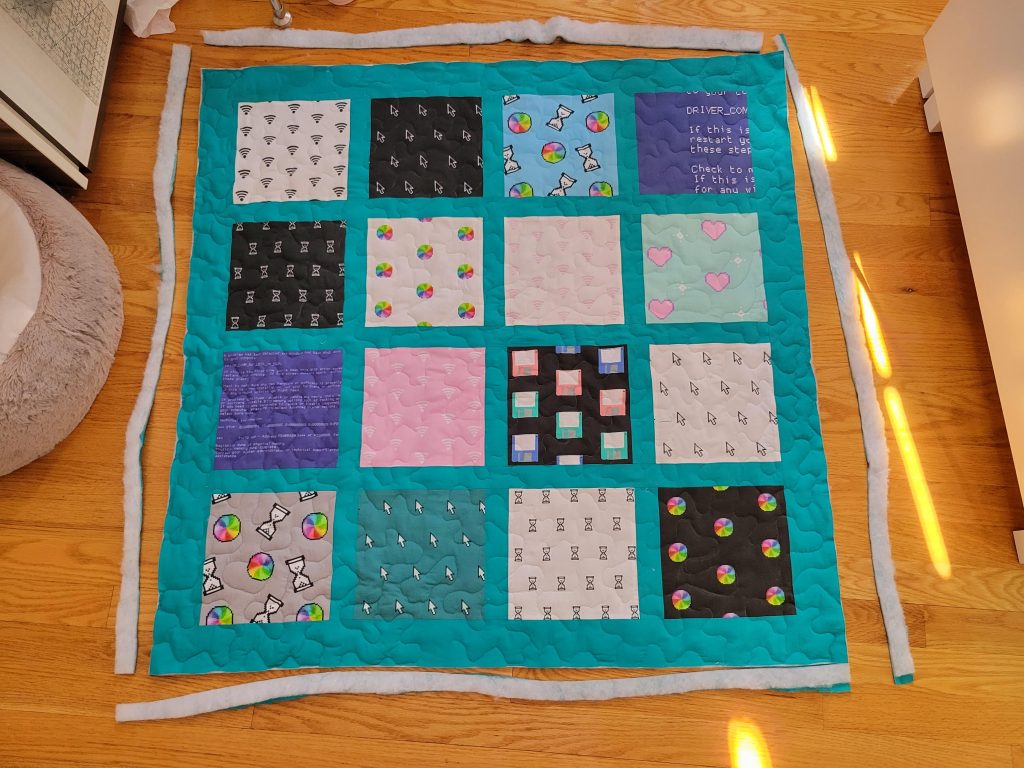
I cut out the batting and backing to be slightly larger than the front of the quilt.
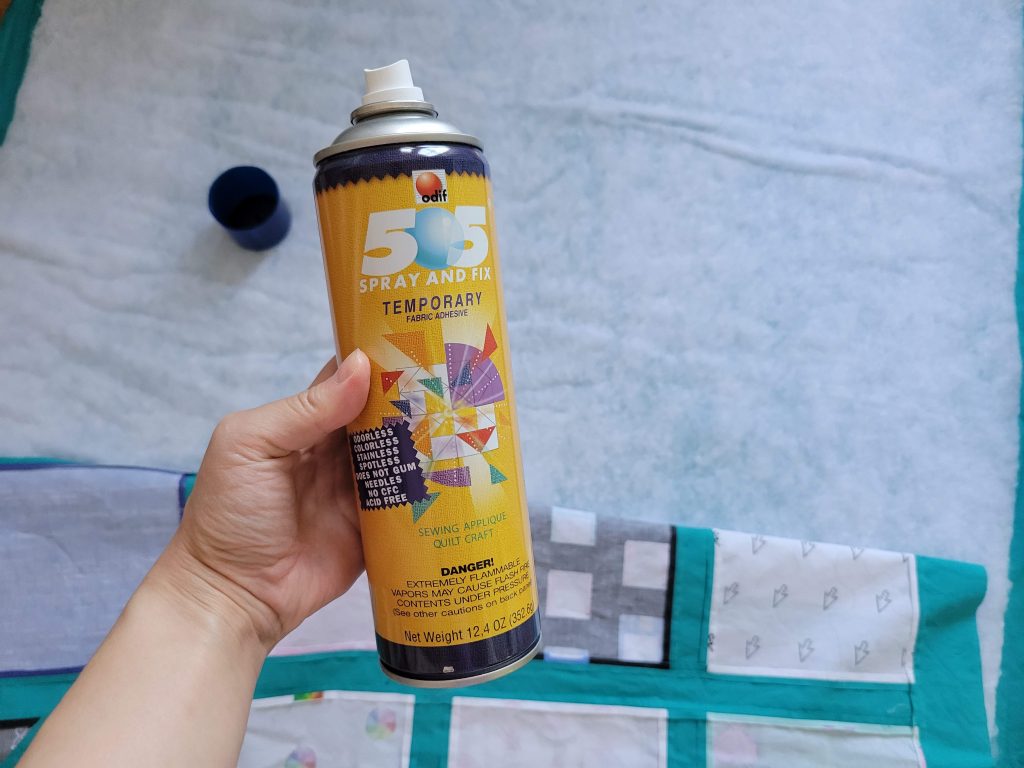
Then I used temporary spray adhesive to attach the batting to both sides of the quilt. Make sure to spray onto the batting and not the fabric so that you minimize the possibility of staining the fabric with too much adhesive.
I don’t have a long arm quilting machine, but still I wanted to make my quilt look as “real” as possible. I ended up lasercutting a template for meander quilting. The ones sold online are meant to be used at the sewing machine while you’re freehand stitching, but I wasn’t really a fan of that so I ended up just using the template to trace the meander pattern on the quilt instead. If you’d like to print or lasercut the template for yourself, you can find the SVG file here. 🙂
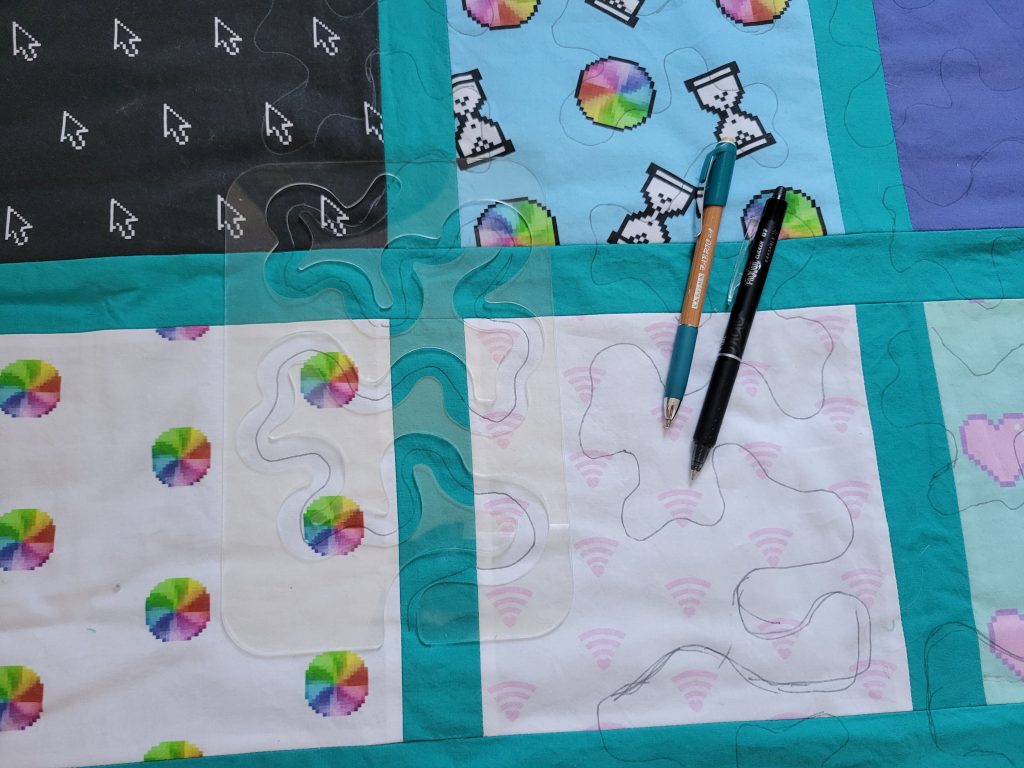
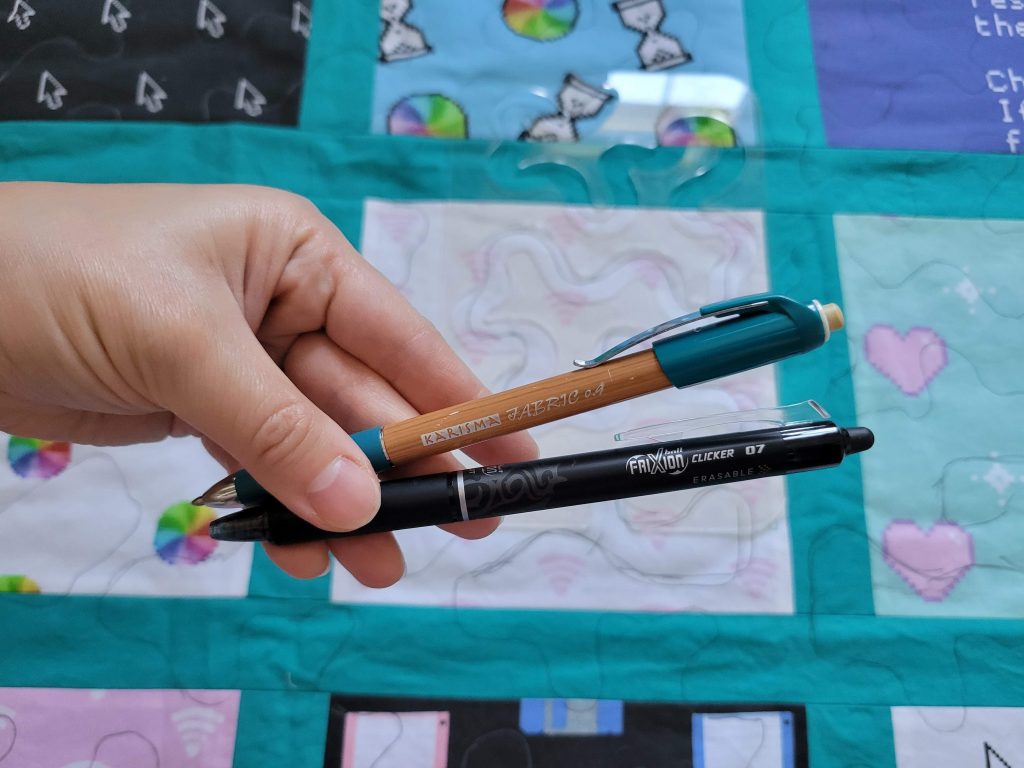
I used both a Frixon pen and this mechanical chalk pencil to trace out the lines on my quilt. I prefer the Frixon pen since it’s really easy to make the lines disappear with an iron, but I needed the chalk pencil for the dark fabrics.
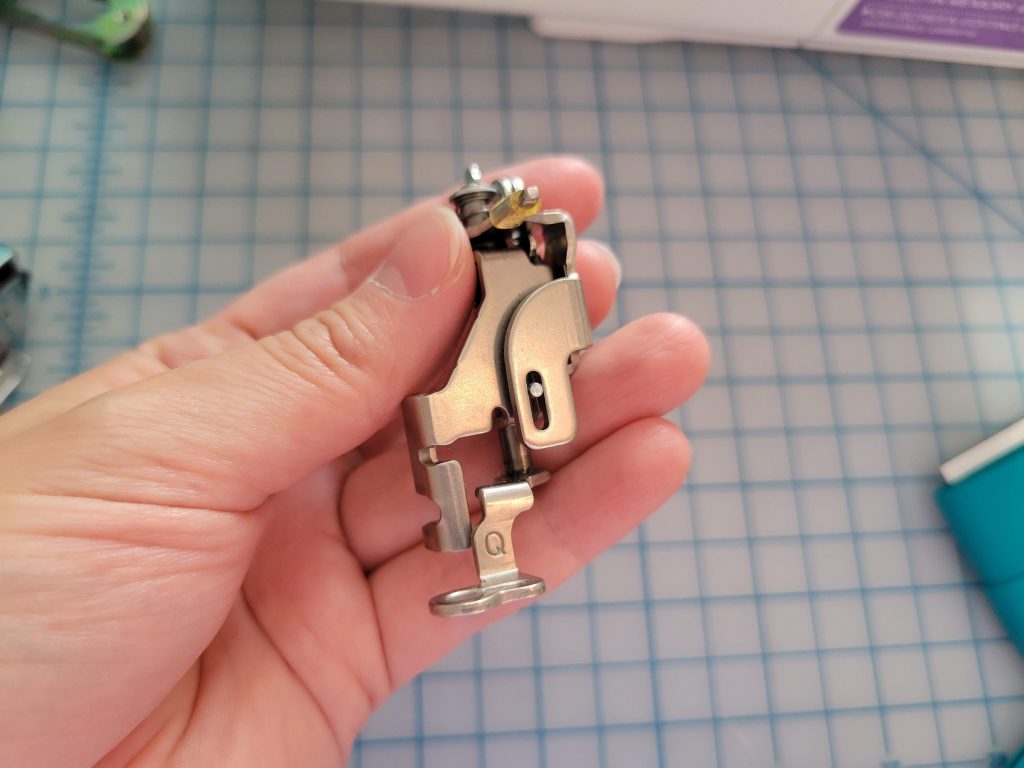
There might be a better foot for this, but I ended up using the Q Embroidery foot that came with my machine for the freehand sewing. The main thing you need to remember is to lower the feed dogs so that you can control the direction of the fabric by hand.
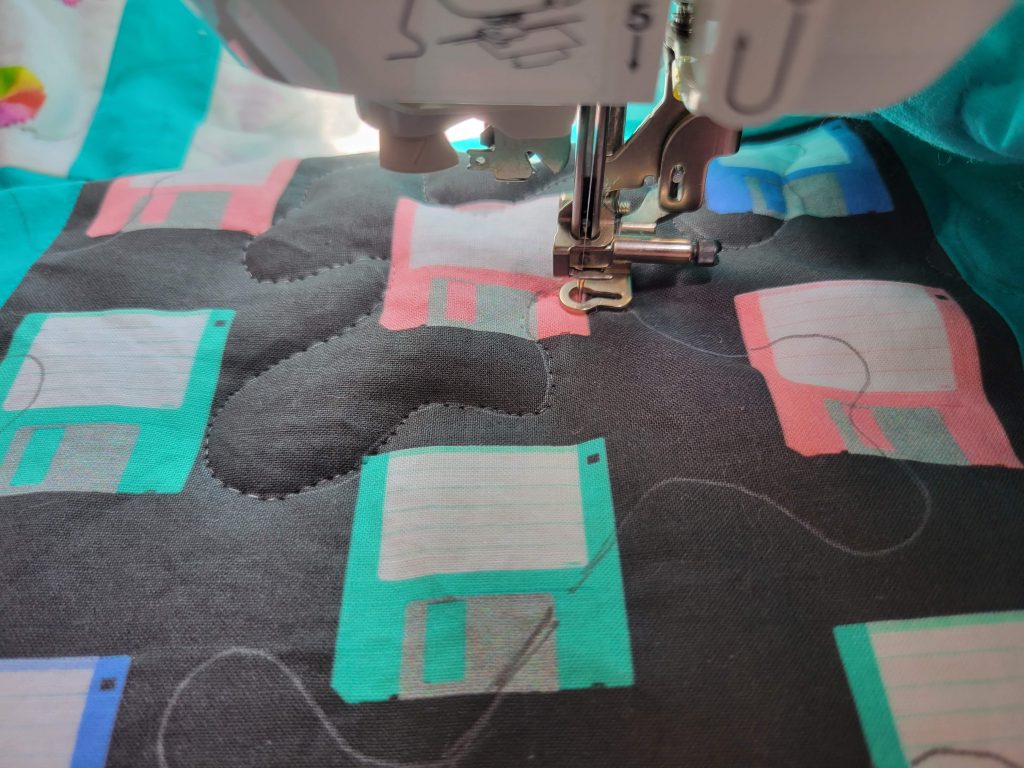
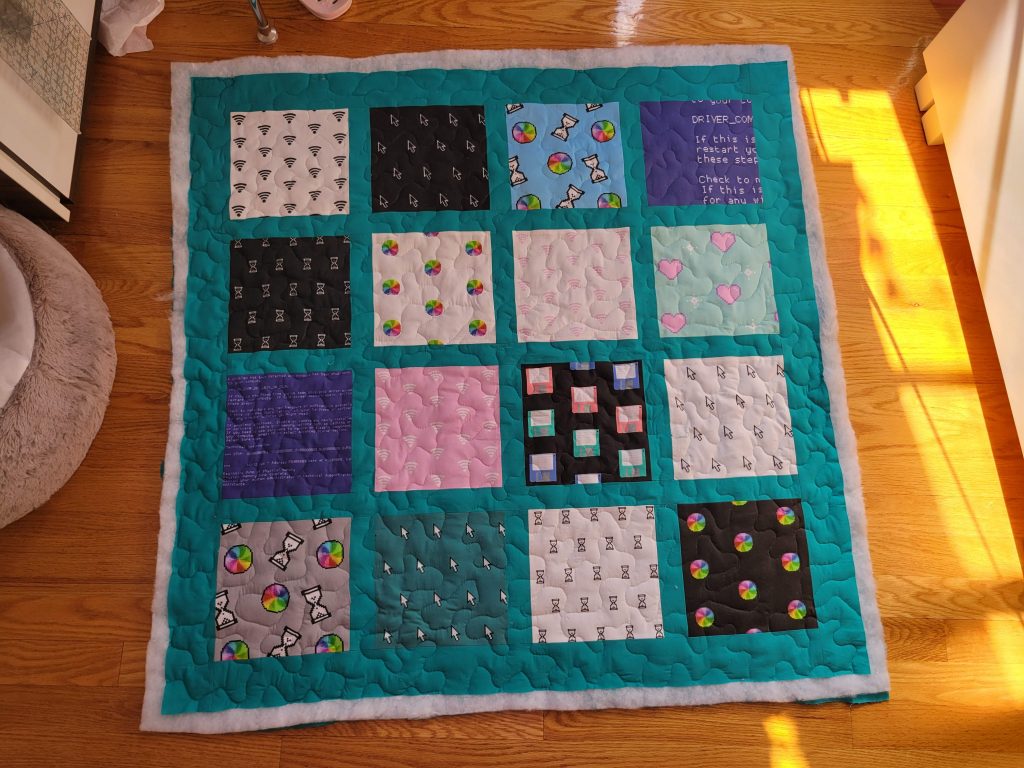
And here’s the quilt with all of the meander stitching done!
The below photo shows how easily the Frixon ink disappears with an iron. 🙂
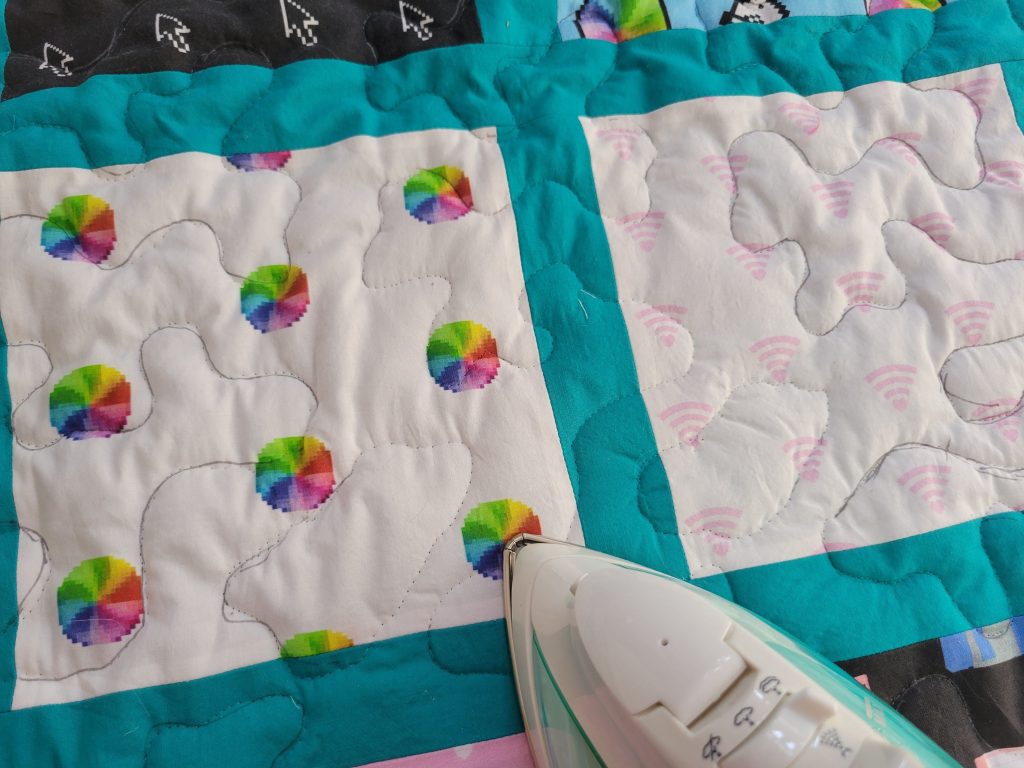
And now the quilt without the Frixon ink lines!
After that, I trimmed off the excess batting and backing fabric, and then attached the bias tape. I don’t sew corners with bias tape often enough to remember how, so I followed the “Fast” method here on the blog Treasurie.
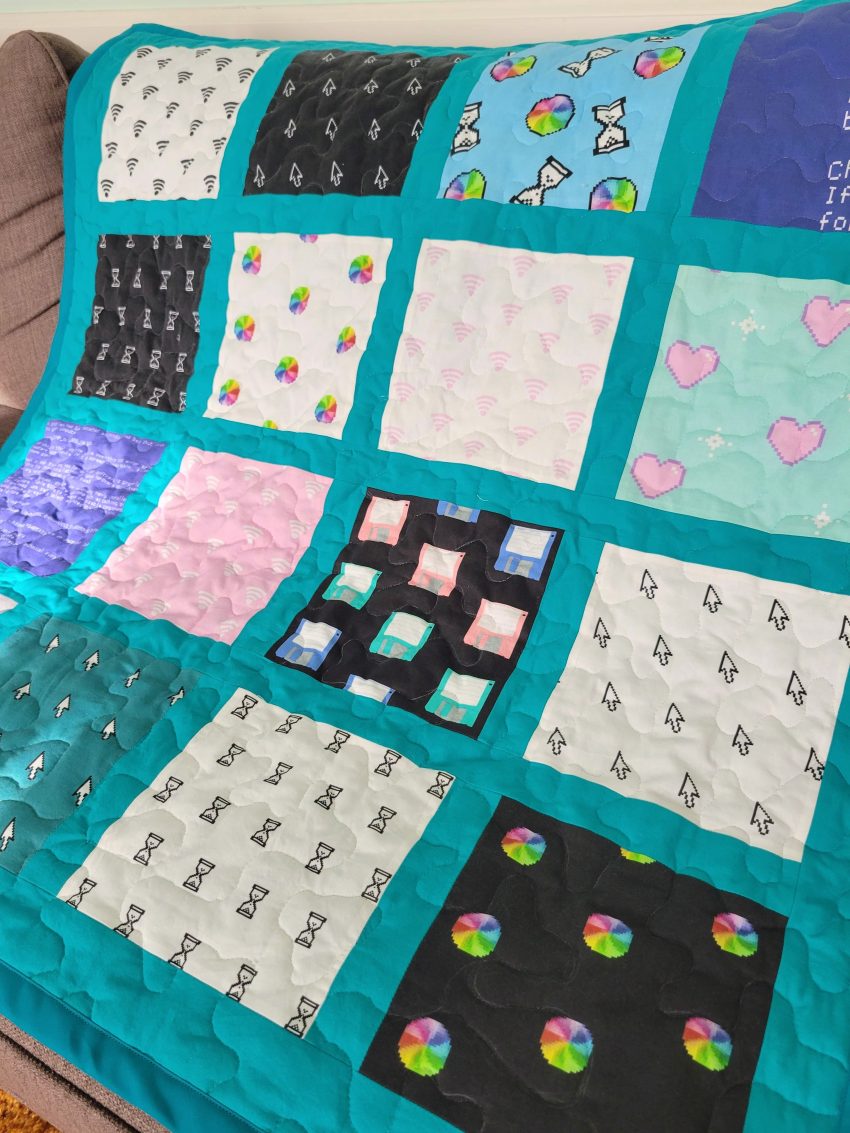
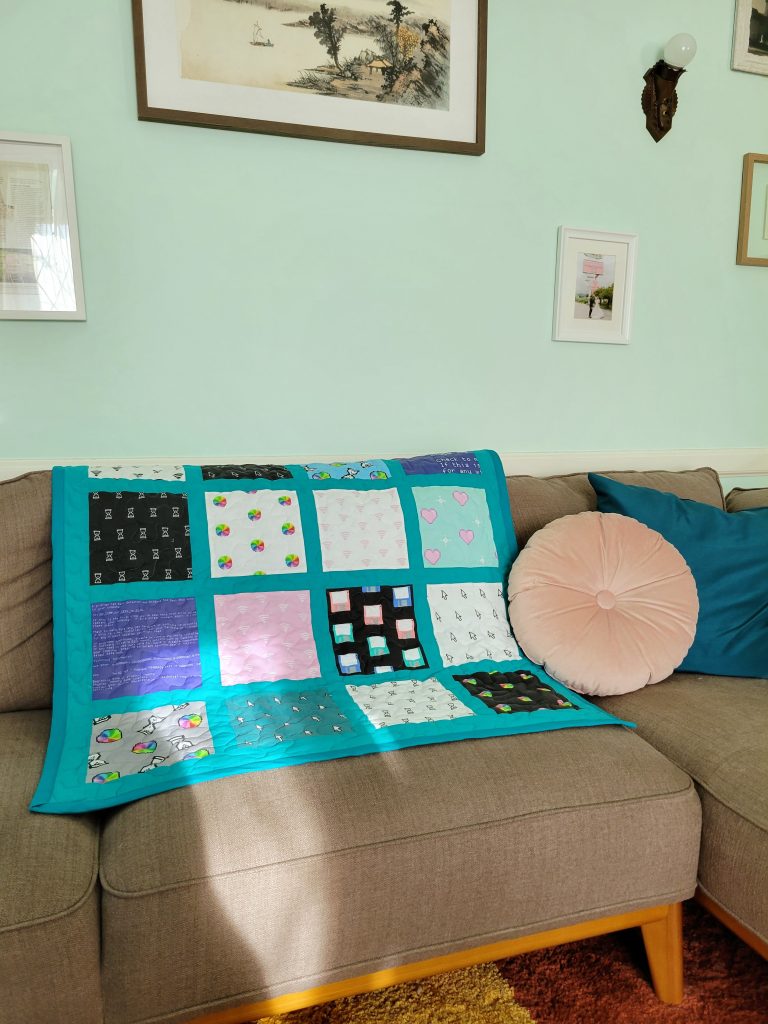
And then I was done! 🎉 This is my first ever quilt, and it was definitely a lot less annoying than I thought it’d be (I think that may be because my squares were so large though.. hahah).
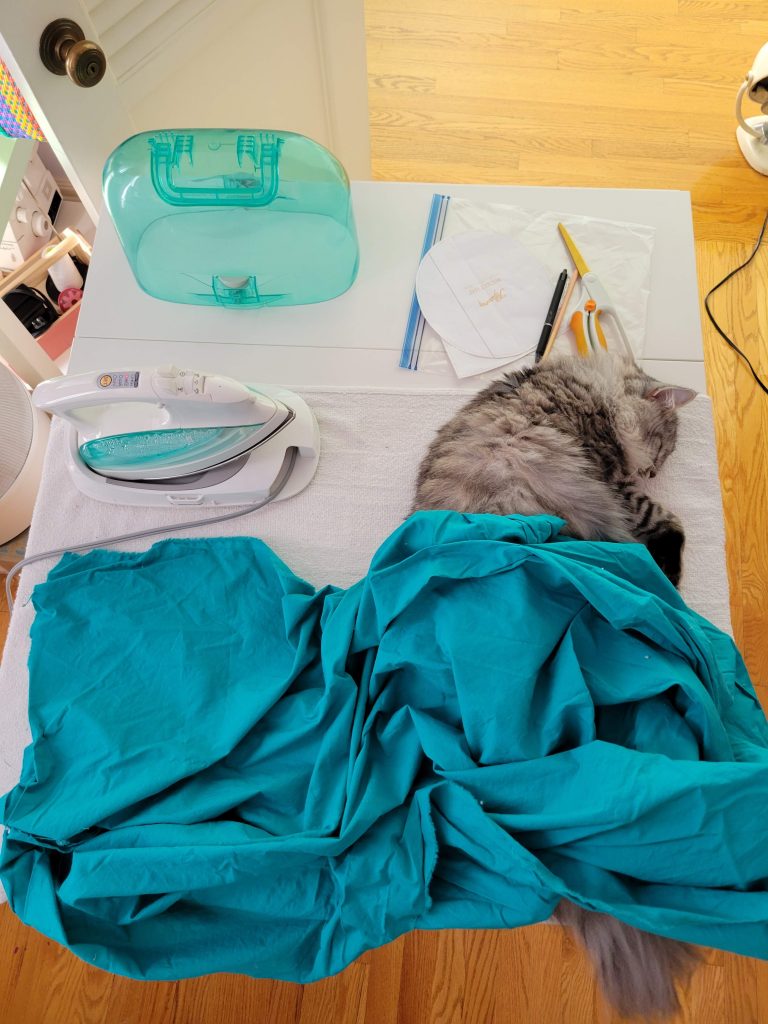
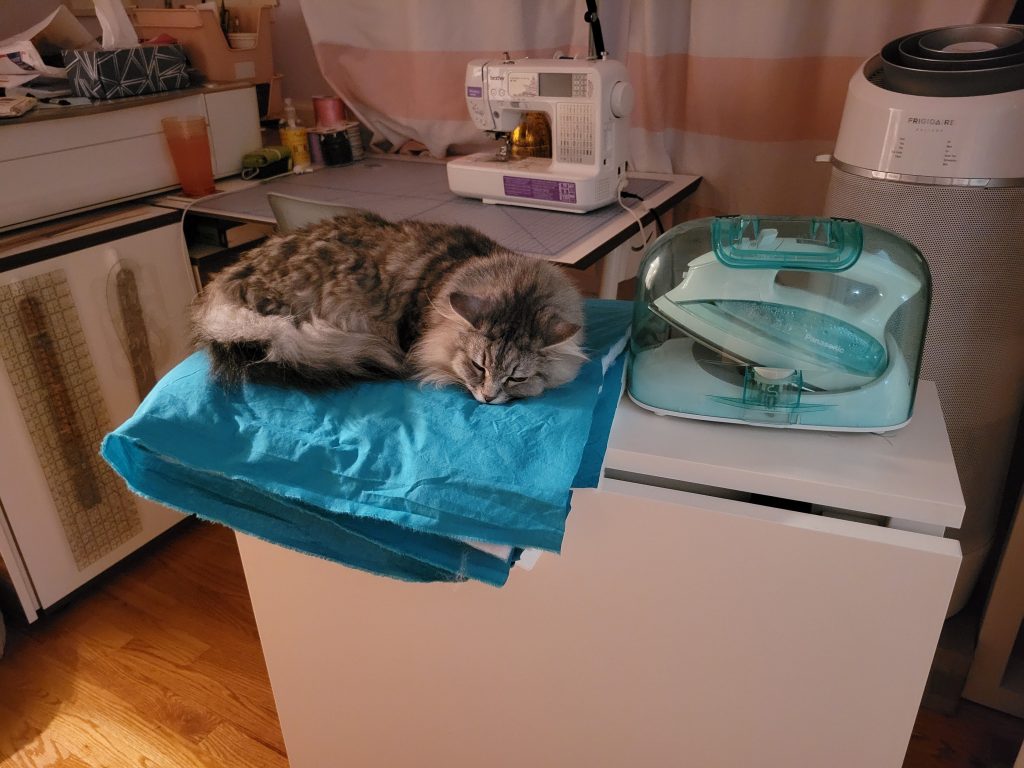
I’ll leave you with this photo of Marlin, who knows very well that he shouldn’t actually be on my work table, but also knows he’s so cute that I won’t actually move him once he’s there.
This are great instructions! I might want to start my first quilt too!