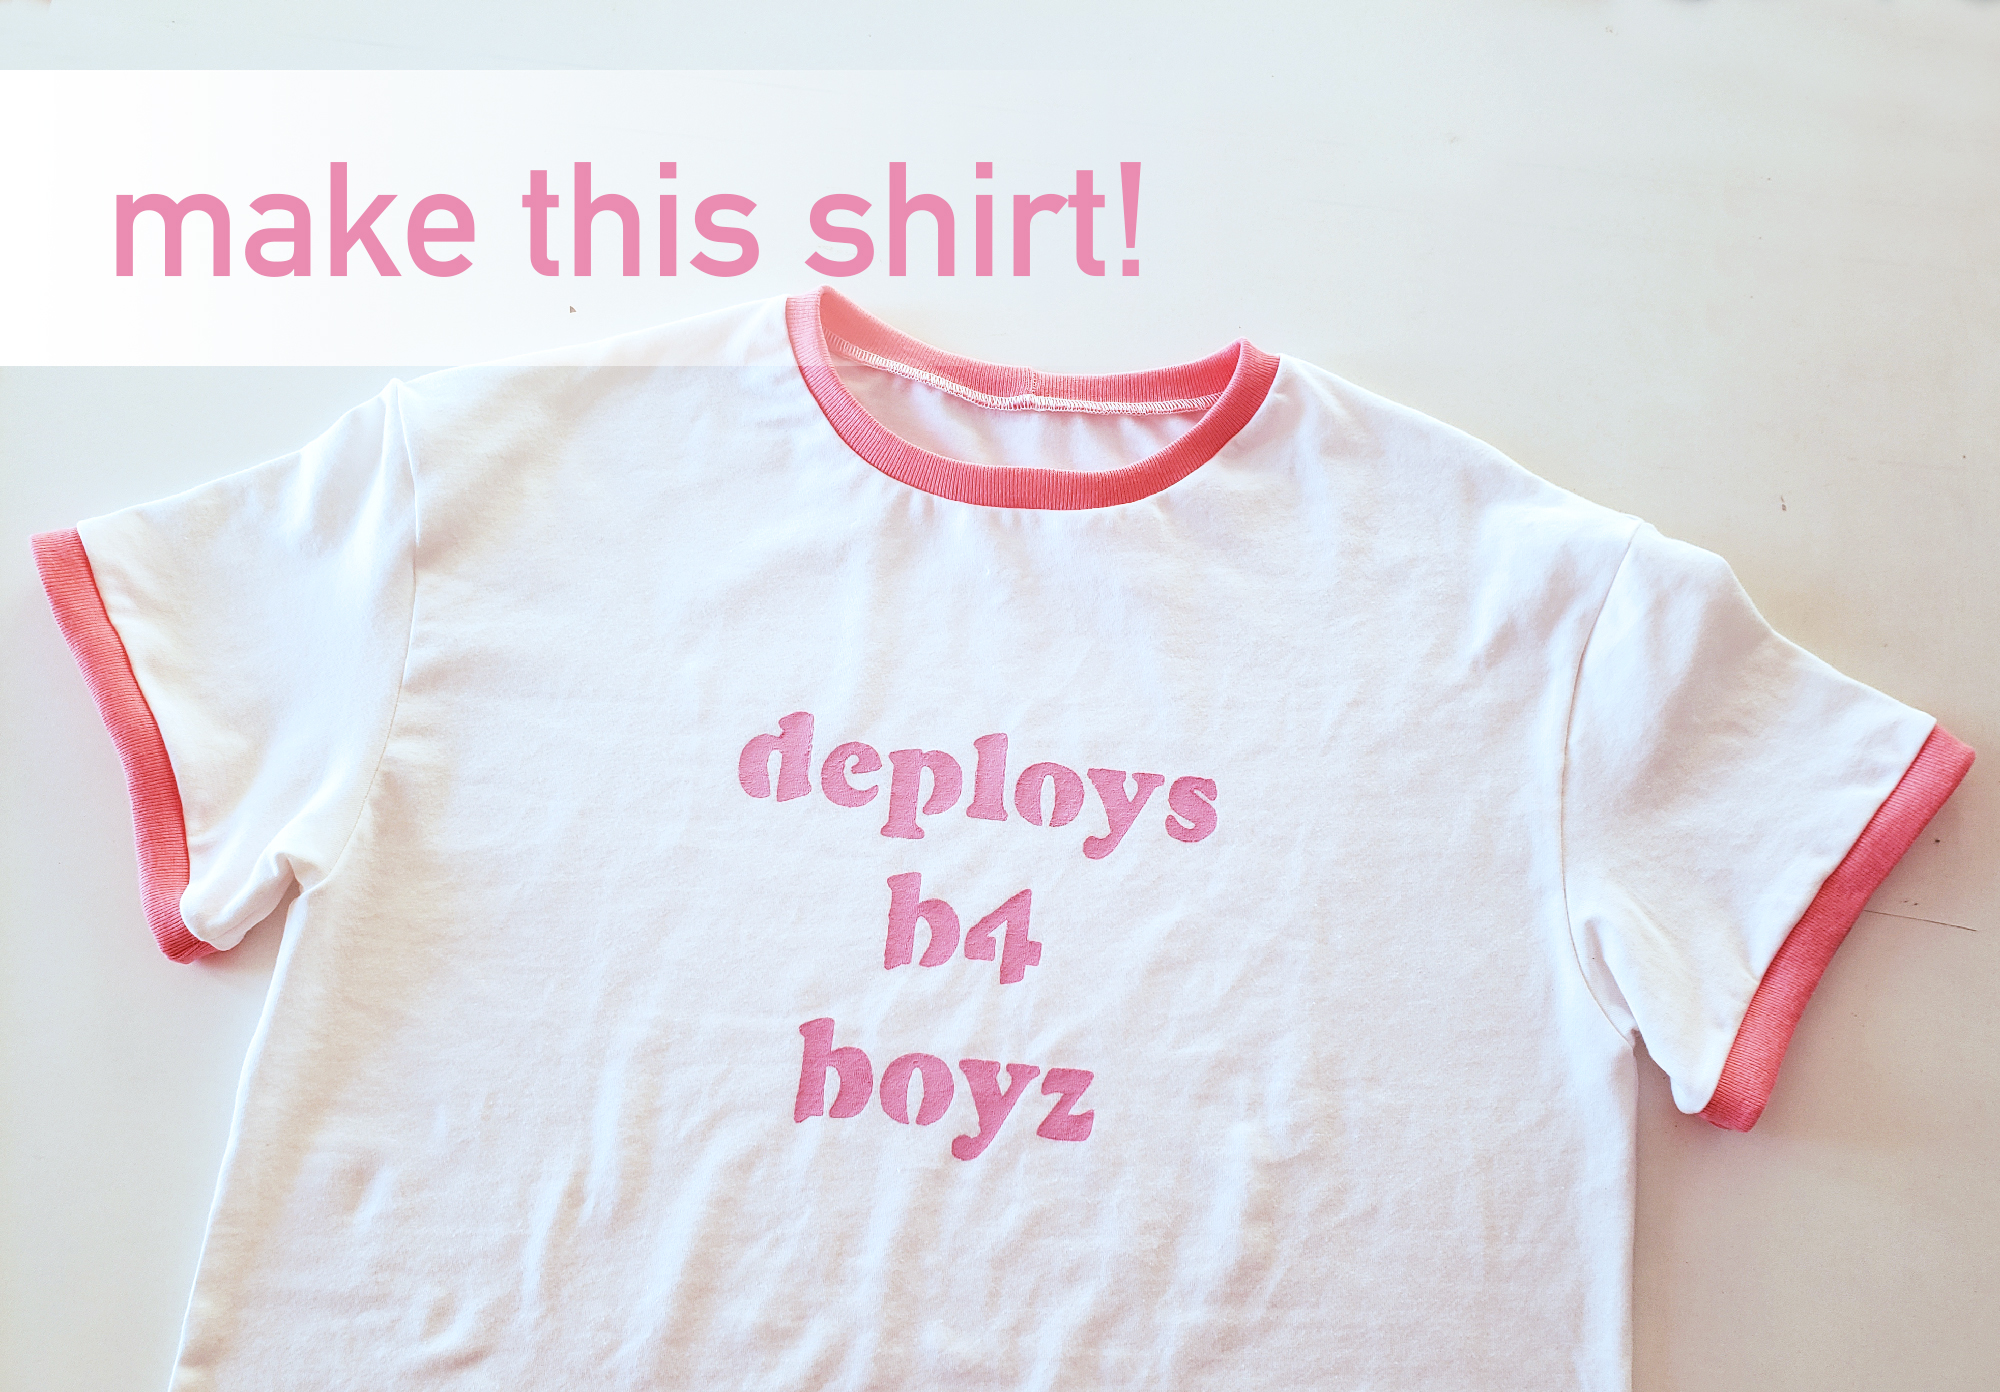
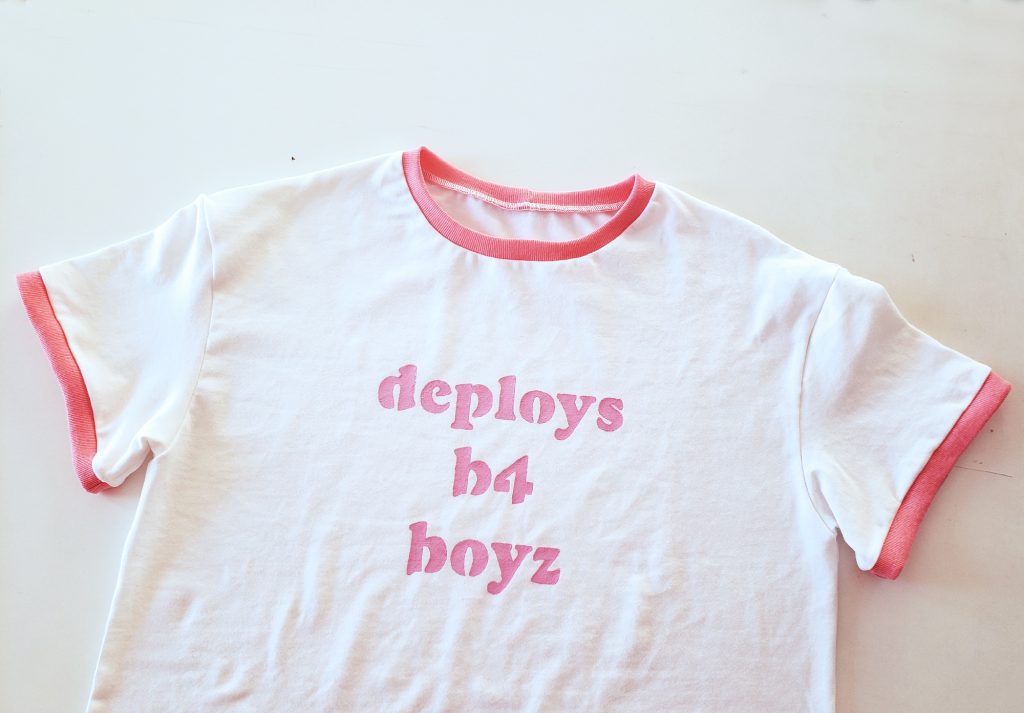
This is a simple tutorial on how to recreate the deploys b4 boys shirt. The same techniques can be reused with any design, so have fun with it!
The original design below included appliquéd (sewn-on fabric) letters, but in this tutorial I’ll show you have to make a quicker version with fabric paint!
what you’ll need
- A Pre-Washed Shirt: pre-washing is important so that the design won’t warp or shrink after washing!
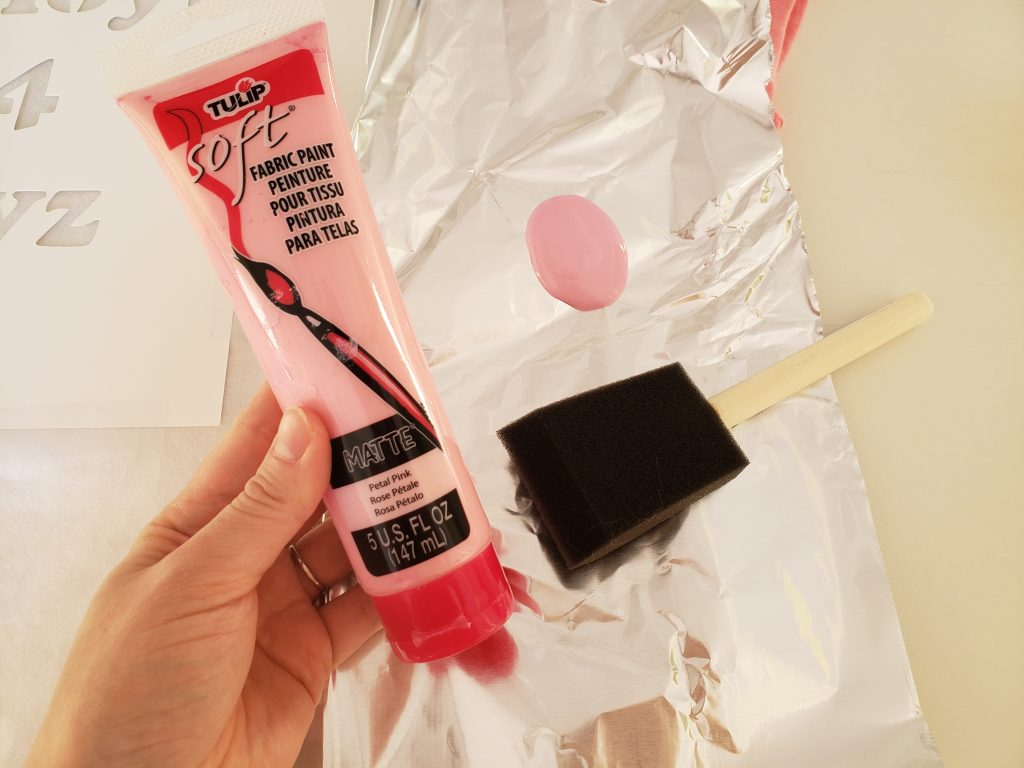
- Fabric Paint: I used Tulip Soft fabric paint
- Paint Sponge: A paint brush could work, but you’ll need to be more careful to not paint under the stencil on accident
- Cardstock Paper and a Printer
- An X-Acto Knife
let’s get started!
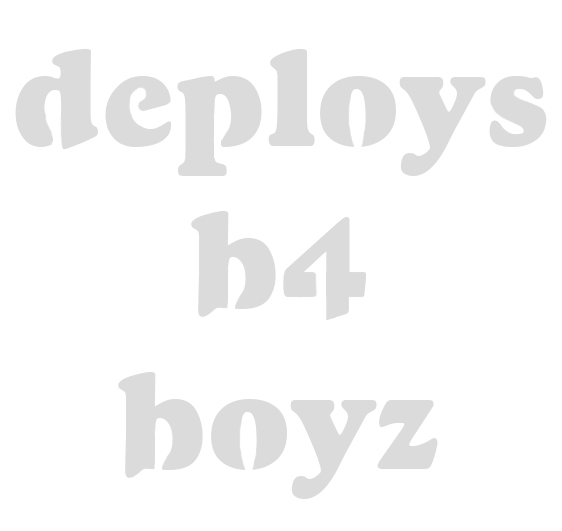
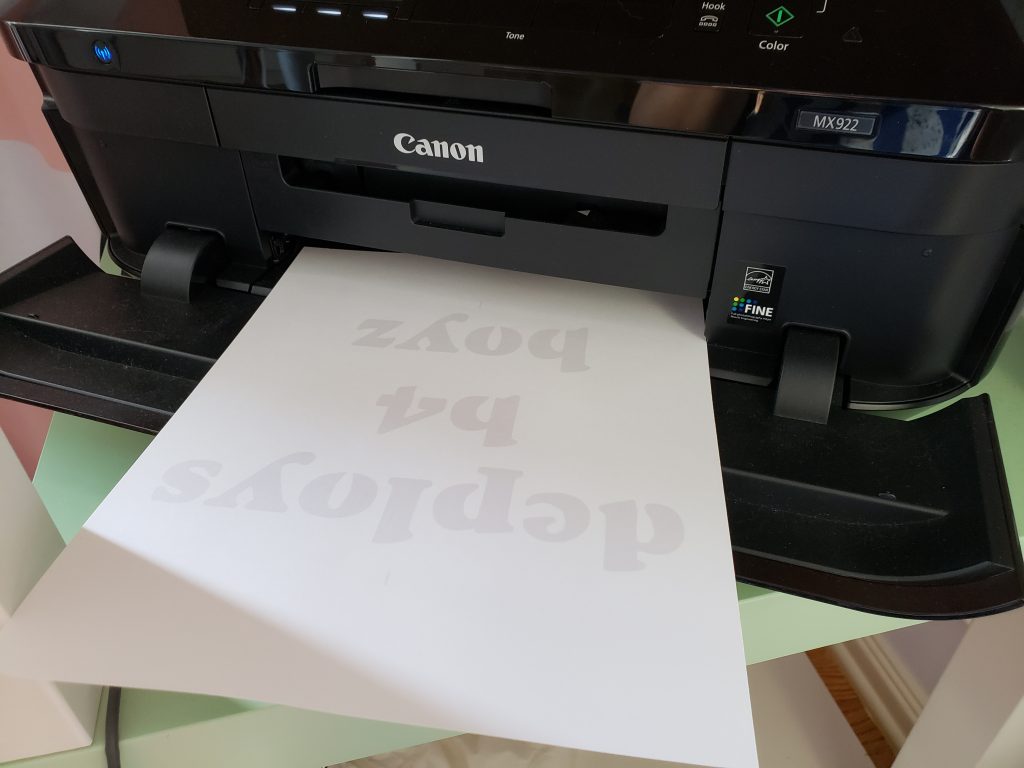
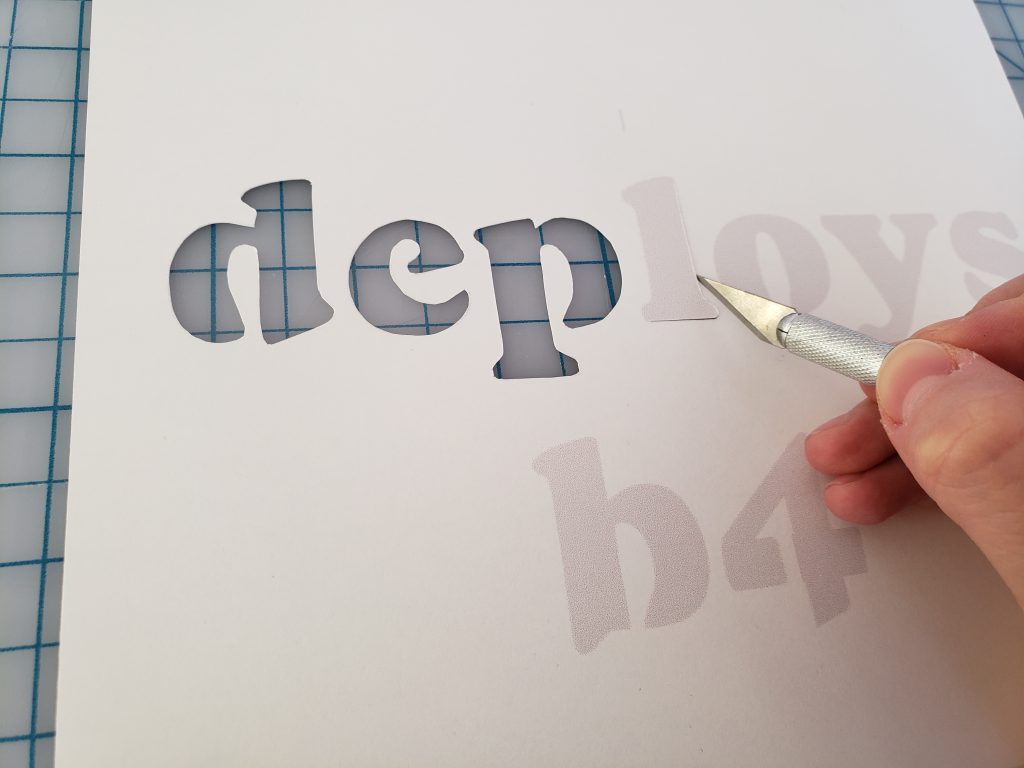
The first thing you’ll want to do is download this stencil, and print it out on a piece of cardstock. The stencil in this tutorial was printed at 100%, but you can always play around with the sizing for a different look.
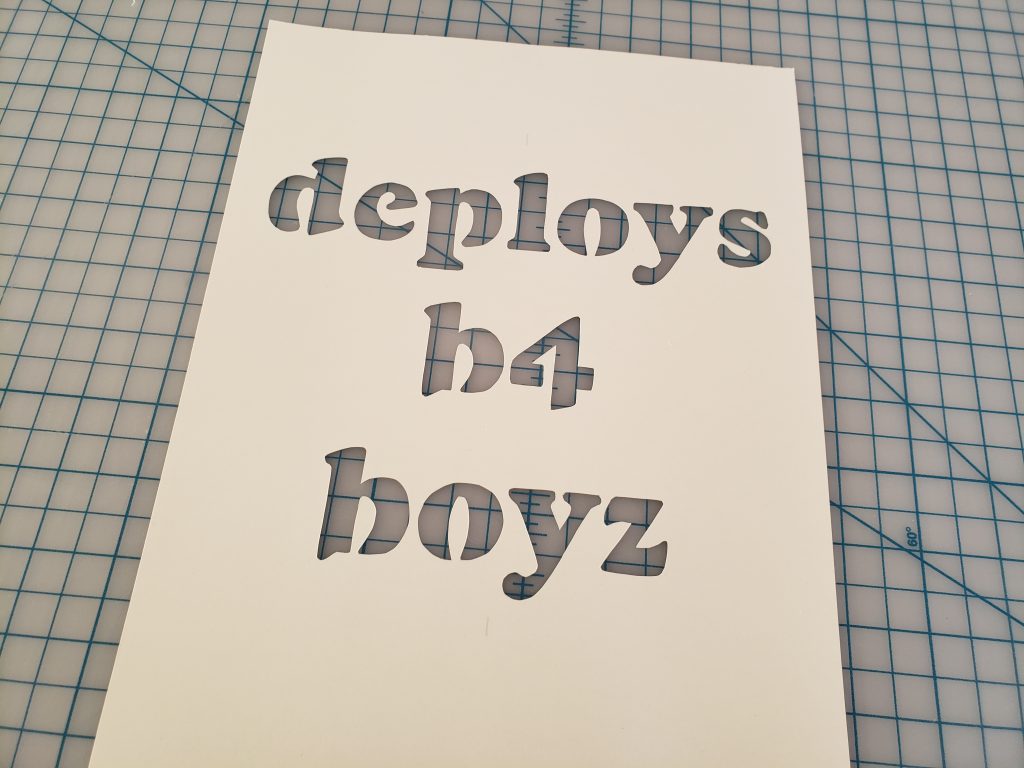
Next, cut out the grey portions of the stencil. Make sure you have something under the cardstock to protect the table underneath – I’m using a fabric cutting mat, but something like cardboard or a thick magazine would work as well.
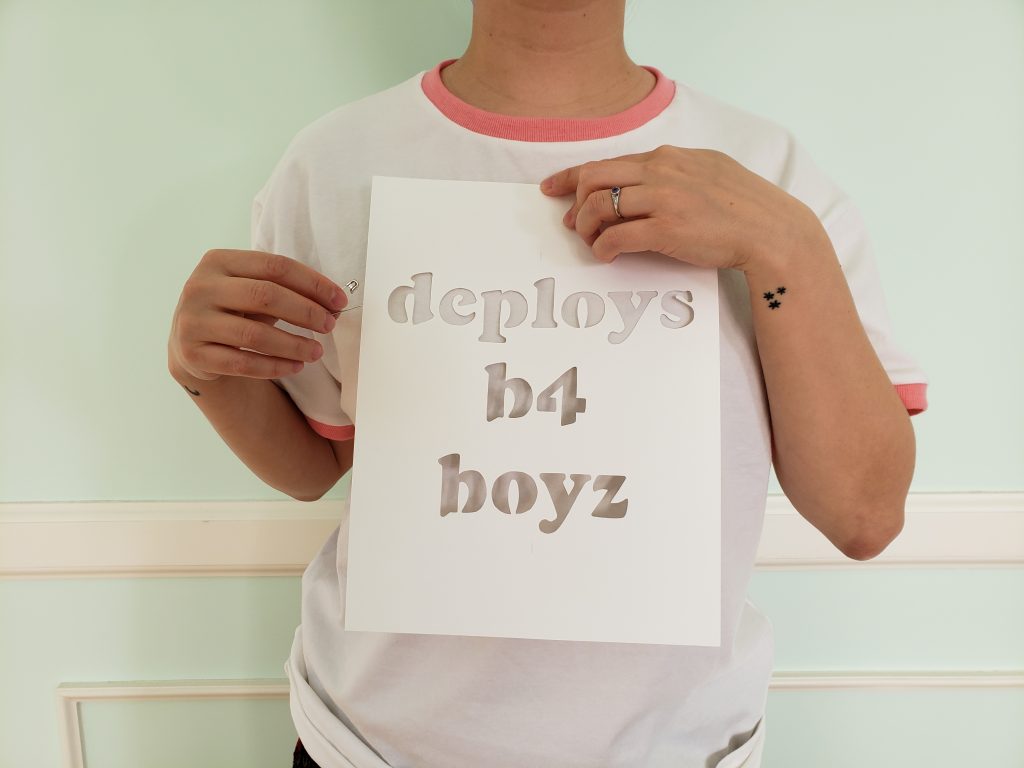
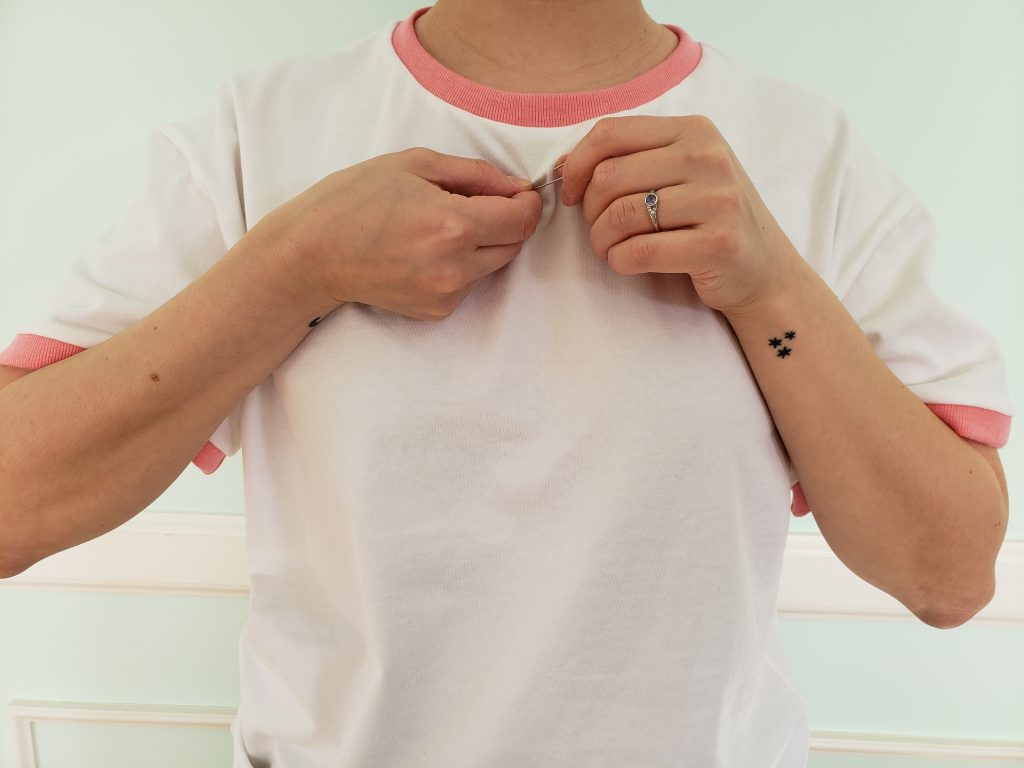
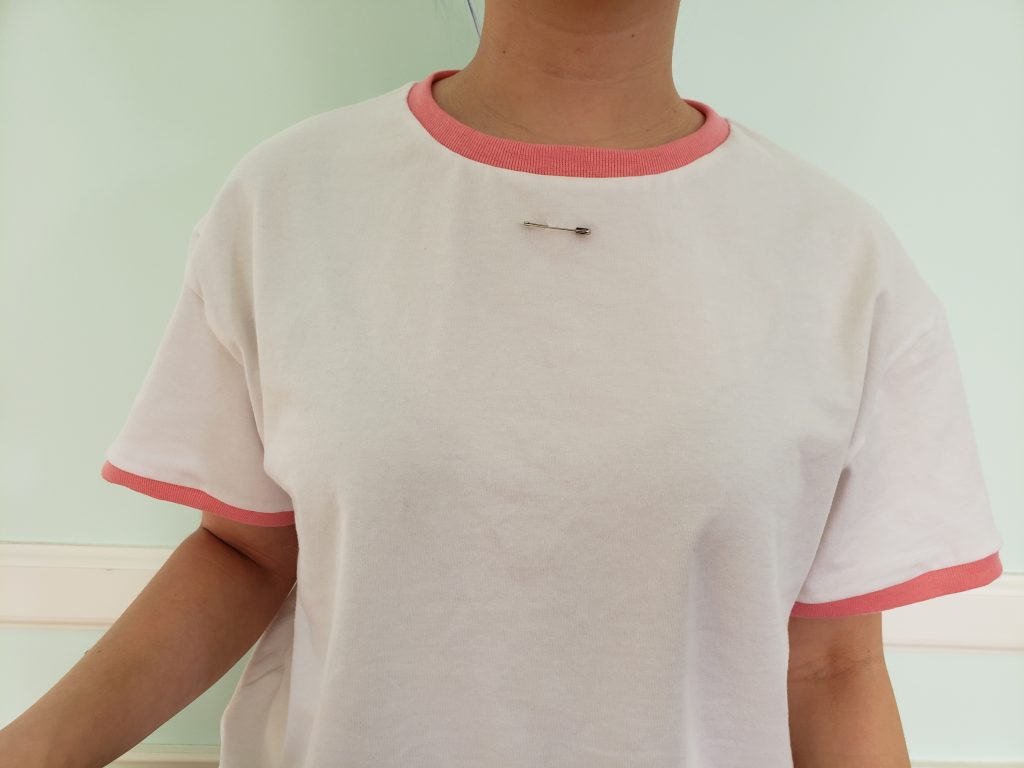
Now we’ll want to figure out how high/low you want the design on the shirt. I did this by putting the shirt on, looking in the mirror, holding the cardstock up and placing a safety pin where the top of the paper was on the shirt. (I used a safety pin because I know it won’t fall out when I take the shirt off, but a normal pin or even a piece of tape will work for this!)
Don’t worry about making sure the design is centered horizontally at this point.
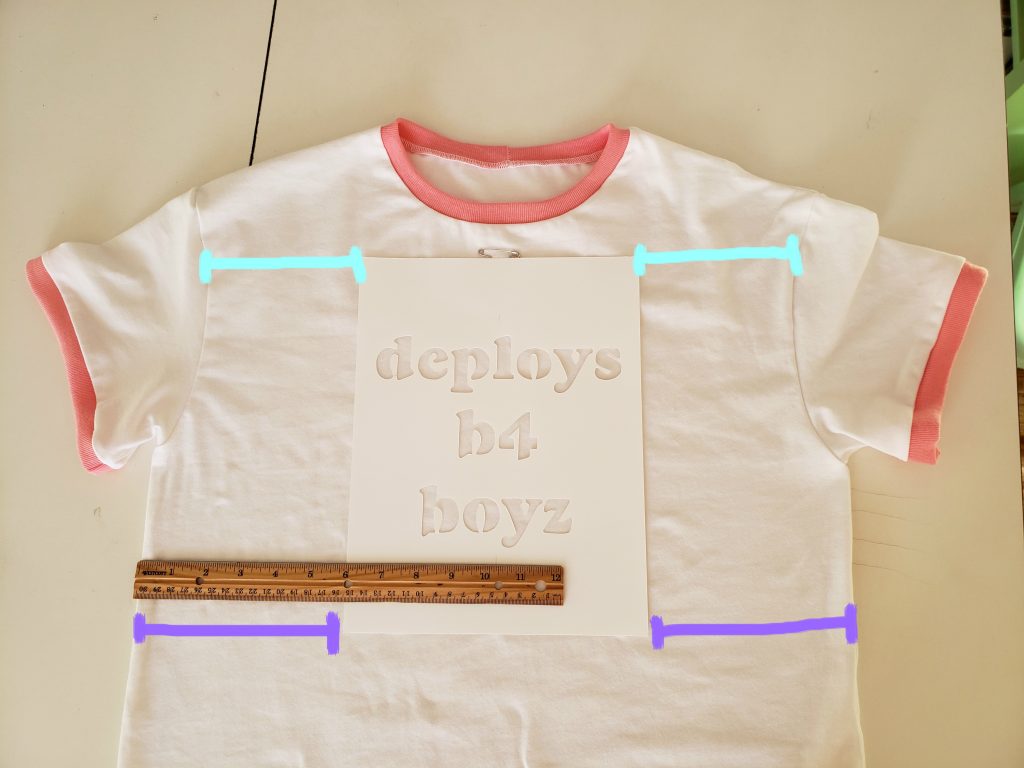
Now we’ll center the design horizontally. Lay the shirt down flat – if it’s super wrinkled, giving it a quick iron will make painting easier (and lint rolling pet hair will help as well!).
Place the stencil back on the shirt, and use a ruler to make sure the two sides are roughly the same measurement. I generally measure from both the top and bottom of the cardstock.
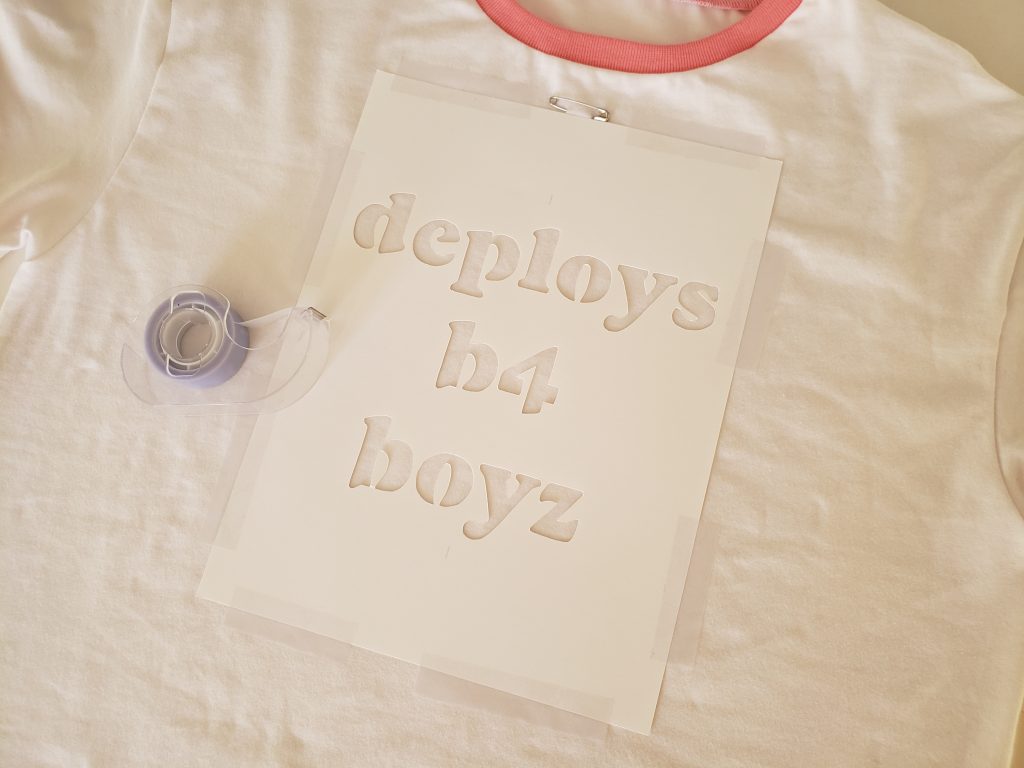
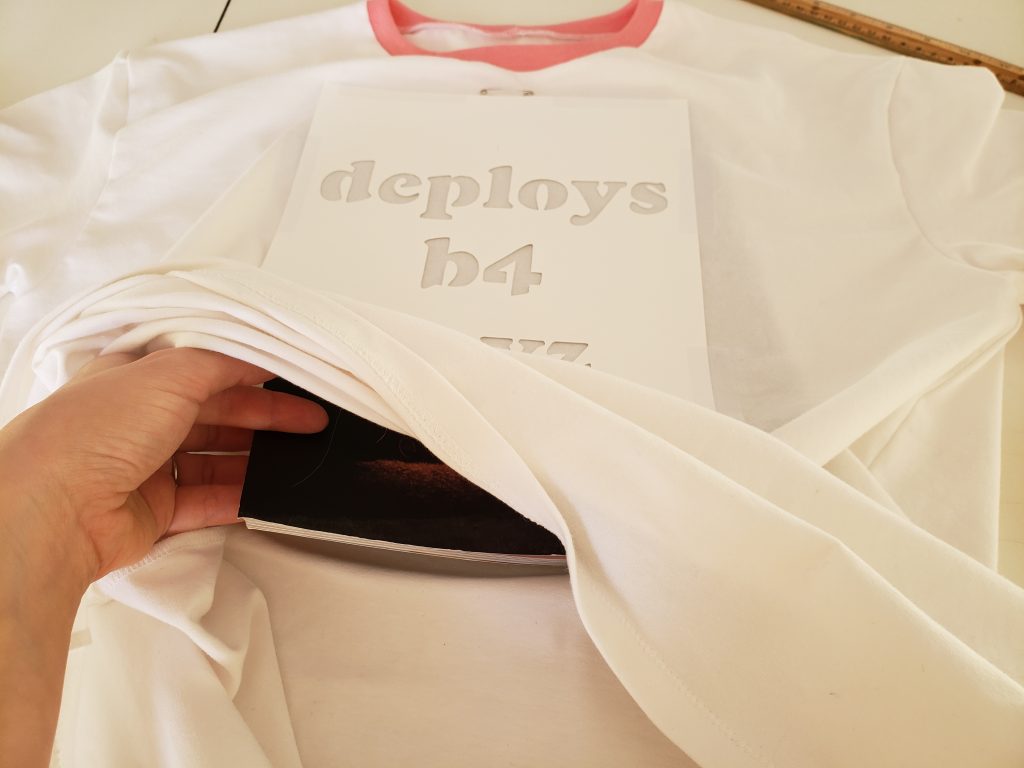
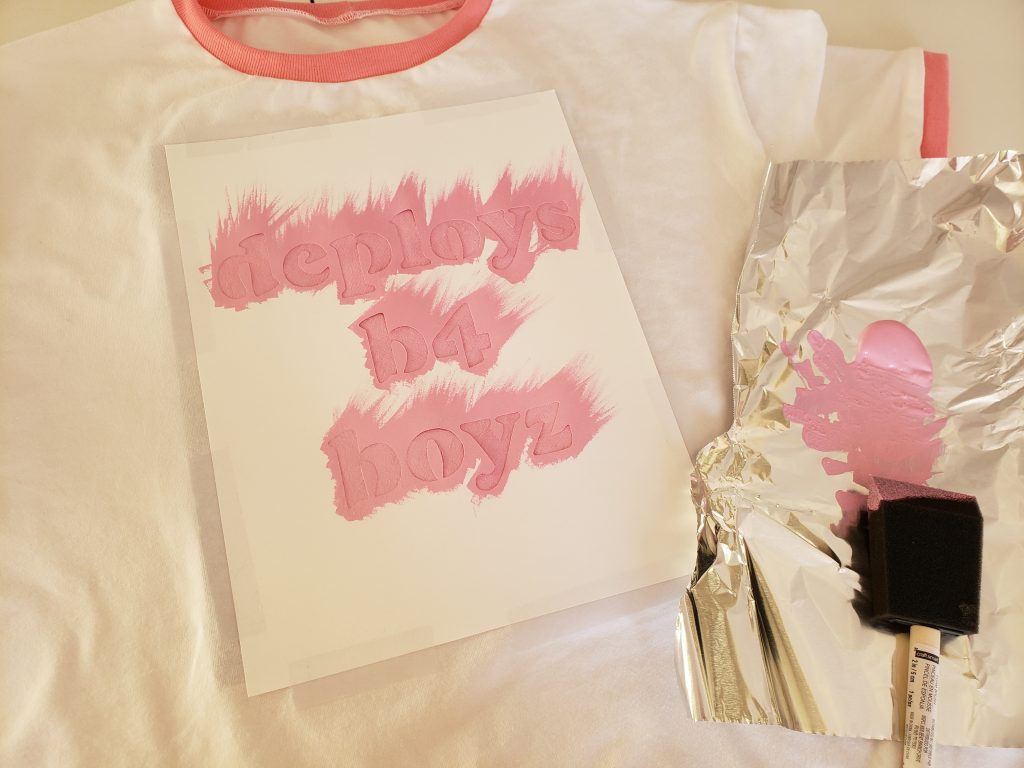
Tape the stencil down, and then place a magaine/paper/carboard in between the front and back of the shirt – now we’re ready to paint!
Tulip Soft fabric paint has been my go-to for years, especially the Matte options (they sell smaller bottles as well). I have shirts I painted 10 years ago that still look great. (This isn’t a promotion, I just really love Tulip paint haha)
I usually get it in stores from Michaels or JoAnn Fabrics with a coupon from their app.
Now go ahead and paint your stencil! I used a bit of foil to put the paint on (you don’t want to apply it directly from shirt to bottle), and made sure to dab away excess paint before painting on the shirt. Too much paint will likely cause the design to bleed past the stencil and make things look blotchy/messy.
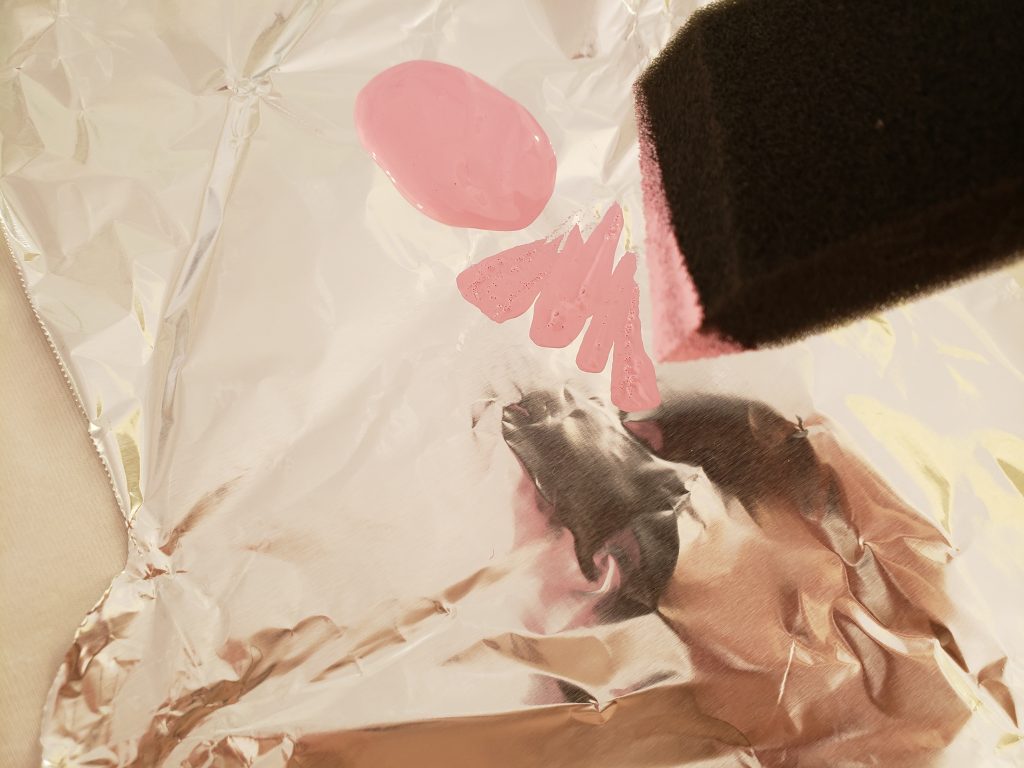
Dab the sponge repeatedly over the stencil to fill it in, making sure you don’t see any of the shirt’s fabric exposed. I went over the design once, let it dry for a few minutes, and then went over it a second time.
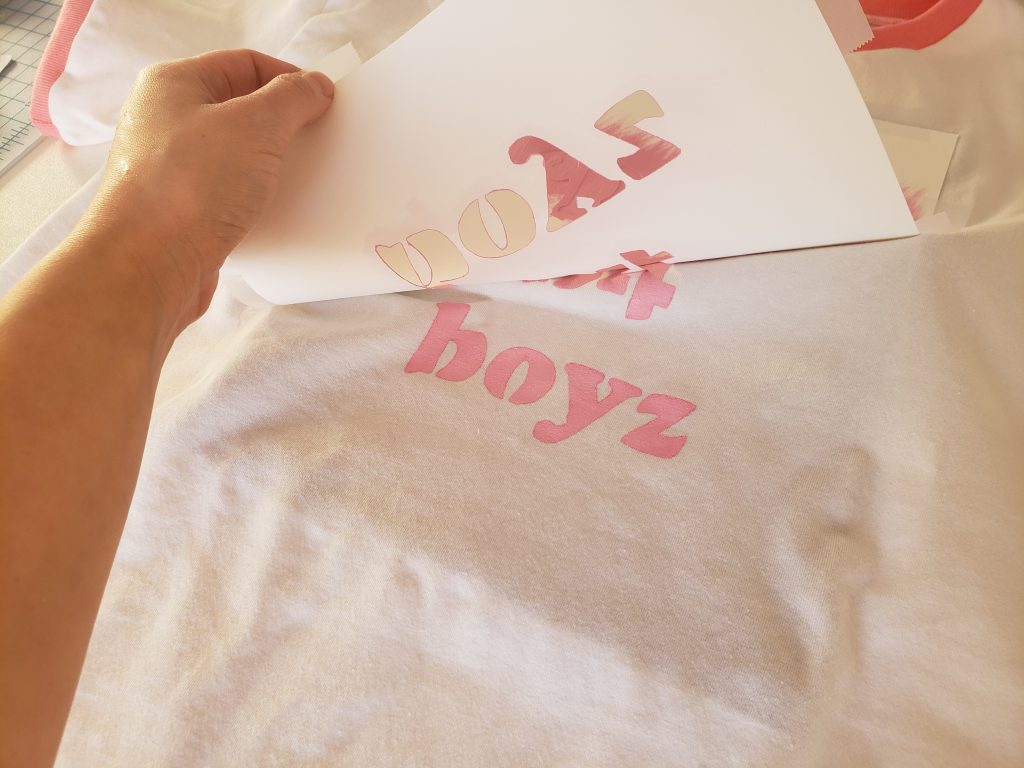
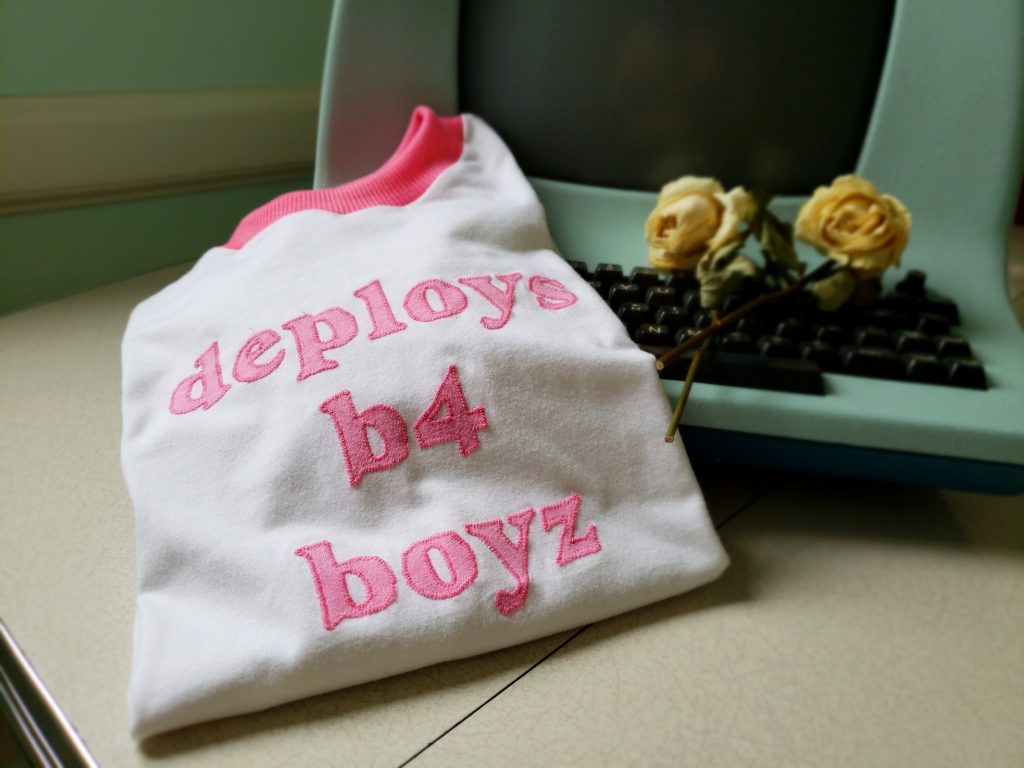
Wait a couple more minutes, and then peel the stencil off (I prefer to do this while the paint is till wet)! Let dry the amount of time specified on the paint bottle, and you’re done!
Caring for your shirt should remain the same as before you painted it. Washing and drying this fabric paint is just fine, although I wouldn’t recommend ironing the paint directly (just place a towel or piece of fabric over it if you’d like to iron).
Let me know if you have any questions about this tutorial, and I’ll be happy to answer them!
Also, I’m doing a giveaway for the shirt in this tutorial over on twitter so check that out if you’re interested! <3